


Sharon has 21+ years of experience as a qualified Emergency Care Nurse registered with the Australian Health Practitioner Regulation Agency (APHRA) and 12+ years as a First Aid Trainer.
She takes pride in FirstAidPro making first aid training available, comprehensive and affordable to everybody.
You’ve cut yourself, you’ve scraped your knee, or you’ve suffered a more serious injury. Now what? Proper wound cleaning and dressing is your next crucial step.
Proper wound care is vital for preventing infection and promoting healing. While it may seem straightforward, there’s more to cleaning and dressing a wound than meets the eye. From evaluating the injury to choosing the right dressing material, each step plays an essential role in the recovery process.
If you’re wondering how to guarantee ideal wound care, you’re in the right place. Let’s explore the top tips that will help you master this important skill and keep your wounds on the path to healing.
Key Takeaways
- Assess the wound thoroughly, checking size, depth, and signs of infection before beginning treatment.
- Clean hands thoroughly and gather necessary supplies, including sterile gauze, antiseptic solutions, and appropriate dressings.
- Gently clean the wound with sterile saline or lukewarm water, removing debris and applying antiseptic solution carefully.
- Choose and apply appropriate dressing based on wound type, securing it properly to maintain a sterile environment.
- Monitor the wound regularly, changing dressings as needed and watching for signs of infection or adverse reactions.
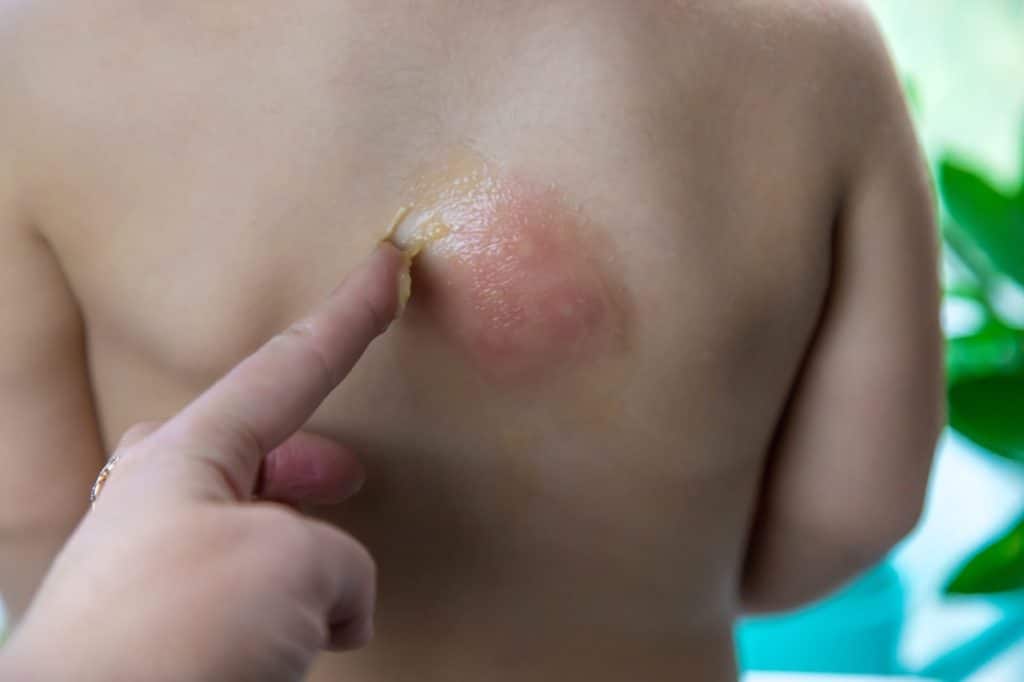
Assess the Wound
Evaluating the wound thoroughly is the critical first step in proper wound cleaning and dressing management. You’ll need to employ effective wound assessment techniques to determine the severity and nature of the injury. Begin by carefully examining the wound’s size, depth, and location. Measure its dimensions accurately and note any irregularities in shape.
Next, assess the wound’s characteristics. Observe the colour of the wound bed and surrounding skin, looking for signs of infection or poor circulation. Check for any drainage or exudate, noting its colour, consistency, and odour. Evaluate the wound edges for signs of healing or deterioration.
Gather Necessary Supplies
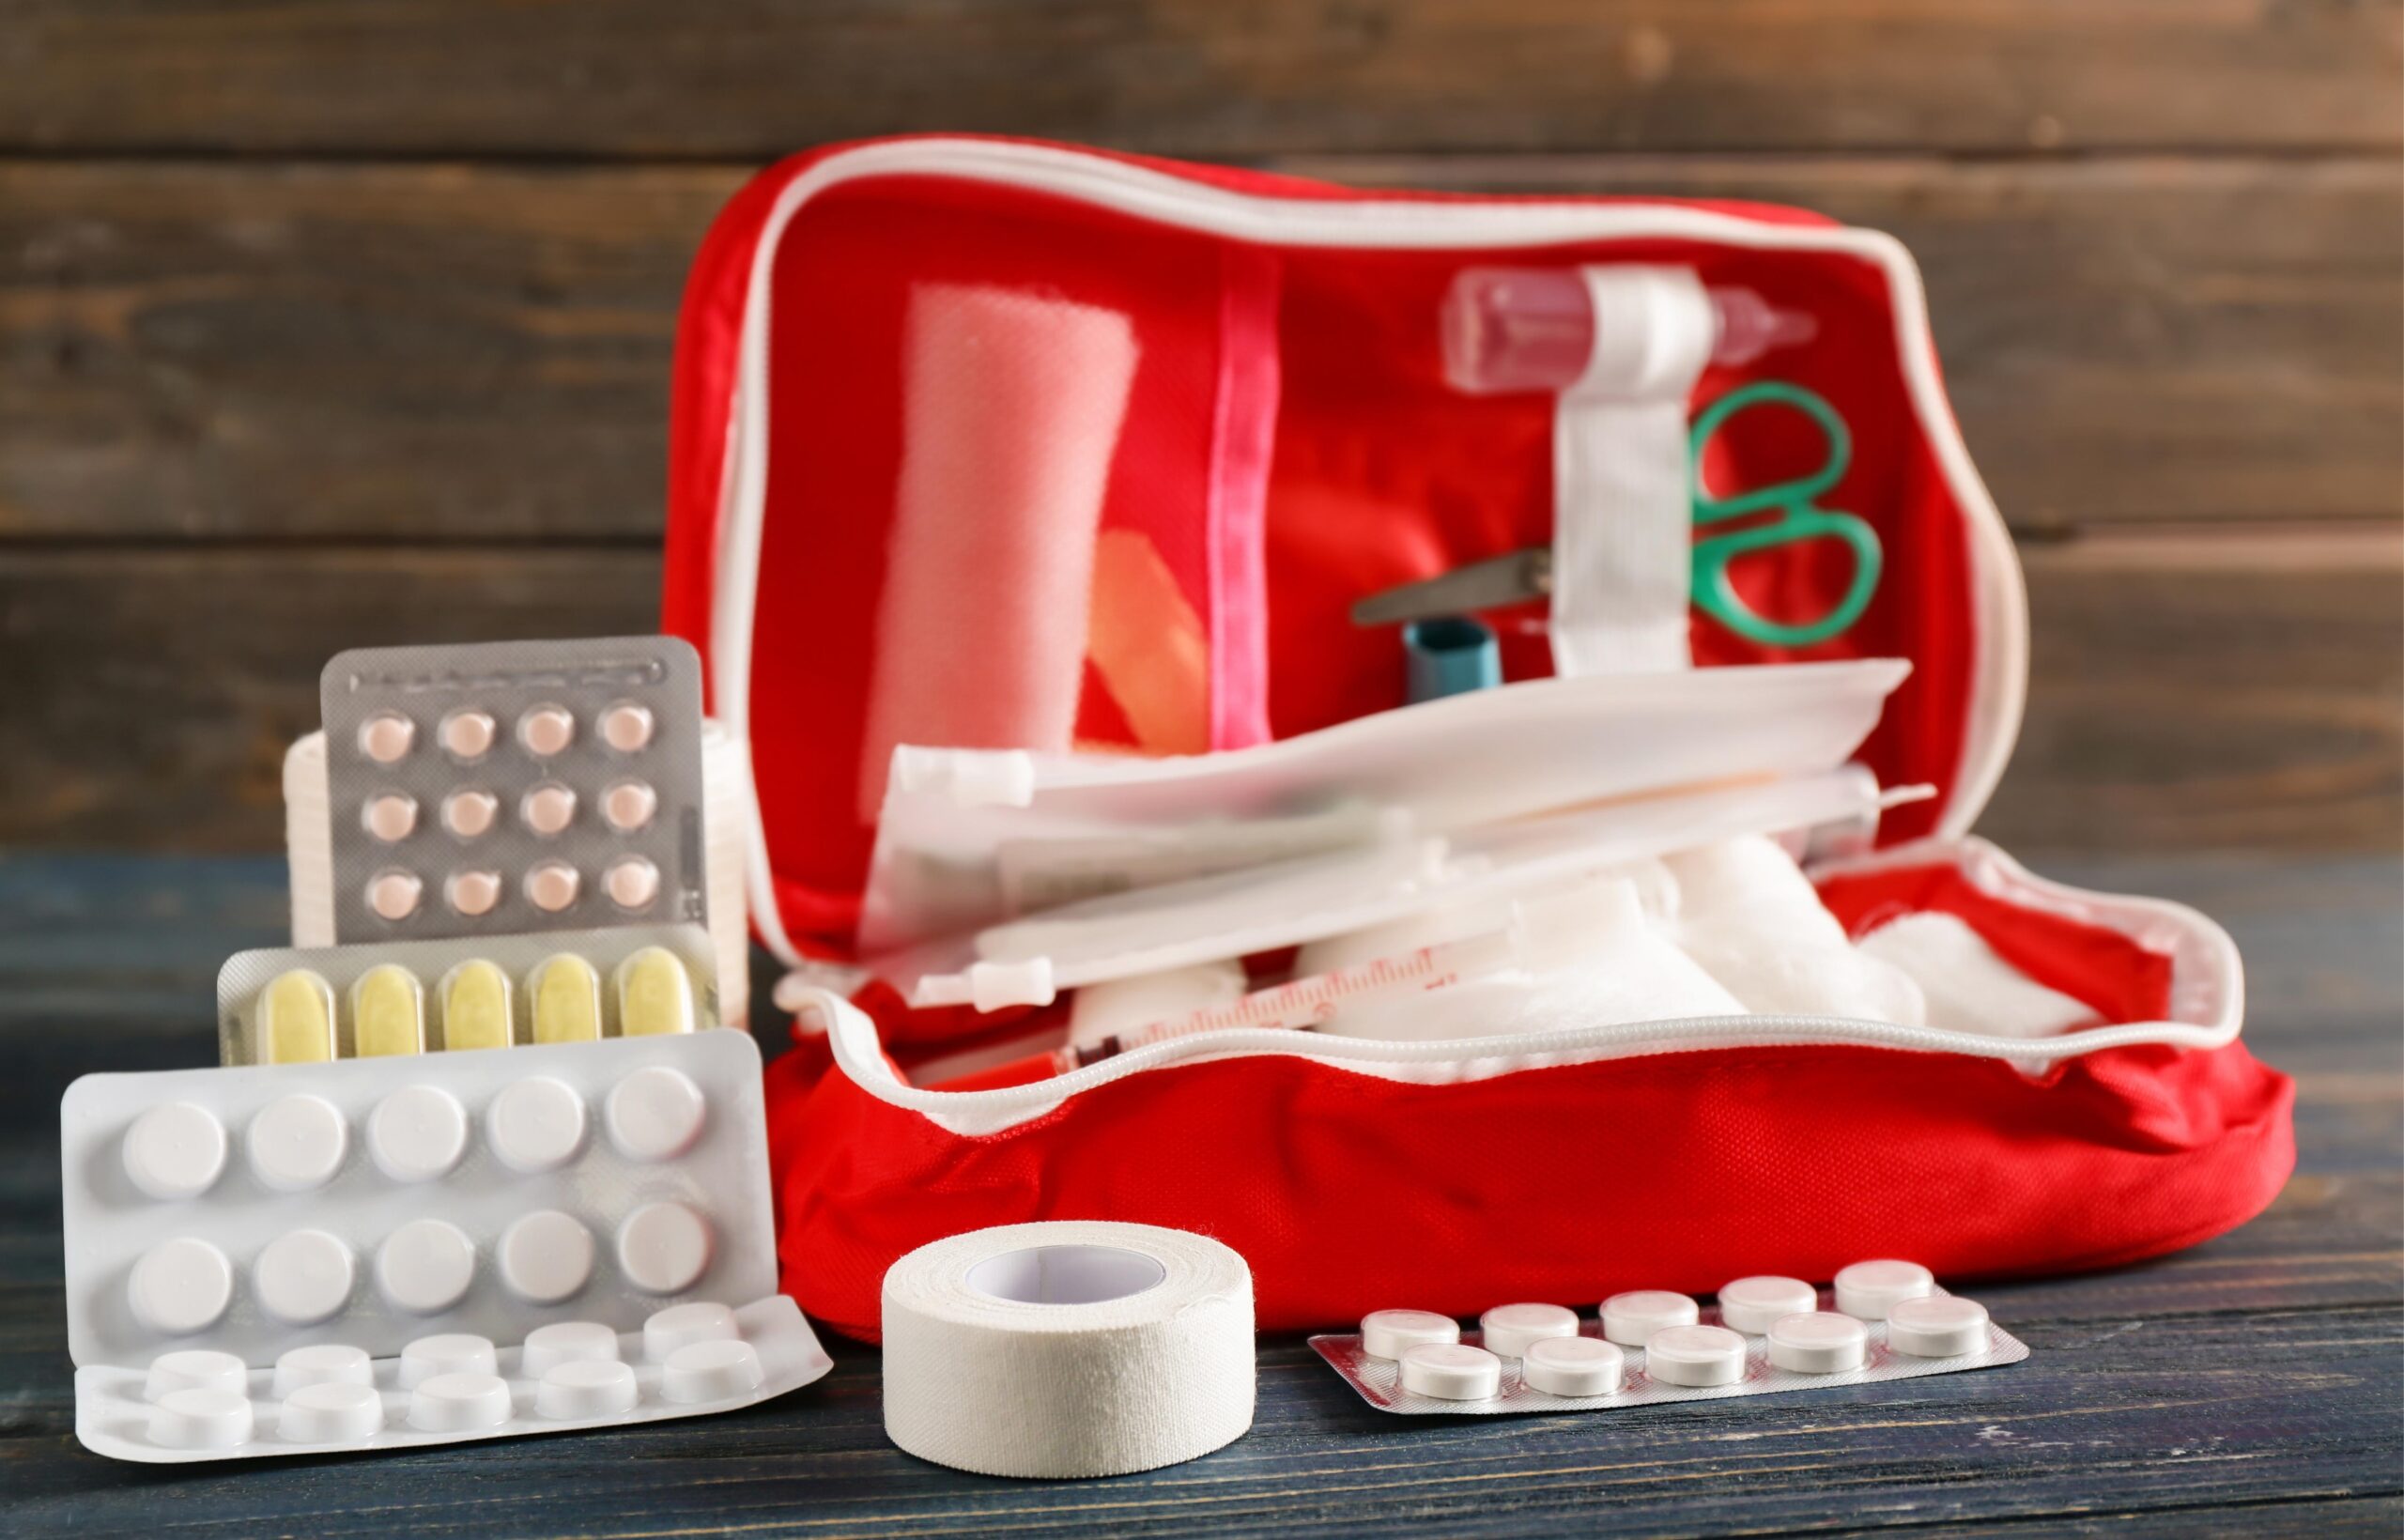
You’ll need sterile gauze pads, adhesive bandages of various sizes, medical tape, and non-stick dressings for effective wound cleaning and dressing. Include a pair of clean scissors for cutting bandages and tape to size.
For proper wound cleaning, gather antiseptic solutions such as hydrogen peroxide, povidone-iodine, or chlorhexidine. Don’t forget sterile saline solution for rinsing the wound. You’ll also need disposable gloves to maintain hygiene during the process.
If available, add tweezers and a magnifying glass to your supplies for removing any debris from the wound. For more severe injuries, include haemostatic agents to control bleeding and butterfly closures or steri-strips to hold wound edges together.
Wash Your Hands Thoroughly
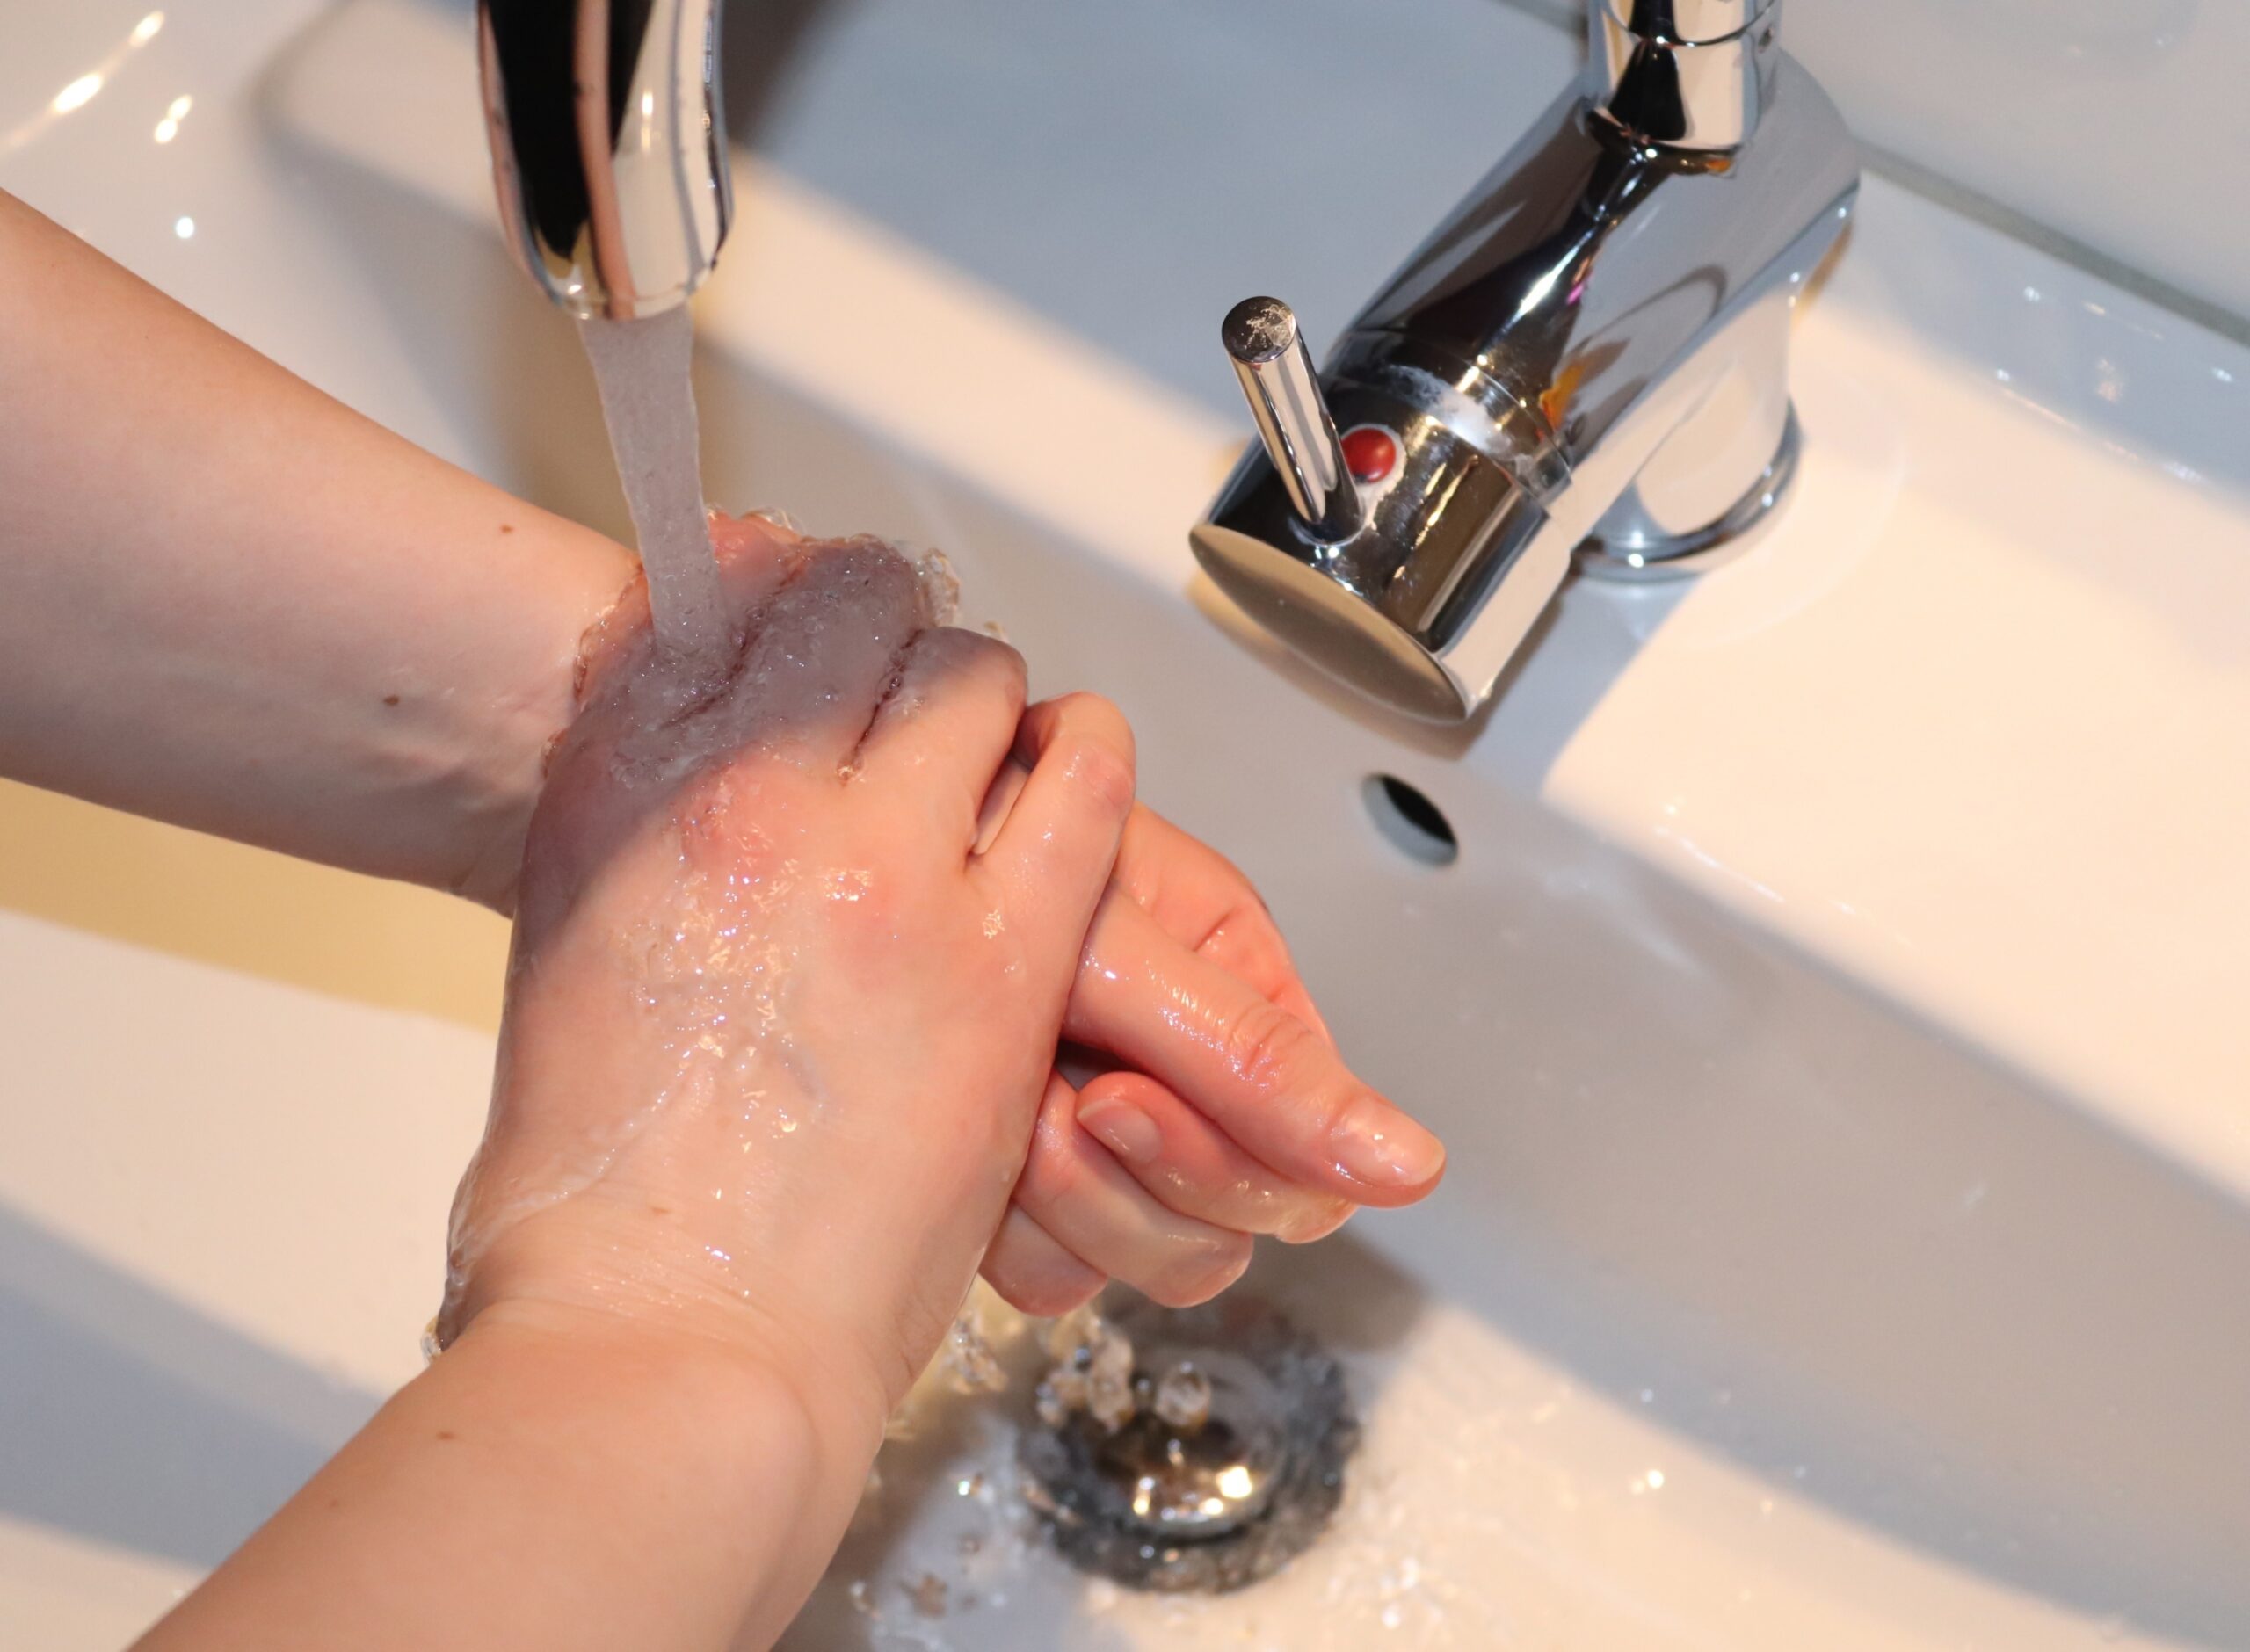
Begin by wetting your hands with clean, running water. Apply soap and lather thoroughly, covering all surfaces including the backs of your hands, between your fingers, and under your nails. Proper hand hygiene is essential for wound cleaning and dressing to prevent contamination. Scrub for at least 20 seconds – about the time it takes to hum ‘Happy Birthday’ twice.
Rinse your hands well under running water, ensuring all soap is removed. Dry your hands using a clean towel or air dry them. If possible, use the towel to turn off the tap.
Clean the Surrounding Area
Proper surrounding hygiene is essential for ideal healing and infection prevention. You’ll need to employ specific cleaning techniques to guarantee the area is thoroughly sanitised.
Here’s a step-by-step guide to effectively clean the surrounding area:
- Prepare a mild soap solution or use an antiseptic cleanser recommended by your healthcare provider.
- Gently cleanse the skin around the wound in a circular motion, moving outward from the wound’s edge.
- Avoid getting soap or cleanser directly into the wound, as this may cause irritation.
- Rinse the area thoroughly with clean, lukewarm water to remove any residual soap or debris.
Rinse the Wound
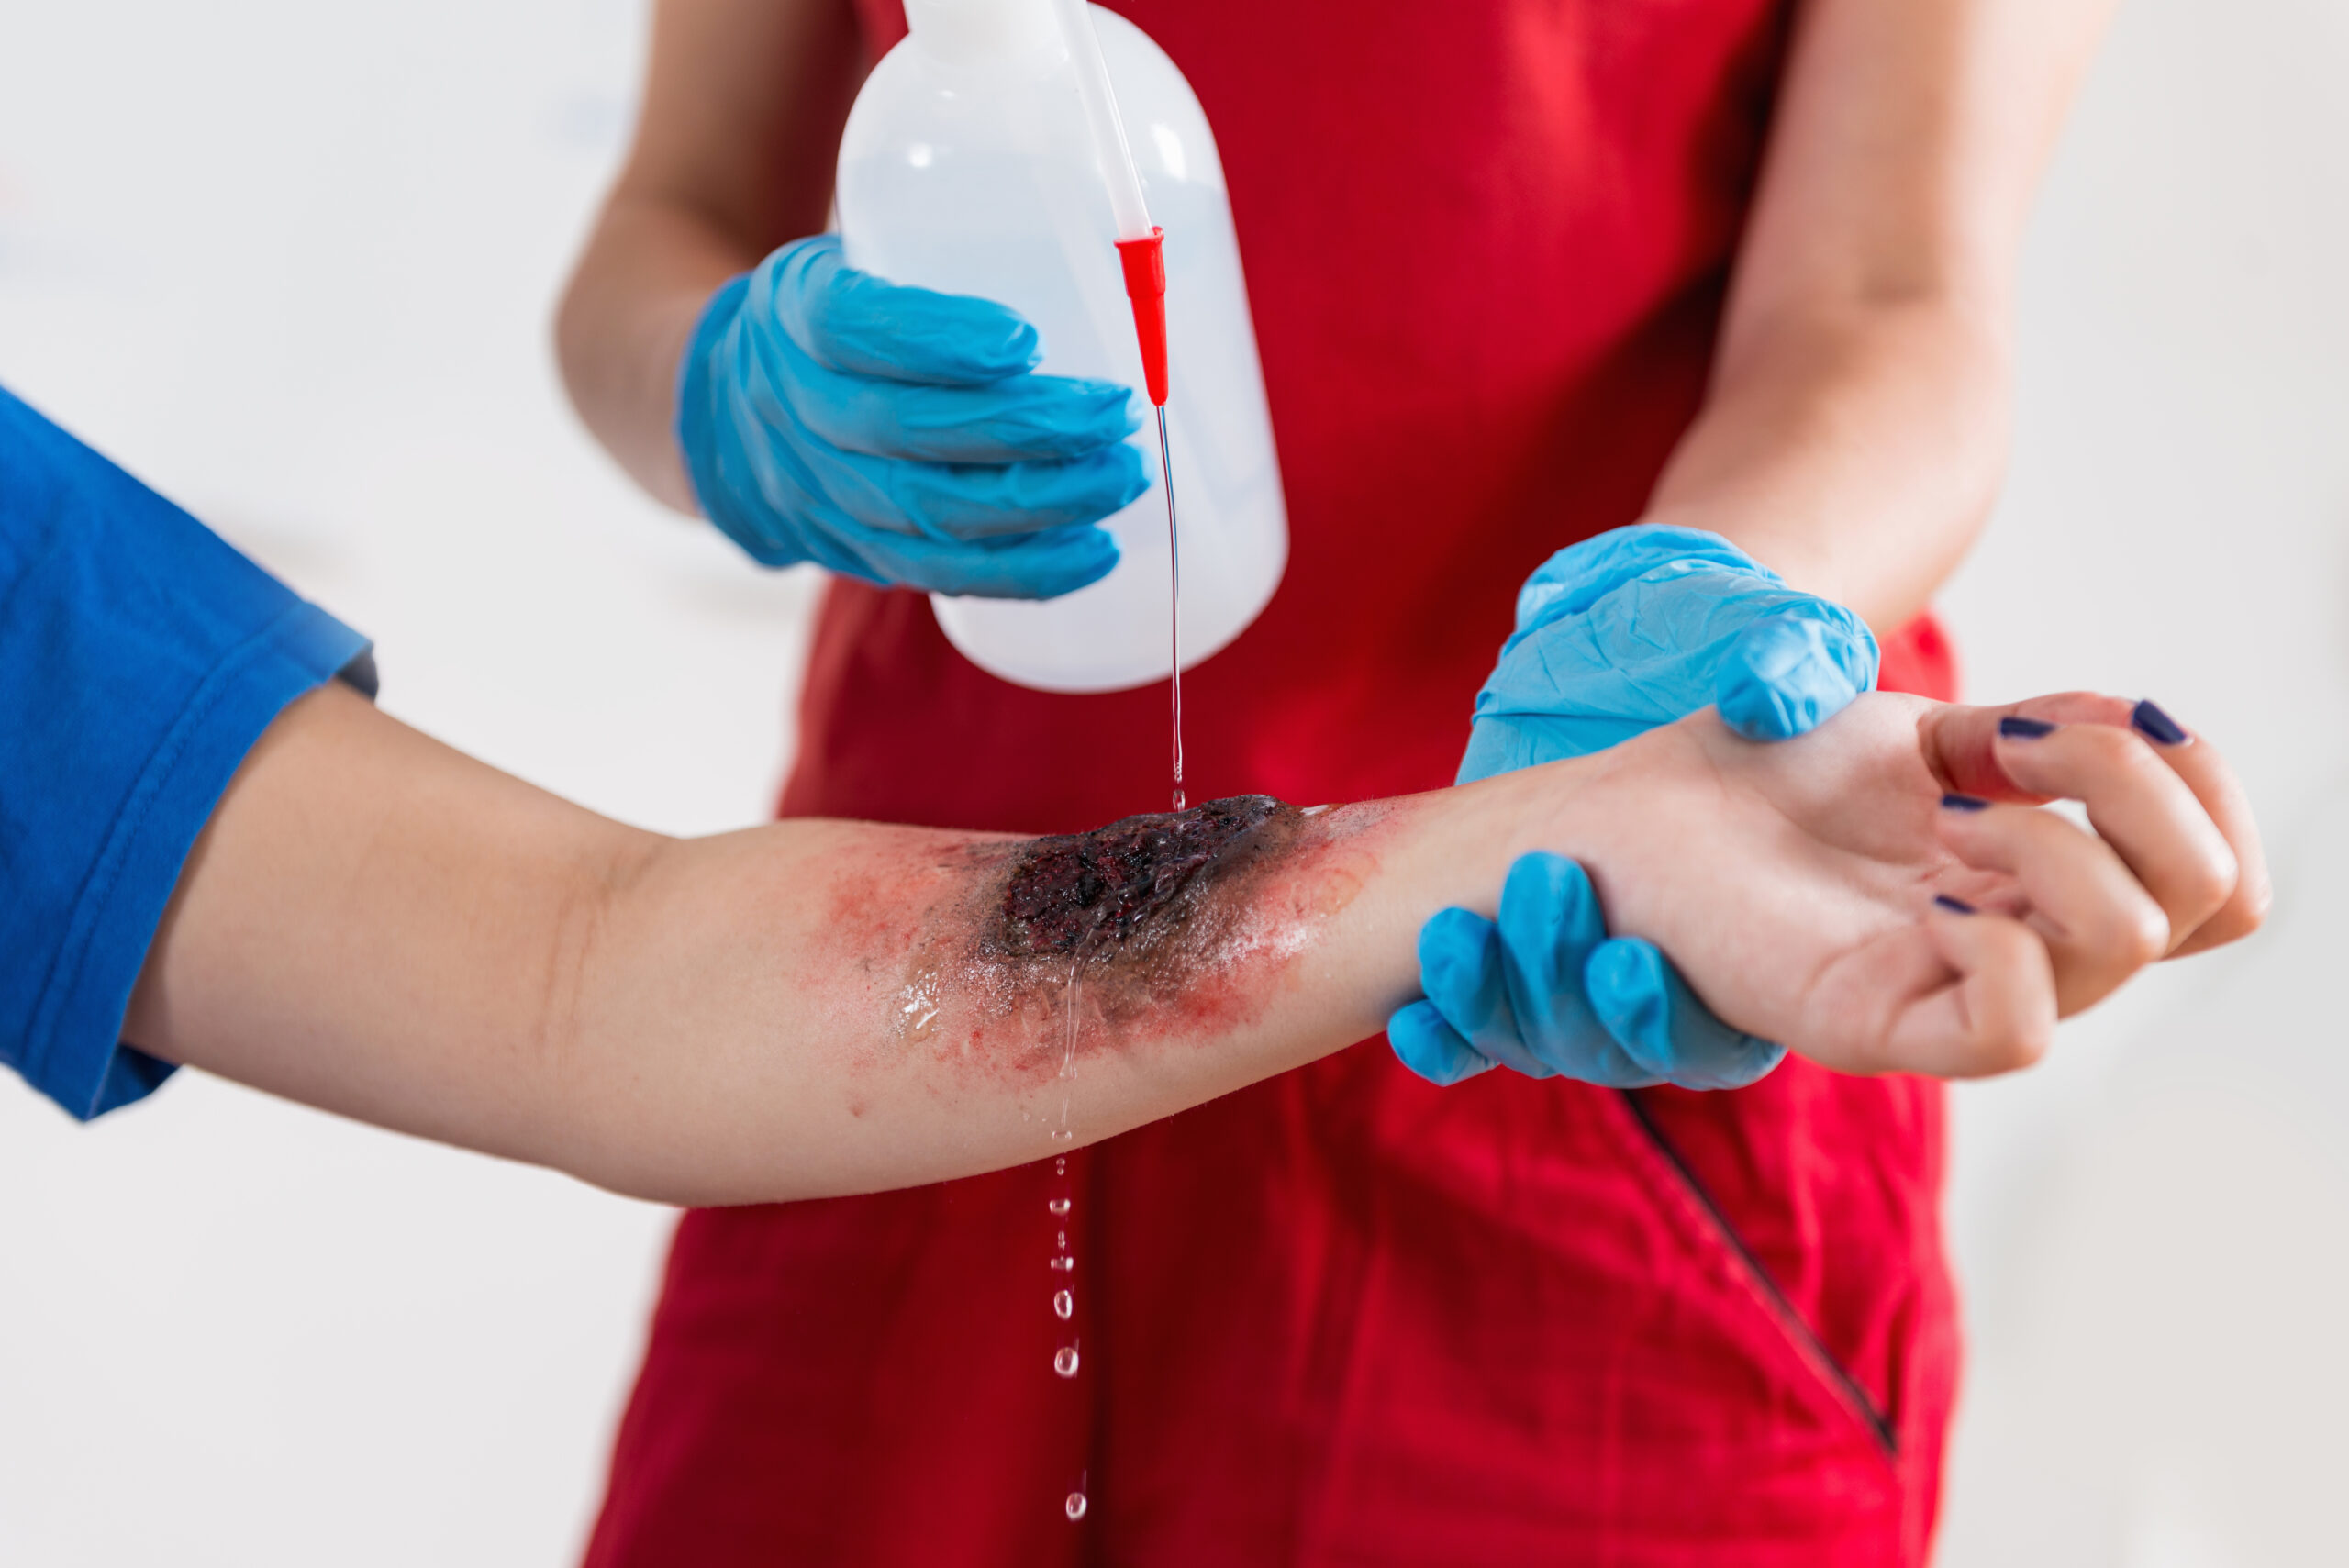
Start by preparing a sterile saline solution, which is ideal due to its isotonic nature that won’t damage healthy tissue.
To rinse the wound, use a syringe or squeeze bottle filled with the saline solution. Hold it about 1-2 inches away from the wound and apply steady, gentle pressure to create a continuous stream. This method helps dislodge debris without causing further tissue damage.
Make sure you rinse from the centre of the wound outward to avoid reintroducing contaminants. For deeper wounds, you may need to increase the pressure slightly, but be cautious not to cause discomfort.
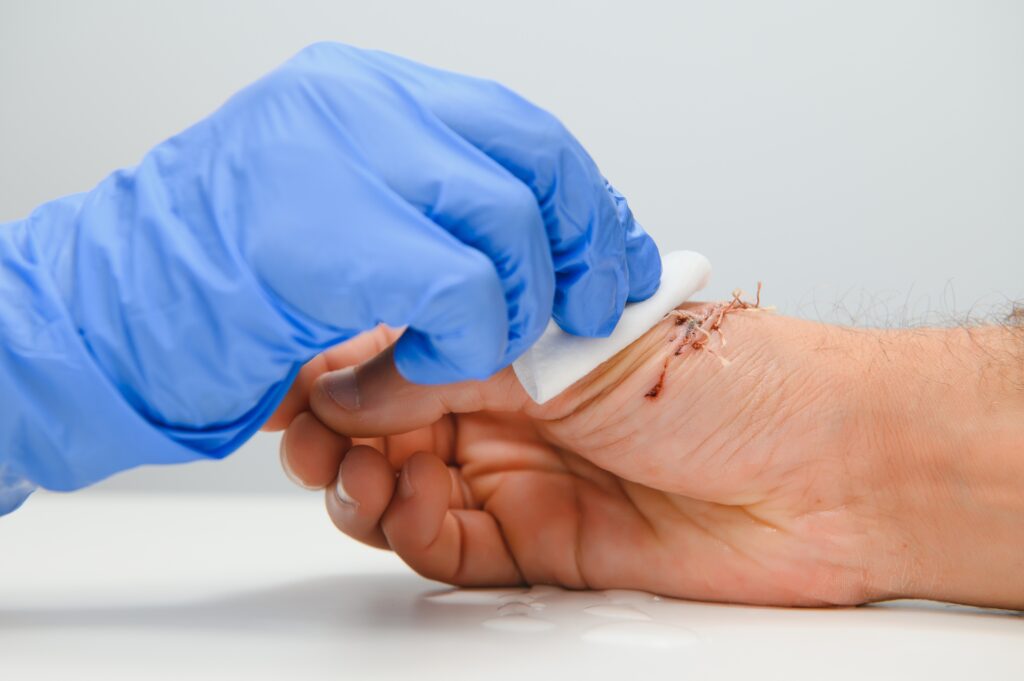
Remove Debris and Foreign Objects
With the wound thoroughly rinsed, your next step is to carefully inspect and remove any remaining debris or foreign objects that could hinder proper healing. Different wound types may require varying approaches to foreign object removal, but the general principles of wound cleaning and dressing remain consistent.
To effectively remove debris and foreign objects, follow these steps:
- Examine the wound under good lighting, using magnification if necessary.
- Use sterile tweezers or forceps to gently grasp and extract visible debris.
- For embedded objects, seek professional medical help to avoid further tissue damage.
- Irrigate the wound again after removal to flush out any loosened particles.
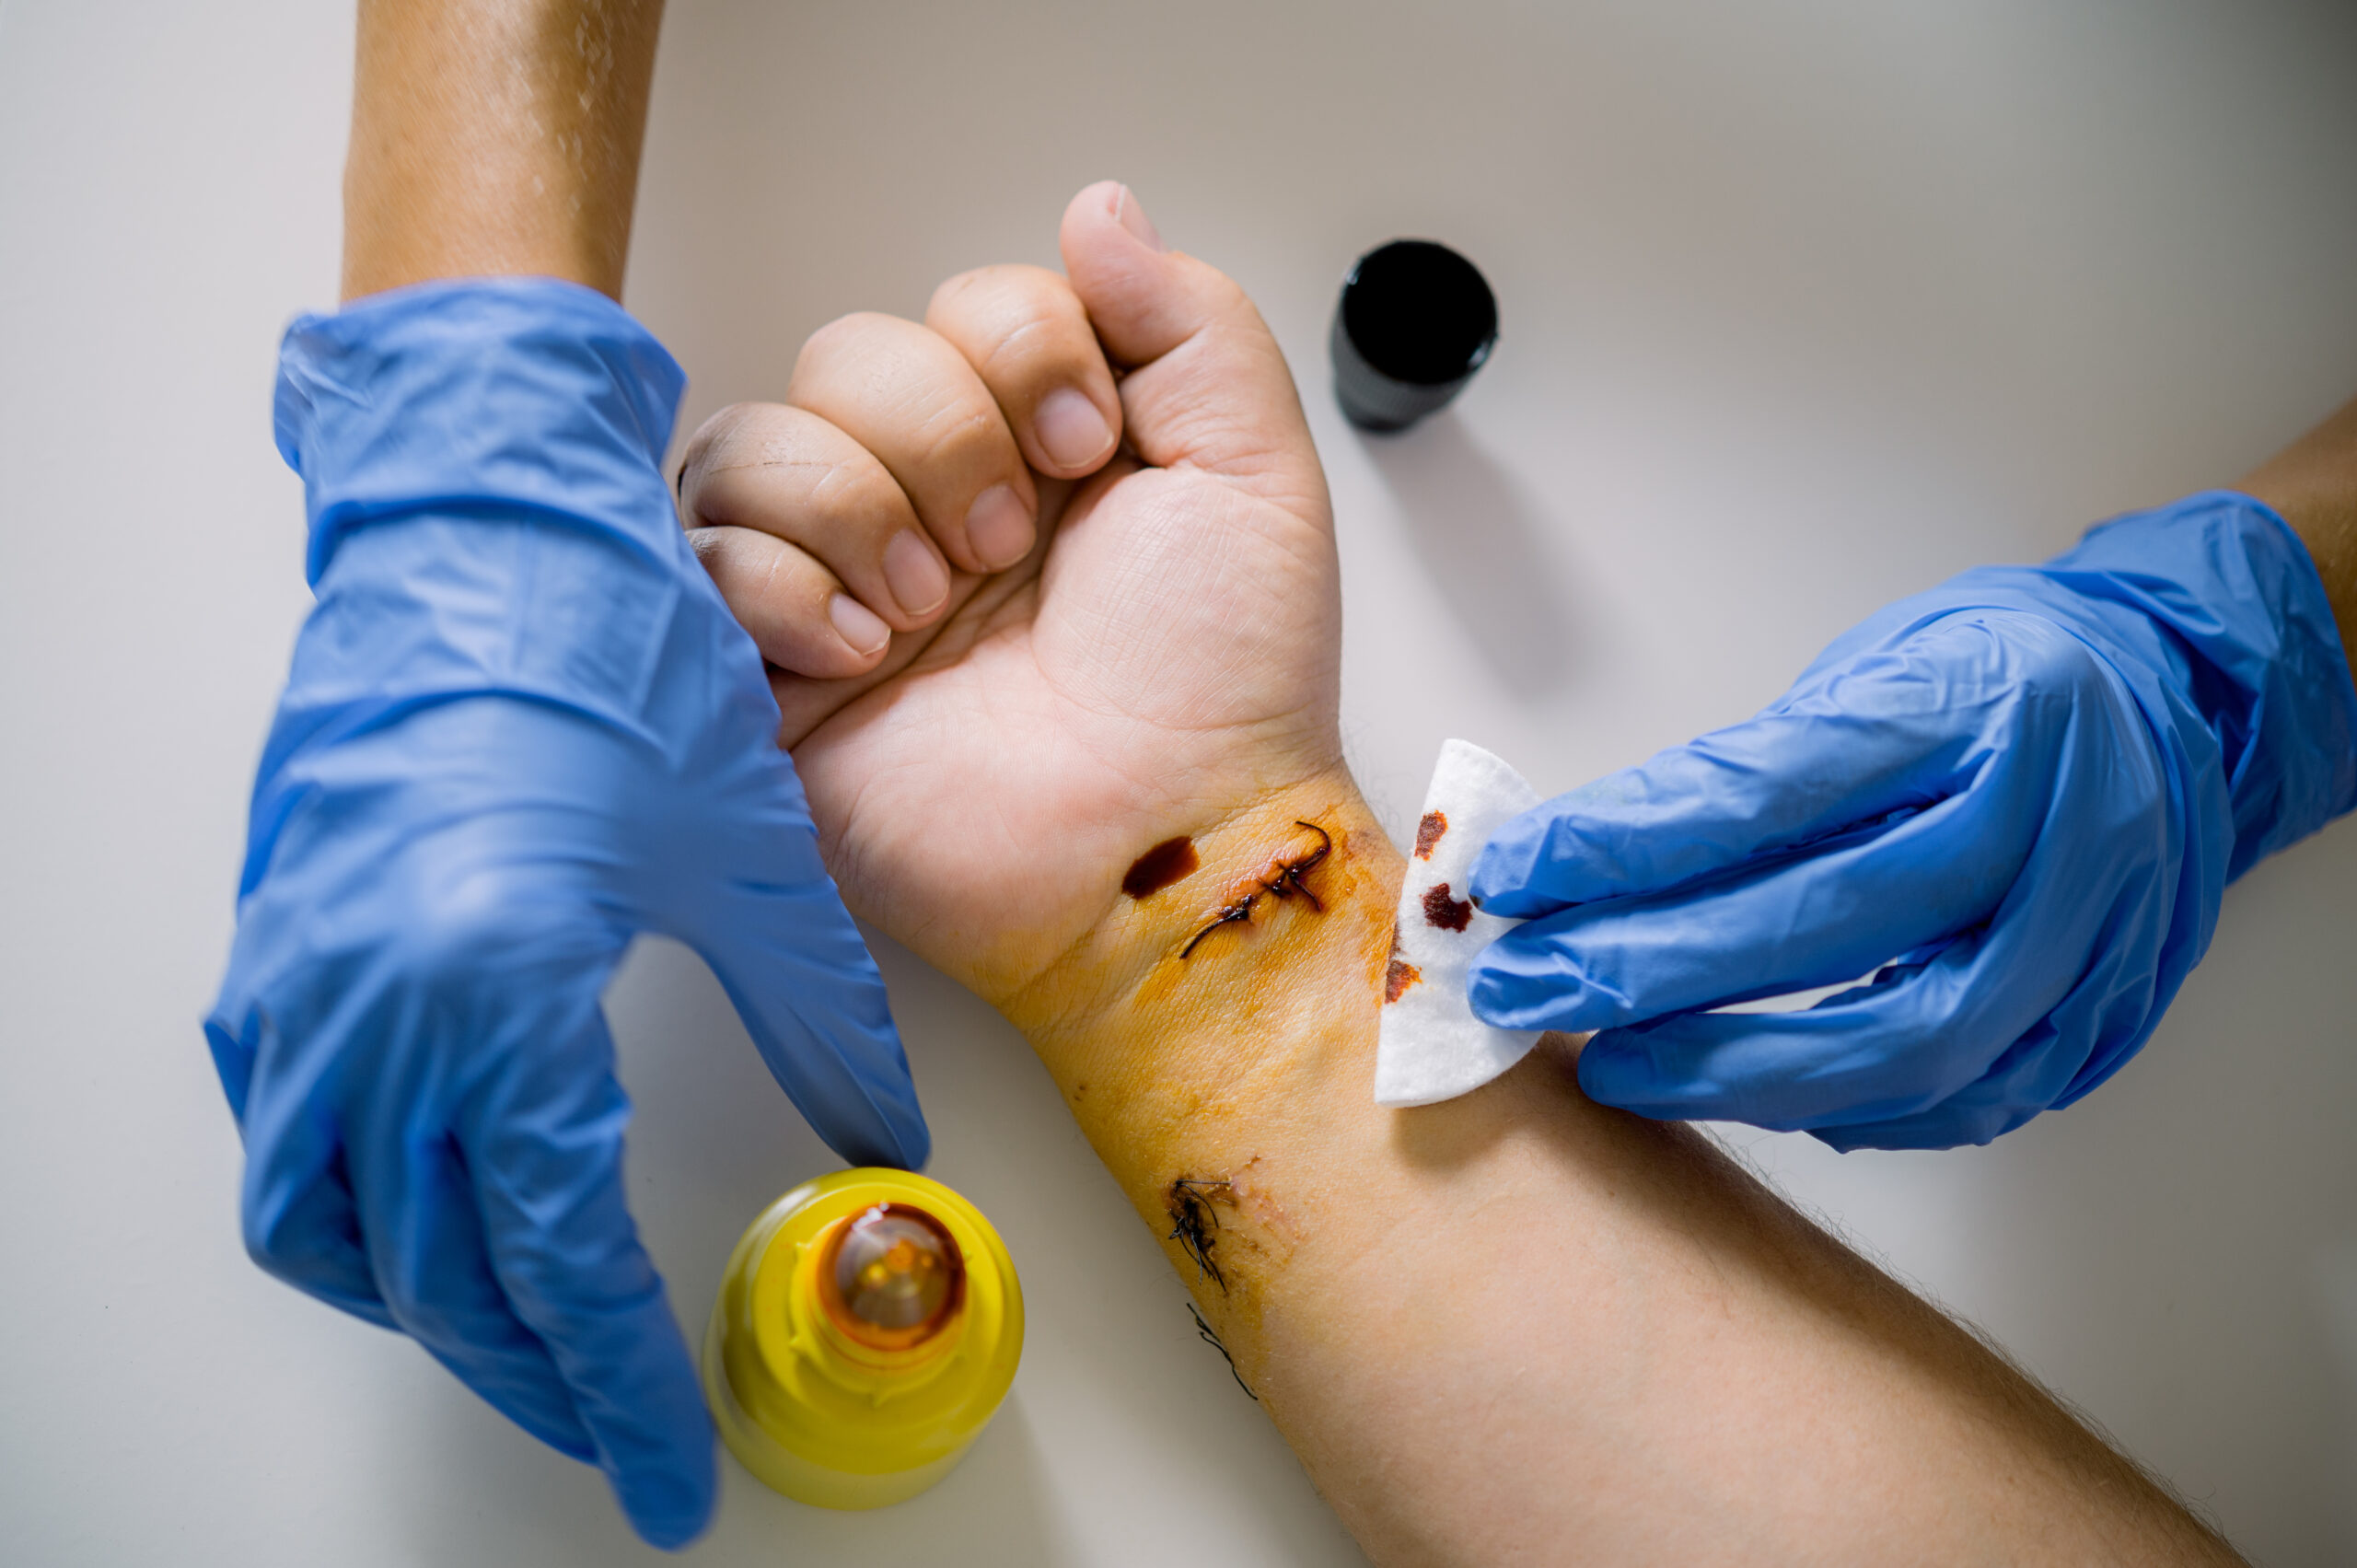
Apply Antiseptic Solution
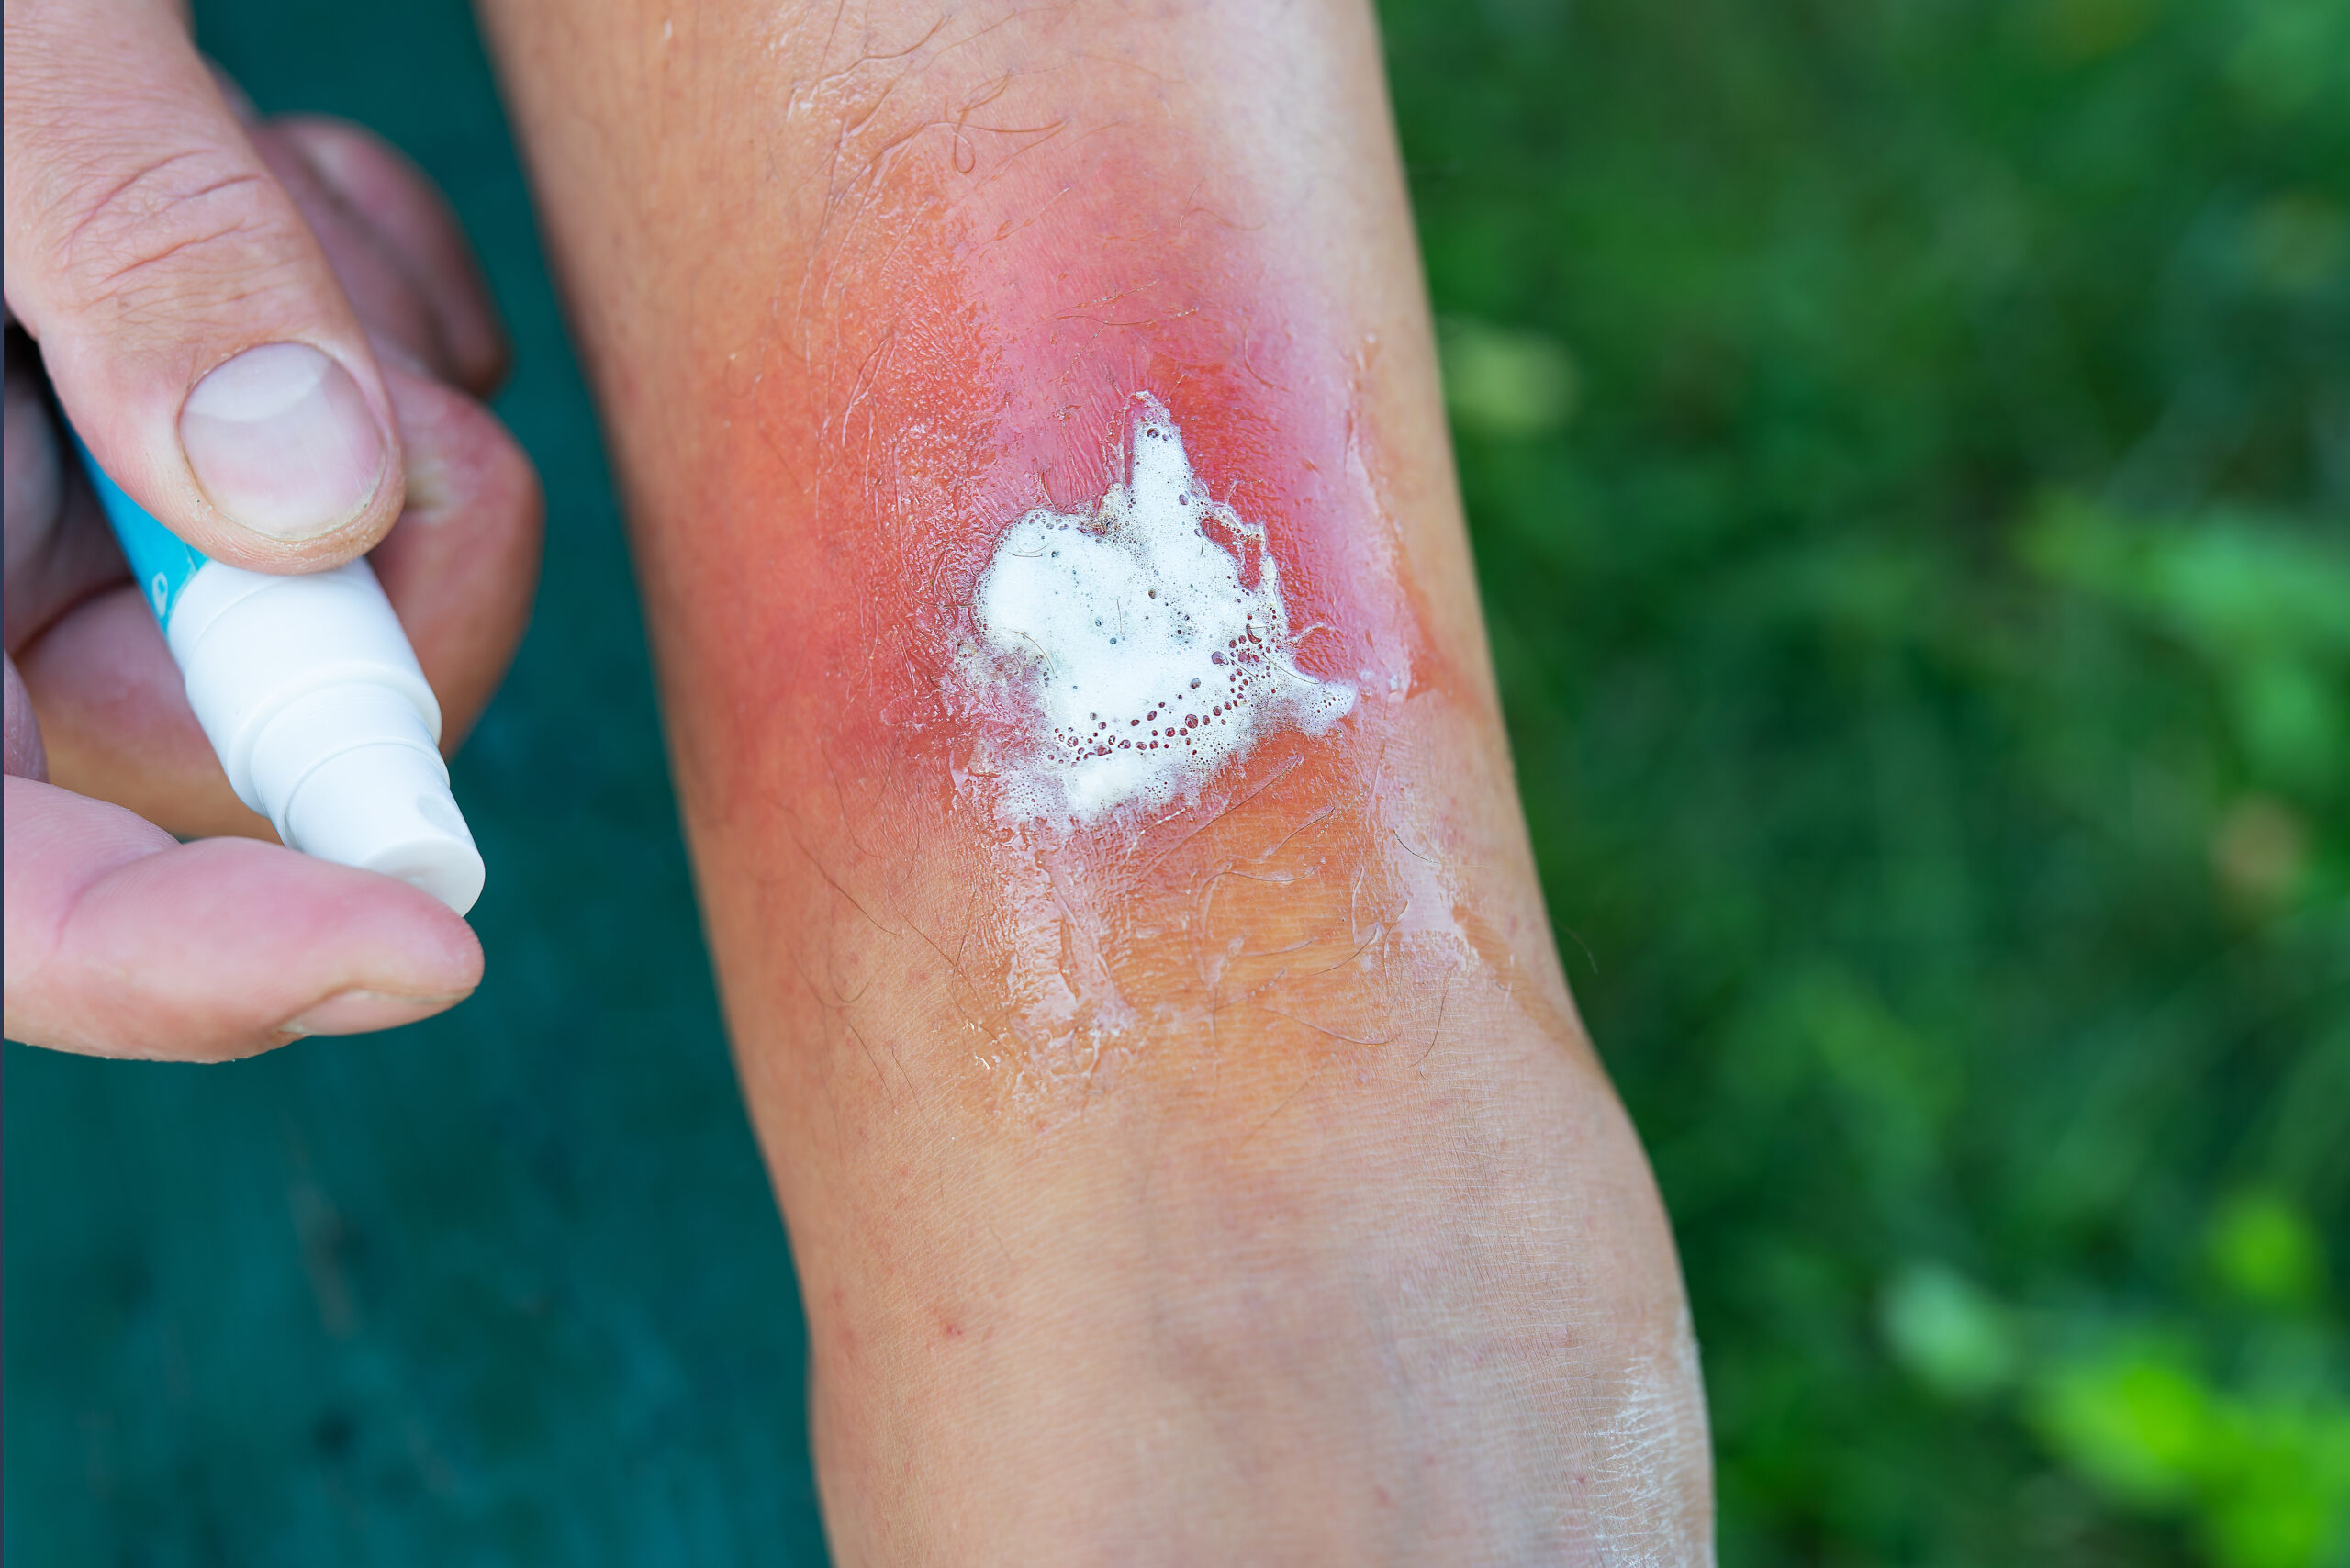
Once debris has been removed, you’ll need to apply an antiseptic solution to the wound to reduce the risk of infection. Various antiseptic types are available, including iodine-based solutions, hydrogen peroxide, and chlorhexidine.
Using gentle application techniques, apply the antiseptic to the wound and surrounding area. For liquid solutions, use a sterile gauze pad or cotton swab to dab the antiseptic onto the wound. If using wipes, gently clean from the centre of the wound outward in a circular motion.
Avoid scrubbing the wound, as this can cause further tissue damage. Allow the antiseptic to air dry completely before proceeding with dressing the wound.
Pat Dry With Sterile Gauze
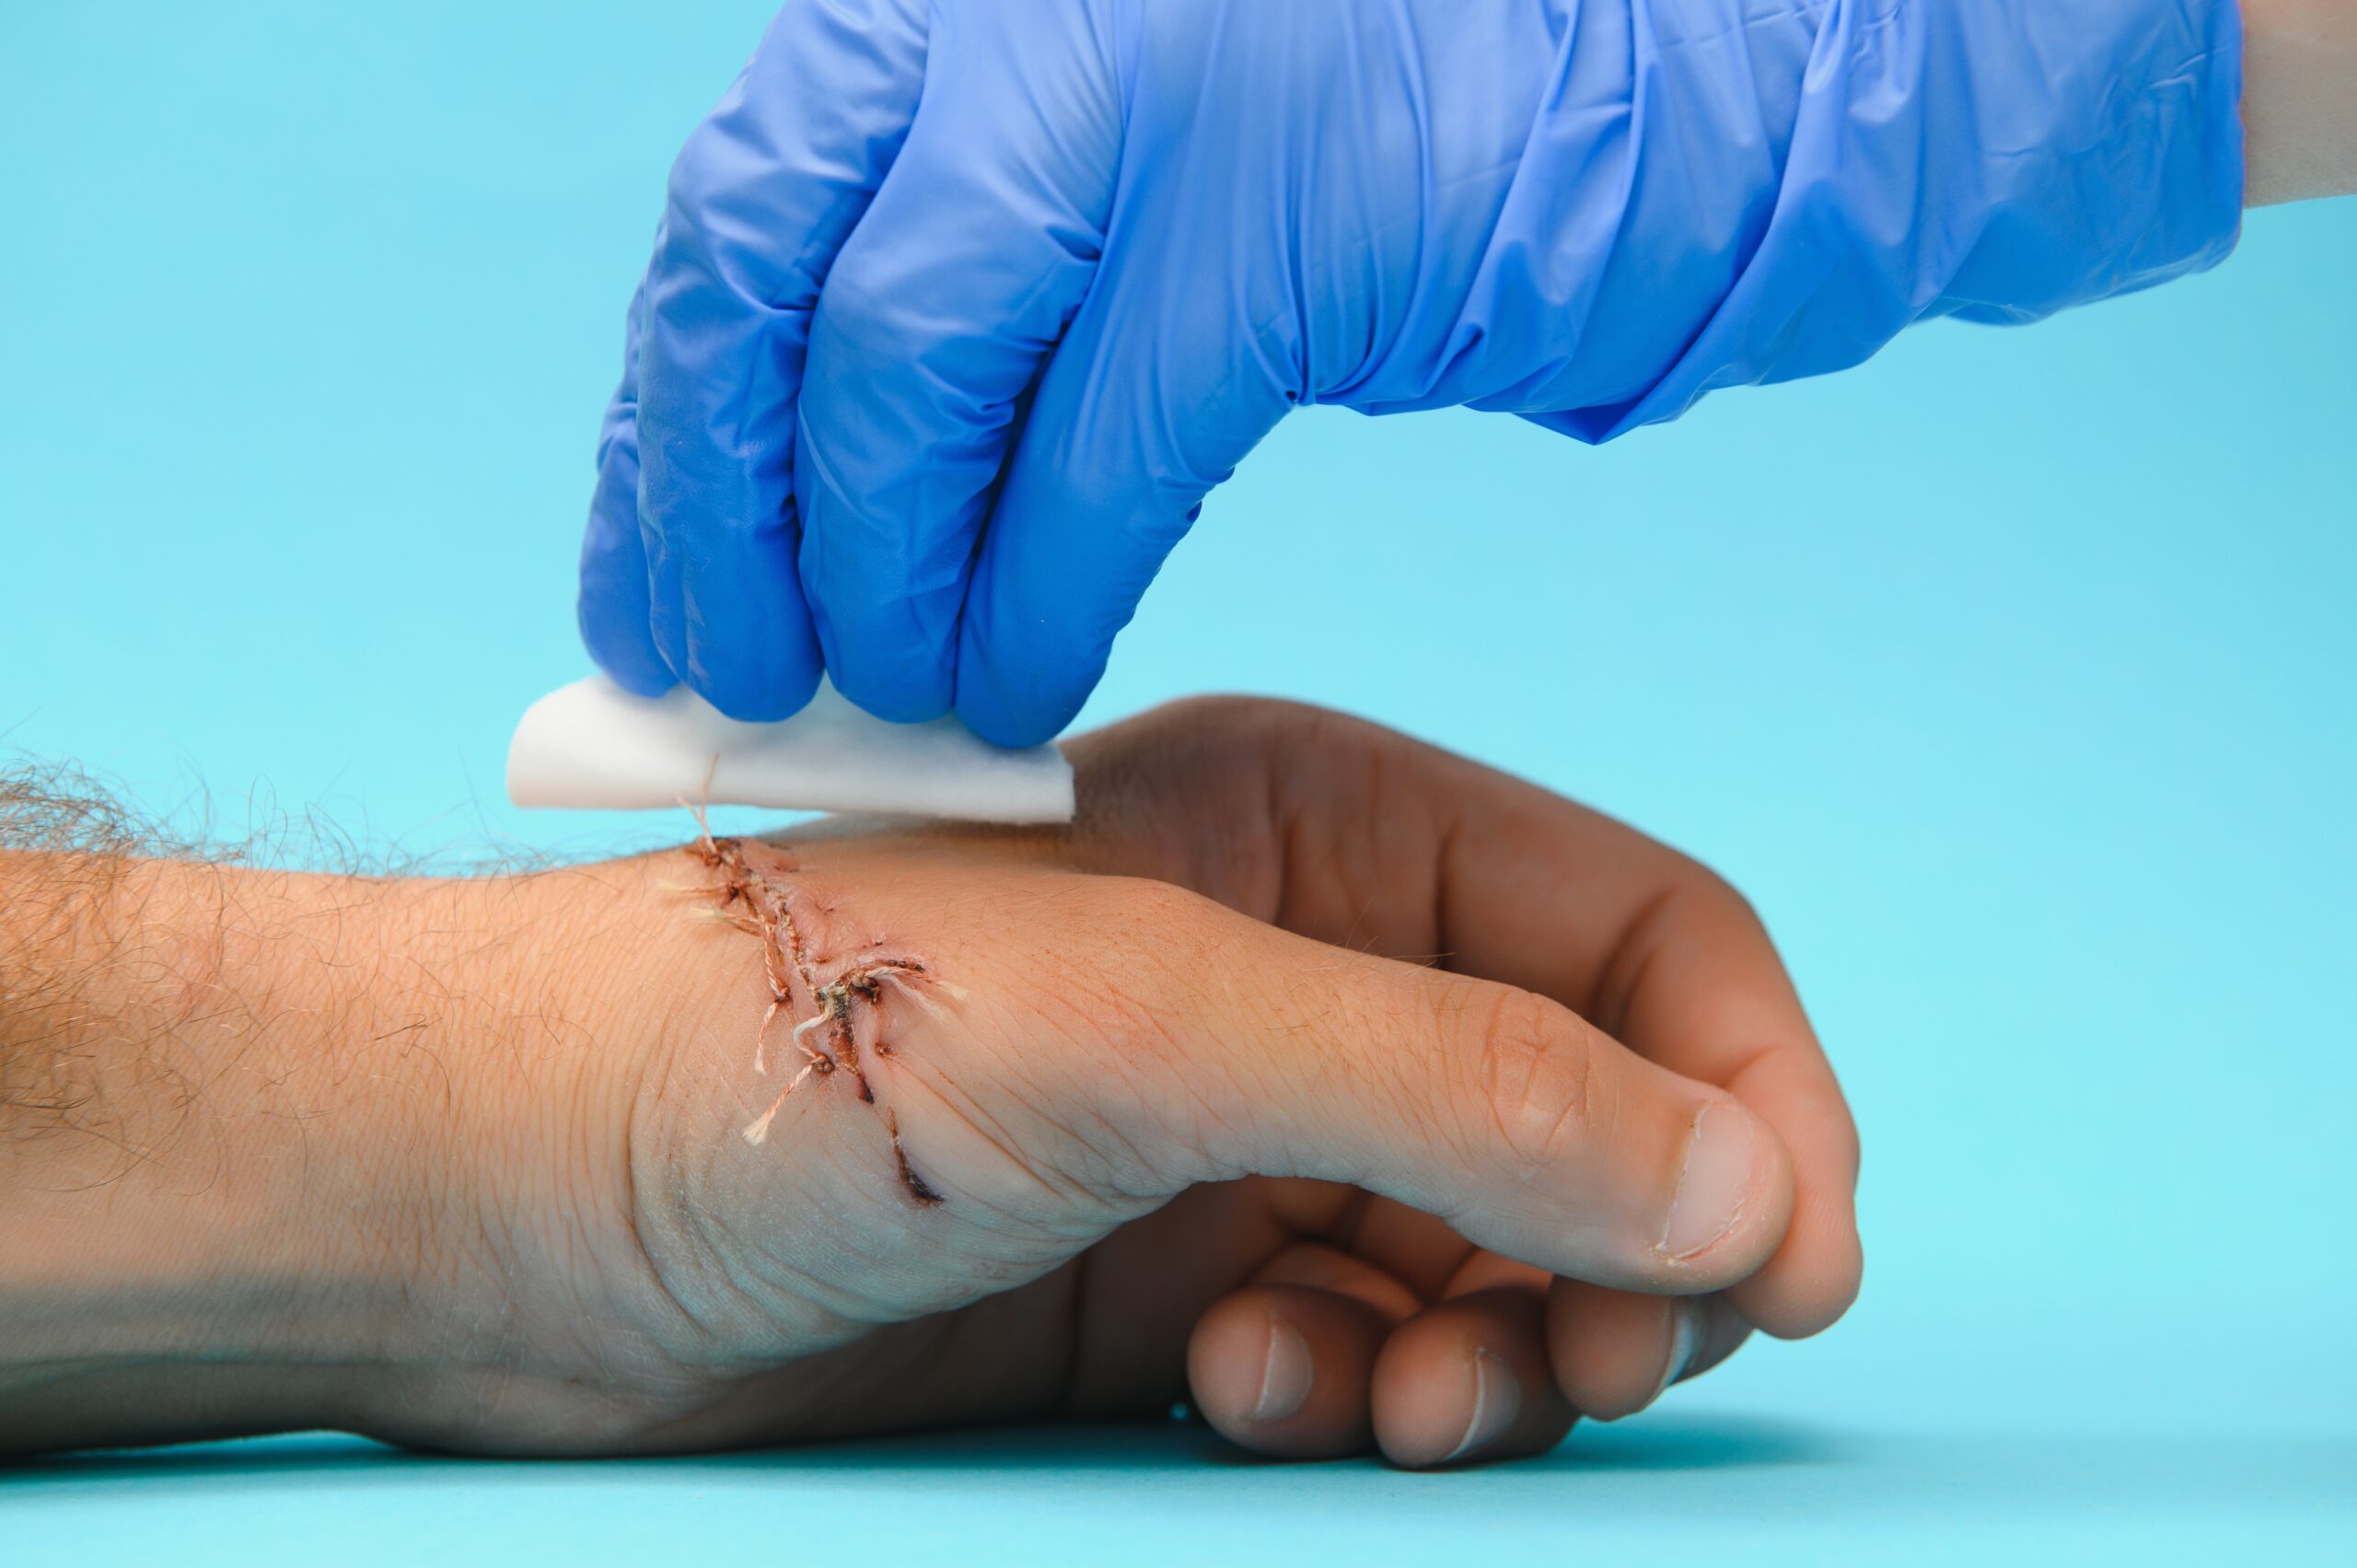
To effectively pat dry your wound, follow these key drying methods for proper wound cleaning and dressing:
- Use multiple pieces of sterile gauze, discarding each after a single use.
- Pat gently in a circular motion, moving from the centre of the wound outward.
- Pay special attention to the skin surrounding the wound, ensuring it’s completely dry.
- Avoid rubbing or applying pressure, which can disrupt healing tissue.
Choose Appropriate Dressing Material
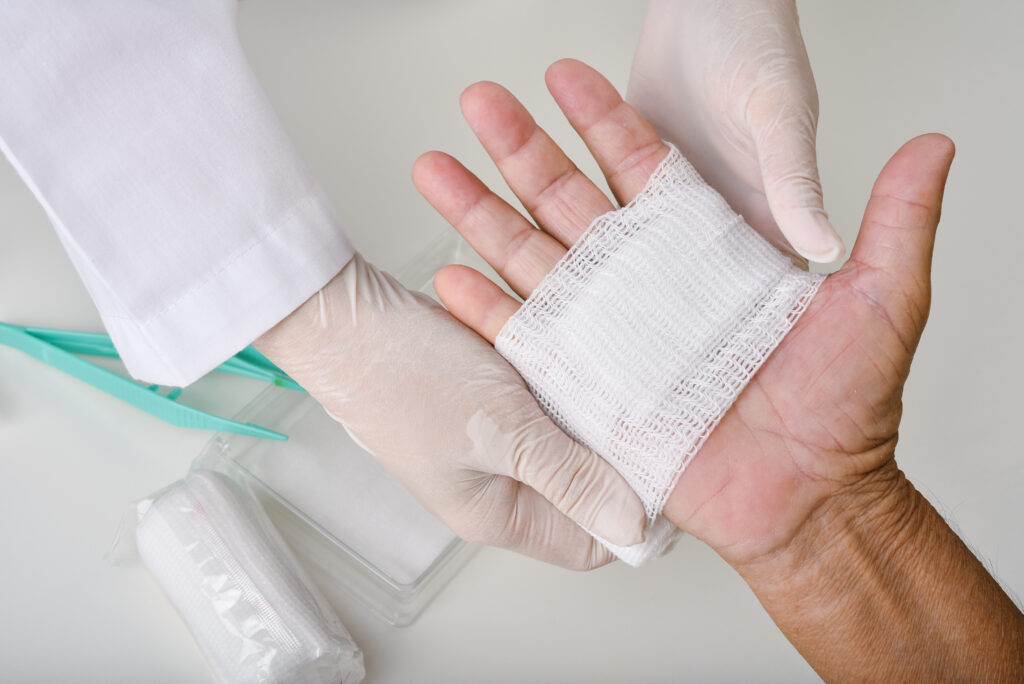
Gauze for Absorbing Fluids
Gauze dressings excel at absorbing excess fluid from wounds, making them a versatile choice for various types of injuries in wound cleaning and dressing procedures.
To effectively use gauze for wound dressing:
- Assess the wound’s exudate level to determine the appropriate gauze type and thickness.
- Apply the gauze directly to the wound, ensuring full coverage without excessive pressure.
- Secure the gauze with medical tape or a bandage wrap, allowing for easy removal.
- Change the dressing regularly, based on the wound’s drainage and healing progress.
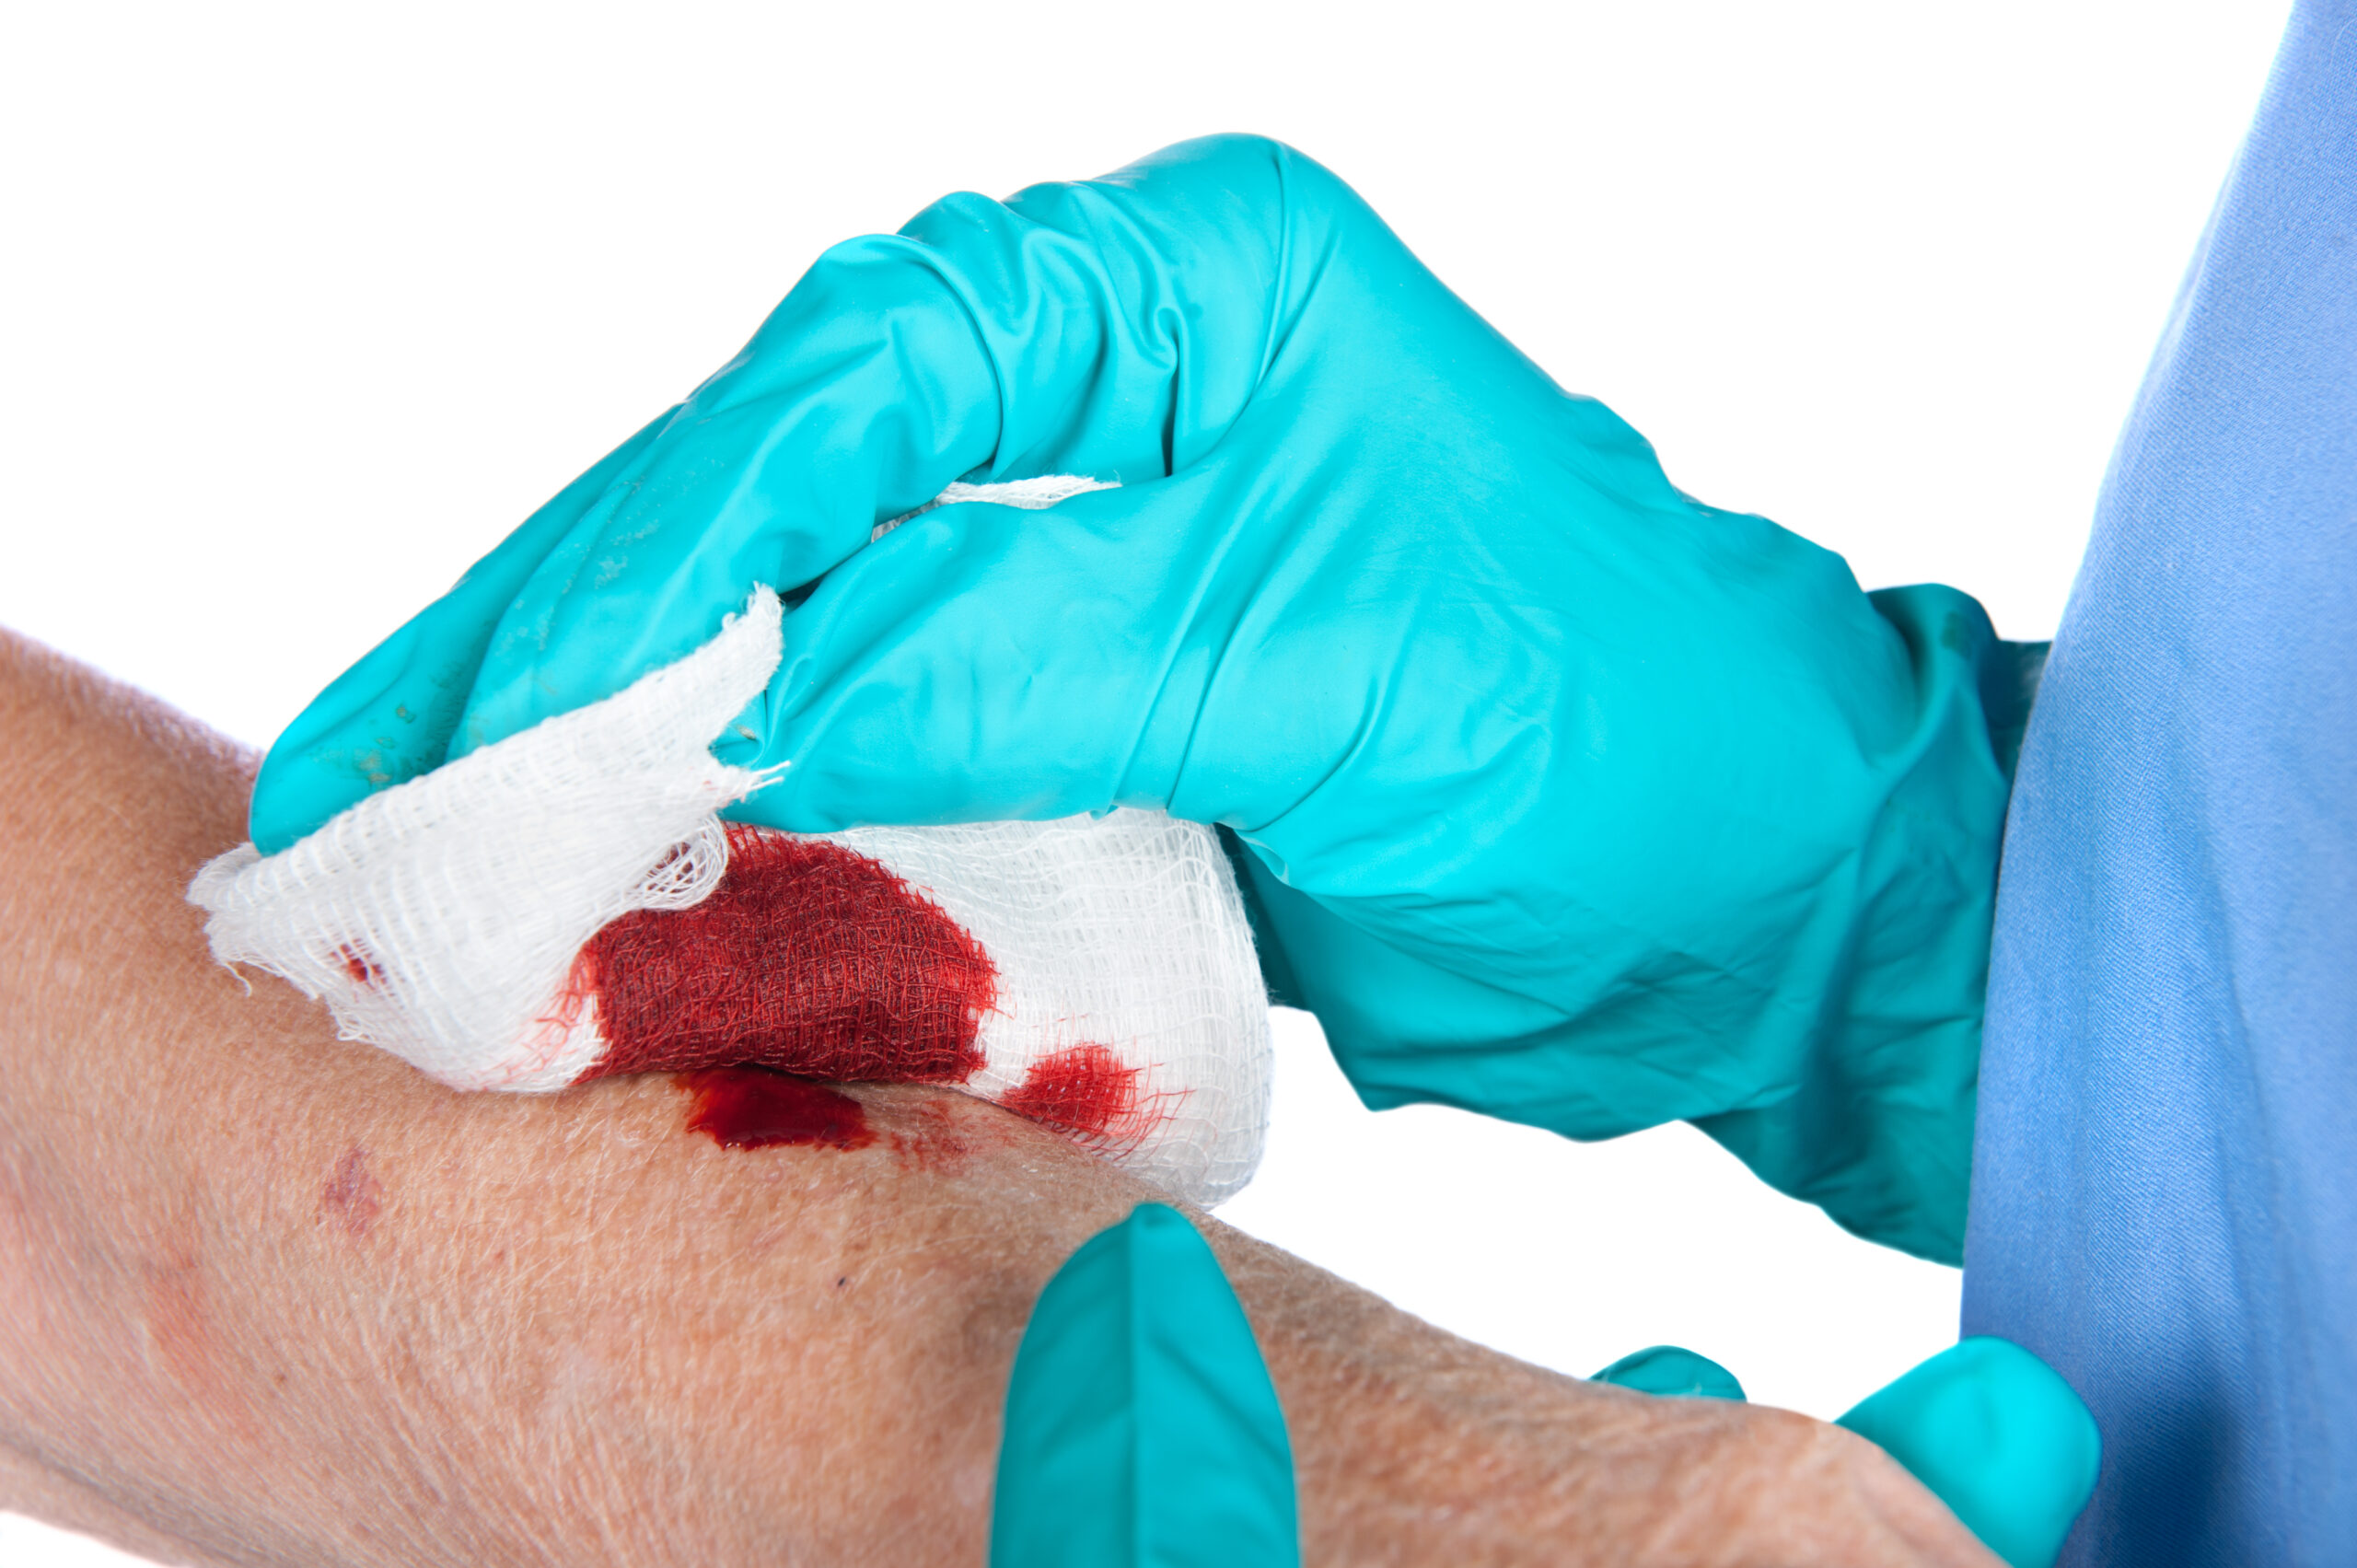
Apply Dressing Correctly
To apply dressings correctly, you must first verify your hands are clean and you’re working in a sterile environment. Begin by carefully removing any old dressing, inspecting the wound for signs of complications such as excessive redness, swelling, or discharge.
When using adhesive dressings, avoid stretching the material as you apply it, as this can cause skin irritation or blistering. Effective wound cleaning and dressing techniques require non-adhesive dressings to be secured in place with medical tape or conforming bandages.
Verify the dressing covers the entire wound with a small margin of healthy skin around the edges. Apply just enough pressure to keep the dressing in place without restricting blood flow.
Secure Dressing in Place
Once you’ve applied the dressing correctly, it’s crucial to secure it in place to maintain its effectiveness and prevent premature dislodging. Proper wound cleaning and dressing techniques include various methods to guarantee the wound covering stays intact.
Consider the following adhesive options and securing methods:
- Medical tape: Apply strips of hypoallergenic tape across the edges of the dressing, creating an anchor-like pattern for enhanced stability.
- Elastic bandages: Wrap an elastic bandage around the dressing, providing compression and support while keeping it in place. Ensure it’s not too tight to avoid compromising circulation.
- Tubular retention bandages: Slide these stretchy, tube-like bandages over the dressing and affected area for a secure fit without adhesives.
- Self-adherent wraps: Use cohesive bandages that stick to themselves but not to skin or hair, ideal for securing dressings on joints or curved body parts.
Monitor and Change Regularly
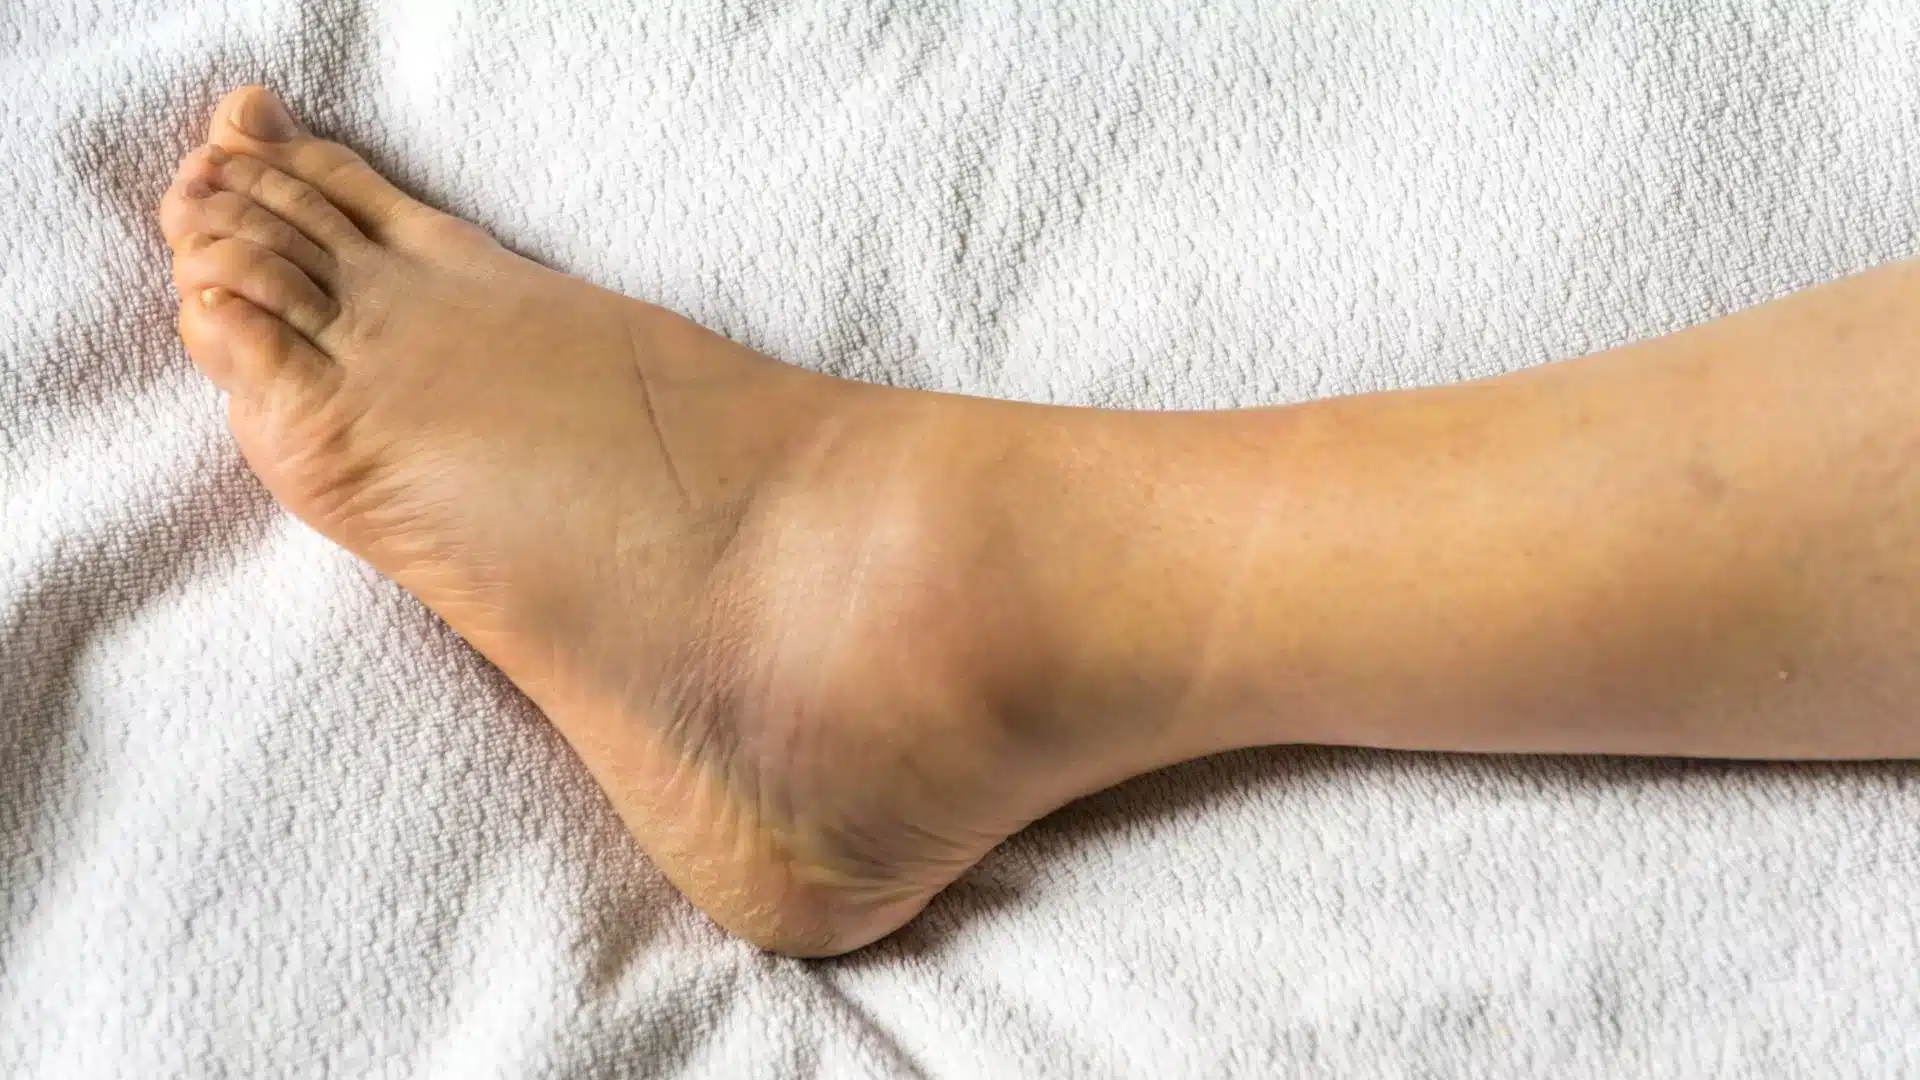
Vigilance is essential when monitoring your wound for signs of infection, which can develop rapidly and compromise healing. Regular examination is a critical part of ongoing wound cleaning and dressing care. Recognising symptoms is vital, and you should be aware of wound redness as a potential indicator. However, there are several other signs you need to watch for:
- Increased pain or tenderness around the wound site
- Swelling or warmth in the surrounding area
- Unusual or foul-smelling discharge
- Fever or general feelings of malaise
If you notice any of these symptoms, it’s important to seek medical attention promptly. Infections can quickly worsen and spread to other parts of your body if left untreated. Keep in mind that some redness and mild discomfort are normal during the initial stages of healing, but persistent or worsening symptoms are cause for concern.
Dressing Replacement Schedule
For most wounds, you should change the dressing at least once daily. However, some dressing types may require more frequent changes, while others can be left in place for several days. Hydrocolloid dressings, for instance, can often stay on for up to a week, while gauze dressings typically need daily replacement. Always follow your healthcare provider’s instructions regarding your specific dressing replacement schedule.
Frequently Asked Questions
When should I seek professional medical attention for a wound?
Seek medical help immediately if the wound is deep, has jagged edges, or won’t stop bleeding after 15 minutes of direct pressure. Proper wound cleaning and dressing sometimes requires professional intervention, especially if the wound was caused by a rusty object, animal bite, or if you haven’t had a tetanus shot in the last 5 years. Signs of infection like increasing pain, redness extending more than 1cm from the wound, pus, or red streaks extending from the wound require prompt medical attention.
How can I keep my wound dressing dry while showering?
To keep your dressing dry during showering, cover it with a waterproof barrier such as plastic wrap secured with waterproof medical tape. Effective wound cleaning and dressing maintenance includes using commercial wound protectors designed specifically for bathing. For small wounds on hands or feet, wearing disposable gloves or placing a plastic bag secured with a rubber band can provide temporary protection. Always replace any dressing that becomes wet, as moisture can harbour bacteria and delay healing.
What's the best way to manage pain during wound healing?
For wound pain management, over-the-counter pain relievers like acetaminophen or ibuprofen can be effective when taken as directed. Applying cold compresses for 15-20 minutes several times daily during the first 48 hours can reduce pain and swelling. After 48 hours, gentle heat may provide comfort and improve circulation to promote healing. Elevating the injured area above heart level when possible can also reduce throbbing pain. If pain is severe or increasing despite these measures, consult a healthcare provider.