


Sharon has 21+ years of experience as a qualified Emergency Care Nurse registered with the Australian Health Practitioner Regulation Agency (APHRA) and 12+ years as a First Aid Trainer.
She takes pride in FirstAidPro making first aid training available, comprehensive and affordable to everybody.
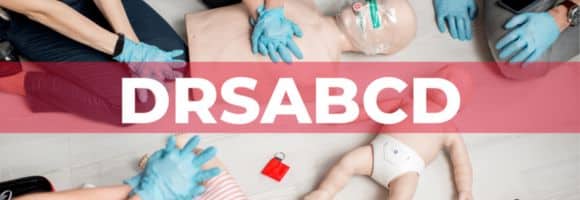
DRSABCD is a vital basic first aid action plan that stands for Danger, Response, Send for help, Airway, Breathing, CPR, and Defibrillation—a systematic approach used in emergencies to assess and assist casualties. This acronym used in first aid serves as a memory aid for the proper sequence of steps to follow when responding to an emergency situation. Knowing how to implement the DRSABCD action plan is crucial as it could mean the difference between life and death for someone experiencing a medical emergency.
According to the Australian Resuscitation Council, over 30,000 Australians experience cardiac arrest outside of hospital each year, with less than 10% surviving to hospital discharge. However, immediate application of proper first aid techniques, including DRSABCD, can significantly increase survival rates by up to 40%.
Ready to learn these life-saving skills properly? Enrol in a nationally recognised first aid course or CPR training with First Aid Pro today and gain the confidence to respond effectively in emergencies.
Key Takeaways
Understanding and properly implementing the DRSABCD action plan is crucial in emergency situations. Here are the essential points to remember:
- D – Always check for danger to yourself, bystanders, and the casualty before providing assistance.
- R – Check for a response by talking and touching the casualty.
- S – Send for help by calling 000 as soon as possible.
- A – Open and clear the airway.
- B – Check for normal breathing for at least 10 seconds.
- C – If not breathing normally, start CPR with 30 chest compressions followed by 2 breaths.
- D – Apply a defibrillator (AED) as soon as available and follow its prompts.
Remember that proper first aid training is essential for developing the confidence and skills to apply DRSABCD effectively. Regular refresher courses help maintain these critical skills.
What Does DRSABCD Stand For in First Aid?
The DRSABCD acronym is an essential part of first aid training that guides first aid providers through a systematic approach to emergency response. Each letter represents a critical step in the process:
| Letter | Stands For | Action Required |
|---|---|---|
| D | Danger | Check for danger to yourself, bystanders, and the casualty |
| R | Response | Check if the person is responsive |
| S | Send for help | Call 000 for emergency services |
| A | Airway | Open and clear the airway |
| B | Breathing | Check for normal breathing |
| C | CPR | Start cardiopulmonary resuscitation if needed |
| D | Defibrillation | Apply an Automated External Defibrillator (AED) if available |
The DRSABCD protocol has evolved over time. Originally, it was simply “ABC” (Airway, Breathing, Circulation), then expanded to “DRABC” to emphasise checking for danger and response. The current DRSABCD action plan is endorsed by the Australian Resuscitation Council and is taught as part of standard first aid training across Australia.

The DRSABCD First Aid Action Plan Step by Step
Step 1: Danger
Before approaching a casualty, assess the situation for potential hazards. This might include:
- Traffic
- Fire or smoke
- Electrical dangers
- Toxic substances
- Unstable structures
- Aggressive individuals
Only proceed when you’ve confirmed the area is safe or when dangers have been minimised. Your safety is paramount—you cannot help others if you become a casualty yourself.
Step 2: Response
Once you’ve determined it’s safe to approach, check if the person is responsive:
- Introduce yourself and ask for consent to help
- Ask loudly, “Can you hear me?” and “What’s your name?”
- Gently squeeze their shoulders
- If there’s no response, the person is considered unconscious
Remember to record the time you found the person unresponsive, as this information will be valuable for emergency services.
Step 3: Send for Help
If the person is unresponsive:
- Call 000 (or 112 from a mobile phone if in an area with limited service)
- Clearly state your location
- Describe the emergency situation
- Answer the operator’s questions
- Follow their instructions
- Do not hang up until told to do so
- If possible, ask someone else to make the call while you continue with first aid
Step 4: Airway
For an unconscious person:
- Place them on their back
- Open their airway by tilting their head back and lifting their chin
- Check inside the mouth for any visible obstructions
- If present, turn the person into the recovery position and clear the obstruction
- Return them to their back once the airway is clear
Step 5: Breathing
Check for normal breathing:
- Look for chest movement
- Listen for breathing sounds
- Feel for breath on your cheek
- Check for at least 10 seconds
If the person is breathing normally, place them in the recovery position, monitor closely, and wait for help to arrive. If not breathing or breathing abnormally (gasping, infrequent breaths), proceed to CPR.
Step 6: CPR (Cardiopulmonary Resuscitation)
If the person is not breathing normally:
- Position your hands in the centre of their chest
- Perform 30 chest compressions at a rate of 100-120 per minute, compressing approximately 1/3 of chest depth
- Then give 2 rescue breaths by tilting their head back, pinching their nose, sealing your mouth over theirs, and breathing until you see the chest rise
- Continue with cycles of 30 compressions and 2 breaths until help arrives, the person starts breathing normally, or you’re too exhausted to continue
If you’re untrained or uncomfortable providing rescue breaths, compression-only CPR is better than no CPR.
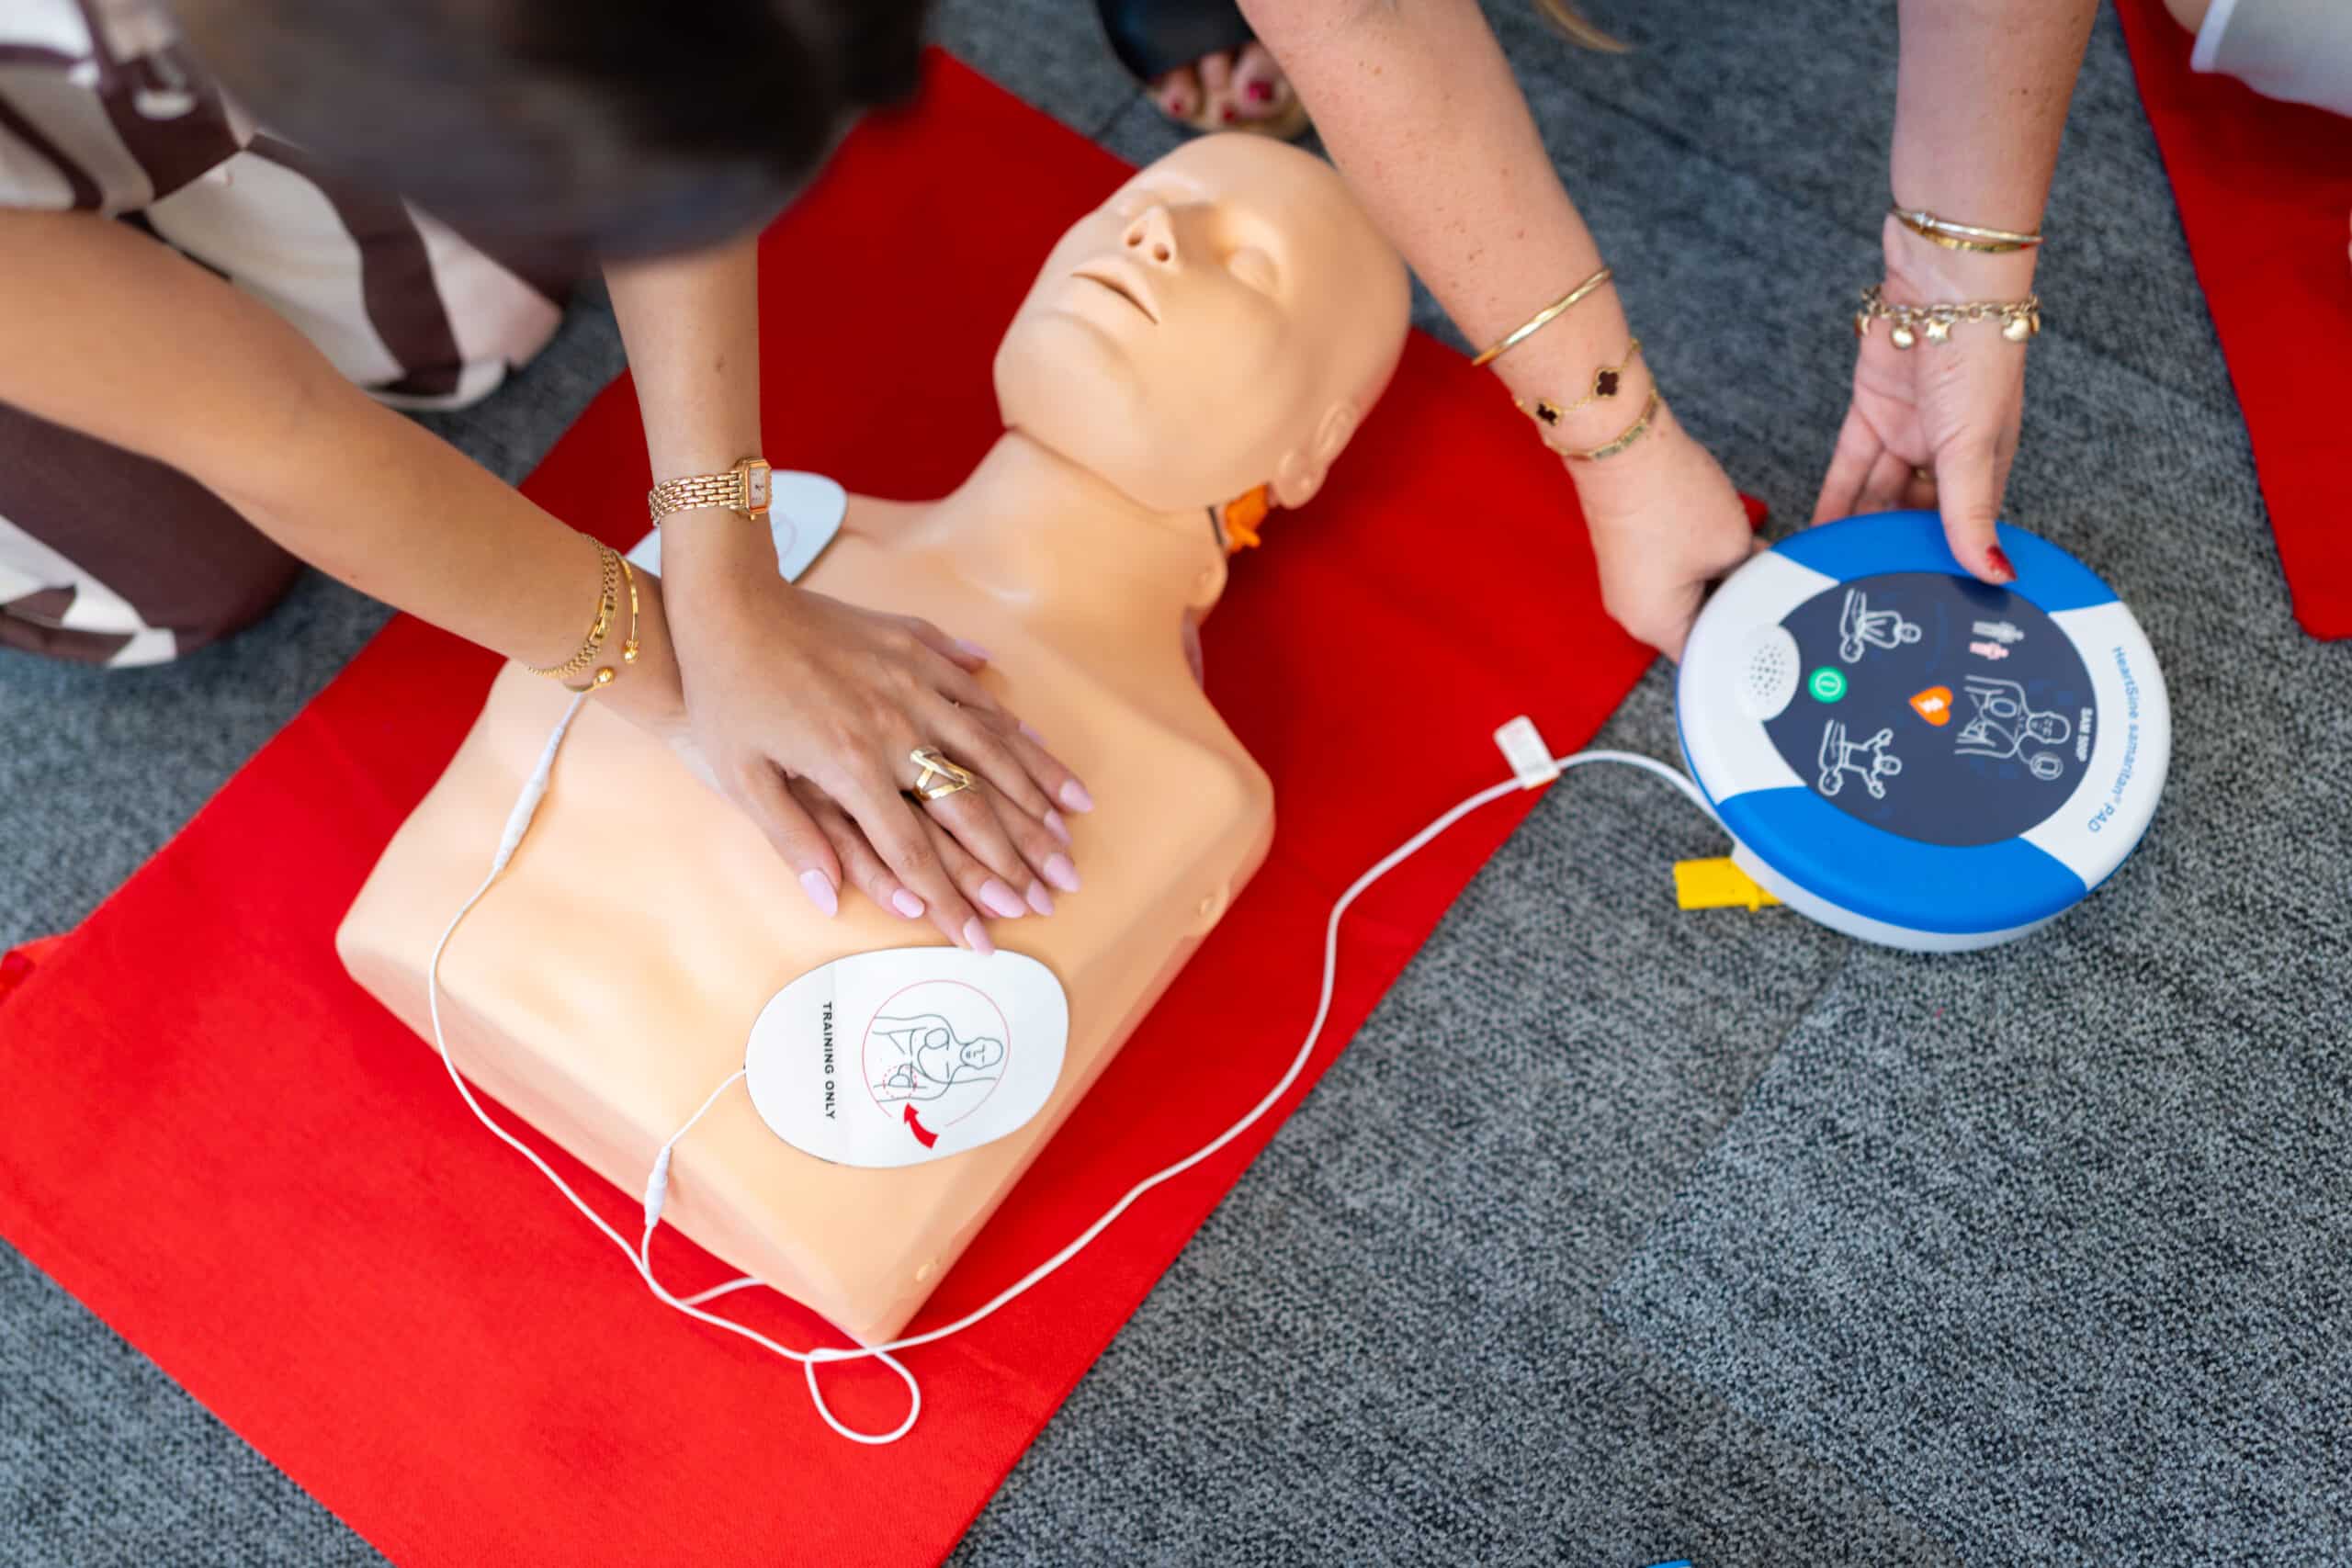
Step 7: Defibrillation
If an Automated External Defibrillator (AED) is available:
- Turn it on and follow the voice prompts
- Expose the person’s chest
- Attach the electrode pads as shown in the instructions
- Ensure no one is touching the person when the AED is analysing or delivering a shock
- Continue CPR between shocks as directed by the AED
Learning these crucial steps properly requires hands-on practice. First Aid Pro offers comprehensive training courses that can give you the confidence to perform these key steps of first aid correctly in an emergency.
How to Perform DRSABCD in an Emergency Situation
Applying DRSABCD in real emergency situations requires not only knowledge of the steps but also the ability to remain calm and focused under pressure. Here are some practical tips for implementing DRSABCD effectively:
Staying Calm
- Take deep breaths before approaching the scene
- Speak clearly and confidently to bystanders and the casualty
- Focus on one step at a time
- Remember your training and trust the process
Common Scenarios and Applications:
| Scenario | Special Considerations |
|---|---|
| Workplace | Know location of first aid kits, AEDs, and emergency exits |
| Public spaces | Assign bystanders specific tasks (calling 000, finding an AED) |
| Home | Ensure family members know where first aid supplies are kept |
| Remote areas | Have a communication plan and know your exact location |
| Water incidents | Ensure the person is removed from water before starting CPR |
Common Mistakes to Avoid
- Rushing to provide aid without checking for dangers
- Failing to call for emergency services early enough
- Performing chest compressions too slowly or not deep enough
- Interrupting chest compressions for too long
- Hesitating to use an AED when available
- Not continuing CPR until professional help arrives
Remember that accredited first aid training helps you avoid these mistakes and gives you the confidence to act decisively in emergencies.

DRSABCD Procedure for an Unconscious Person Not Breathing
When dealing with an unconscious person who is not breathing normally, following the DRSABCD protocol accurately becomes particularly critical. This situation requires immediate action as it indicates a potential cardiac arrest.
Recognising Unconsciousness
An unconscious person:
- Does not respond to voice or touch
- May have limp muscles
- Cannot maintain their airway
- Is at risk of choking on their tongue or vomit
- Requires immediate assistance
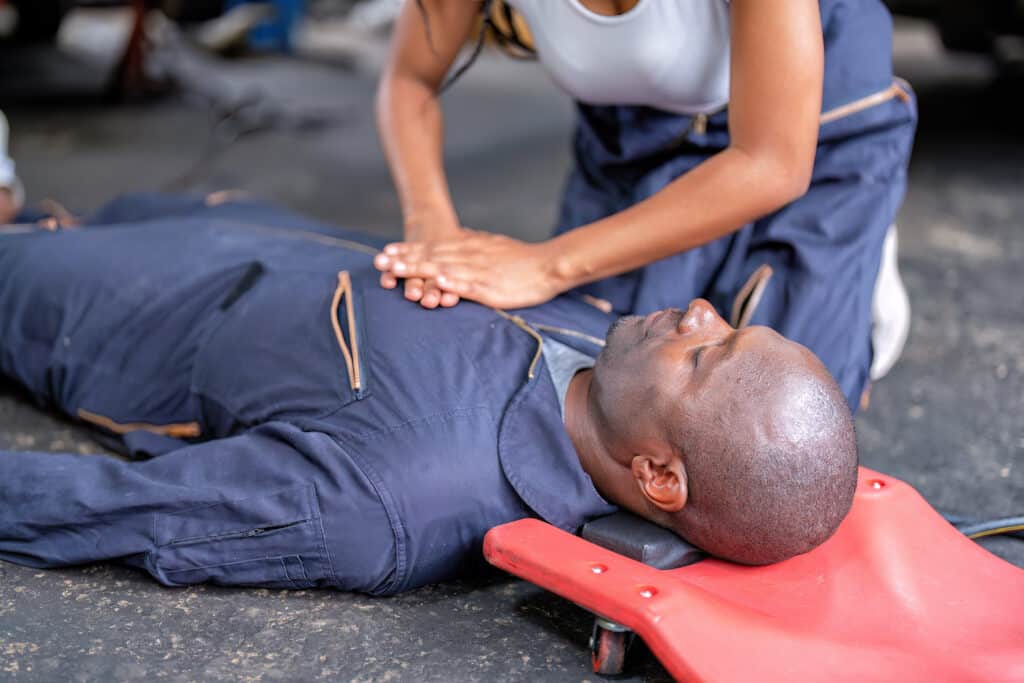
Correct CPR Technique
After confirming the person is unconscious and not breathing normally:
- Position yourself kneeling beside the casualty’s chest
- Place the heel of one hand in the centre of their chest
- Place your other hand on top and interlock fingers
- Position your shoulders directly above your hands
- Keep your arms straight and elbows locked
- Press down firmly using your body weight to compress the chest about 1/3 of its depth (approximately 5-6 cm for adults)
- Allow complete chest recoil between compressions
- Perform 30 compressions at a rate of 100-120 per minute
- After 30 compressions, give 2 rescue breaths
- Continue cycles of 30:2 until help arrives
Using an AED
For an unconscious person not breathing:
- Apply the AED as soon as it becomes available
- Turn it on and follow the voice prompts
- Continue CPR when indicated by the AED
- Do not touch the casualty during analysis or shock delivery
Recovery Position
If the person begins breathing normally:
- Roll them onto their side
- Ensure the arm closest to you is at a right angle to their body
- Place their other hand against their cheek
- Bend their top knee
- Roll them towards you
- Tilt their head back to keep the airway open
- Adjust the top leg so both hip and knee are at right angles
- Continue to monitor breathing until help arrives
ADRSABCD vs DRSABC: What's the Difference?
The main difference between DRSABCD and DRSABC is the addition of “D” for Defibrillation. This evolution in the protocol reflects the increased availability of AEDs in public spaces and workplaces, as well as growing evidence of their effectiveness in improving survival rates.
| DRSABC | DRSABCD |
|---|---|
| Danger | Danger |
| Response | Response |
| Send for help | Send for help |
| Airway | Airway |
| Breathing | Breathing |
| Circulation/CPR | CPR |
| - | Defibrillation |
Why Defibrillation Was Added
Defibrillation was added to the protocol because:
- Early defibrillation significantly increases survival rates
- Public access defibrillators have become more common
- Modern AEDs are designed for use by minimally trained people
- The time to defibrillation is a critical factor in survival
According to the Australian Resuscitation Council, ANZCOR Guideline 8 – Cardiopulmonary Resuscitation (CPR),
“Defibrillation within a few minutes of collapse can result in a survival rate as high as 70%. For each minute that defibrillation is delayed, the chance of survival decreases by 10–12%.” – ANZCOR Guideline 8 – Cardiopulmonary Resuscitation (CPR)
By including defibrillation in the acronym, first aid training emphasises its importance in the chain of survival.
Want to learn more about using AEDs and other life-saving techniques? First Aid Pro’s nationally recognised training courses cover DRSABCD and proper AED use in detail.
When to Use a Defibrillator in DRSABCD Procedure
Knowing when and how to use a defibrillator is a crucial aspect of the DRSABCD action plan. AEDs are designed to analyse the heart’s rhythm and deliver an electric shock only if necessary.
When Defibrillation is Necessary
An AED should be used for people who are:
- Unconscious
- Not breathing normally
- Showing no signs of life
The AED will determine if a shock is needed based on the heart rhythm. It will not deliver a shock if it’s not required, making it safe to use even if you’re unsure.
Locating AEDs
AEDs are increasingly available in:
- Shopping centres
- Sporting facilities
- Airports and train stations
- Government buildings
- Schools and universities
- Office buildings
- Community centres
Many public AEDs are registered with ambulance services, and the 000 operator may be able to direct you to the nearest one.
Step-by-Step AED Operation
- Turn on the AED
- Remove or cut away clothing to expose the chest
- Attach electrode pads as shown in the diagram on the pads
- One pad on the upper right side of the chest
- One pad on the lower left side of the chest
- Ensure no one is touching the casualty
- Allow the AED to analyse the heart rhythm
- If a shock is advised, ensure everyone is clear
- If the AED is not fully automated: Press the shock button when prompted
- Continue CPR immediately after the shock
- Follow the AED’s prompts for further analysis and shocks
Defibrillator Myths Busted:
| Myth | Fact |
|---|---|
| AEDs are difficult to use | Modern AEDs have voice prompts and simple instructions |
| You can harm the person by using an AED | AEDs only deliver a shock if needed |
| AEDs can cause harm to the rescuer | When used properly, AEDs are safe for rescuers |
| You need special training to use an AED | AEDs are designed for use by the general public |
| AEDs shouldn't be used on pregnant women | AEDs can and should be used on pregnant women in cardiac arrest |
DRSABCD Workplace First Aid Requirements

Australian workplaces have specific requirements regarding first aid capabilities, and understanding the DRSABCD action plan is vital for workplace first aid officers.
Australian Workplace Safety Regulations
Under the Work Health and Safety Regulations, Australian employers must:
- Provide first aid equipment
- Ensure access to facilities for administering first aid
- Ensure an adequate number of workers are trained to administer first aid
The specific requirements depend on the workplace’s size, location, and risk profile.
Benefits of Workplace First Aid Training
Implementing proper first aid training in the workplace:
- Reduces severity of injuries through prompt treatment
- Minimises work disruption following accidents
- Builds employee confidence in handling emergencies
- May reduce workers’ compensation costs
- Creates a safer work environment
- Demonstrates employer commitment to staff wellbeing
- Helps meet legal obligations
- Can save lives in critical situations
First Aid Kits and Equipment
According to Safe Work Australia, workplace first aid kits should:
- Be easily accessible
- Be appropriate for the nature of the work and associated hazards
- Be well-maintained and regularly checked
- Contain only items that first aiders have been trained to use
- Include contents that don’t deteriorate in Australian conditions
Required Training for Workplace First Aid Officers
The minimum recommended qualification for workplace first aid officers is HLTAID011 Provide First Aid (formerly known as Senior First Aid or Apply First Aid) which also includes HLTAID009 Provide Cardiopulmonary Resuscitation. This certification:
- Is nationally recognised
- Covers DRSABCD action plan in detail
- Teaches response to common workplace emergencies
- Includes practical skills assessment
- Should be renewed every three years
- Has a CPR component that should be refreshed annually
First Aid Training Courses That Teach DRSABCD
Learning DRSABCD and other life-saving techniques properly requires quality training from accredited providers.
HLTAID011 Provide First Aid Overview
The nationally recognised course Provide First Aid:
- Covers all aspects of DRSABCD
- Teaches management of common medical emergencies
- Includes practical skills assessment
- Provides certification valid for 3 years
- Is recognised Australia-wide
- Meets workplace requirements for first aid officers
Finding Accredited Training Providers
Look for providers who:
- Are Registered Training Organisations (RTOs)
- Deliver nationally recognised training
- Have experienced trainers with professional backgrounds
- Offer courses that meet Australian Resuscitation Council guidelines
- Provide hands-on practice with modern equipment
- Have positive reviews from past participants
Training Options Comparison
| Training Type | Advantages | Considerations |
|---|---|---|
| In-person training | Hands-on practice, immediate feedback, social learning | Requires scheduled attendance, travel time |
| Online theory + in-person practical | Flexible learning pace, reduced classroom time | Still requires in-person component |
| Virtual classroom | Convenience of home learning, live instructor guidance | Requires suitable technology, self-discipline |
| On-site workplace training | Customised to workplace environment, convenient for staff | Minimum participant numbers usually required |
Ready to get properly trained in DRSABCD and other life-saving skills? Enrol with First Aid Pro today to receive nationally recognised certification and gain confidence in emergency response.
The DRSABCD Action Plan - A Vital First Aid Protocol
The DRS ABCD action plan guides responders through the crucial steps of emergency care. By following this systematic approach—checking for Danger, assessing Response, Sending for help, managing the Airway, checking Breathing, performing CPR if needed, and using Defibrillation when available—first aid providers can significantly improve outcomes for casualties in emergency situations.
Remember that while understanding this acronym is important, practical training is essential to build the confidence and muscle memory needed to apply these techniques effectively in high-stress situations. The difference between life and death often depends on the immediate actions taken before professional medical assistance arrives.
Don’t wait for an emergency to occur before getting properly trained. Enrol in a nationally recognised first aid course with First Aid Pro today and be prepared to save a life tomorrow.
Helpful Resources:
- Australian Resuscitation Council. (2023). ANZCOR Guideline 8 – Cardiopulmonary Resuscitation. https://resus.org.au/guidelines/
- Safe Work Australia. (2023). First Aid in the Workplace Code of Practice. https://www.safeworkaustralia.gov.au/
- Ambulance Victoria. (2024). Chain of Survival. https://www.ambulance.vic.gov.au/
- First Aid Pro. (2024). What Does DRSABCD Stand For? https://www.firstaidpro.com.au/blog/what-does-drsabcd-stand-for/
- Australian Government Department of Health. (2024). Emergency Response in Australia. https://www.health.gov.au/
- Better Health Channel, Victoria State Government. (2024). First Aid Basics and DRSABCD. https://www.betterhealth.vic.gov.au/health/conditionsandtreatments/first-aid-basics-and-drsabcd.