


Sharon has 21+ years of experience as a qualified Emergency Care Nurse registered with the Australian Health Practitioner Regulation Agency (APHRA) and 12+ years as a First Aid Trainer.
She takes pride in FirstAidPro making first aid training available, comprehensive and affordable to everybody.
When you’re faced with a deep wound, knowing how to properly treat and dress this type of injury can make all the difference in the healing process.
It’s not just about slapping on a bandage and hoping for the best; there’s a careful procedure to follow that can prevent infection and promote faster recovery. From evaluating the severity of the injury to applying the right dressing, each step plays an important role in ensuring the best outcome.
Let’s explore the essential steps you need to know.
Key Takeaways
- Assess deep wound severity by evaluating depth, size, and location to determine if medical care is necessary.
- Control bleeding by applying direct pressure and elevating the affected area above the heart.
- Clean and disinfect the wound area thoroughly, removing debris and using antiseptic solutions.
- Apply a thin layer of antibiotic ointment to prevent infection and promote healing.
- Choose appropriate dressing materials and bandage the wound securely, monitoring for signs of infection.
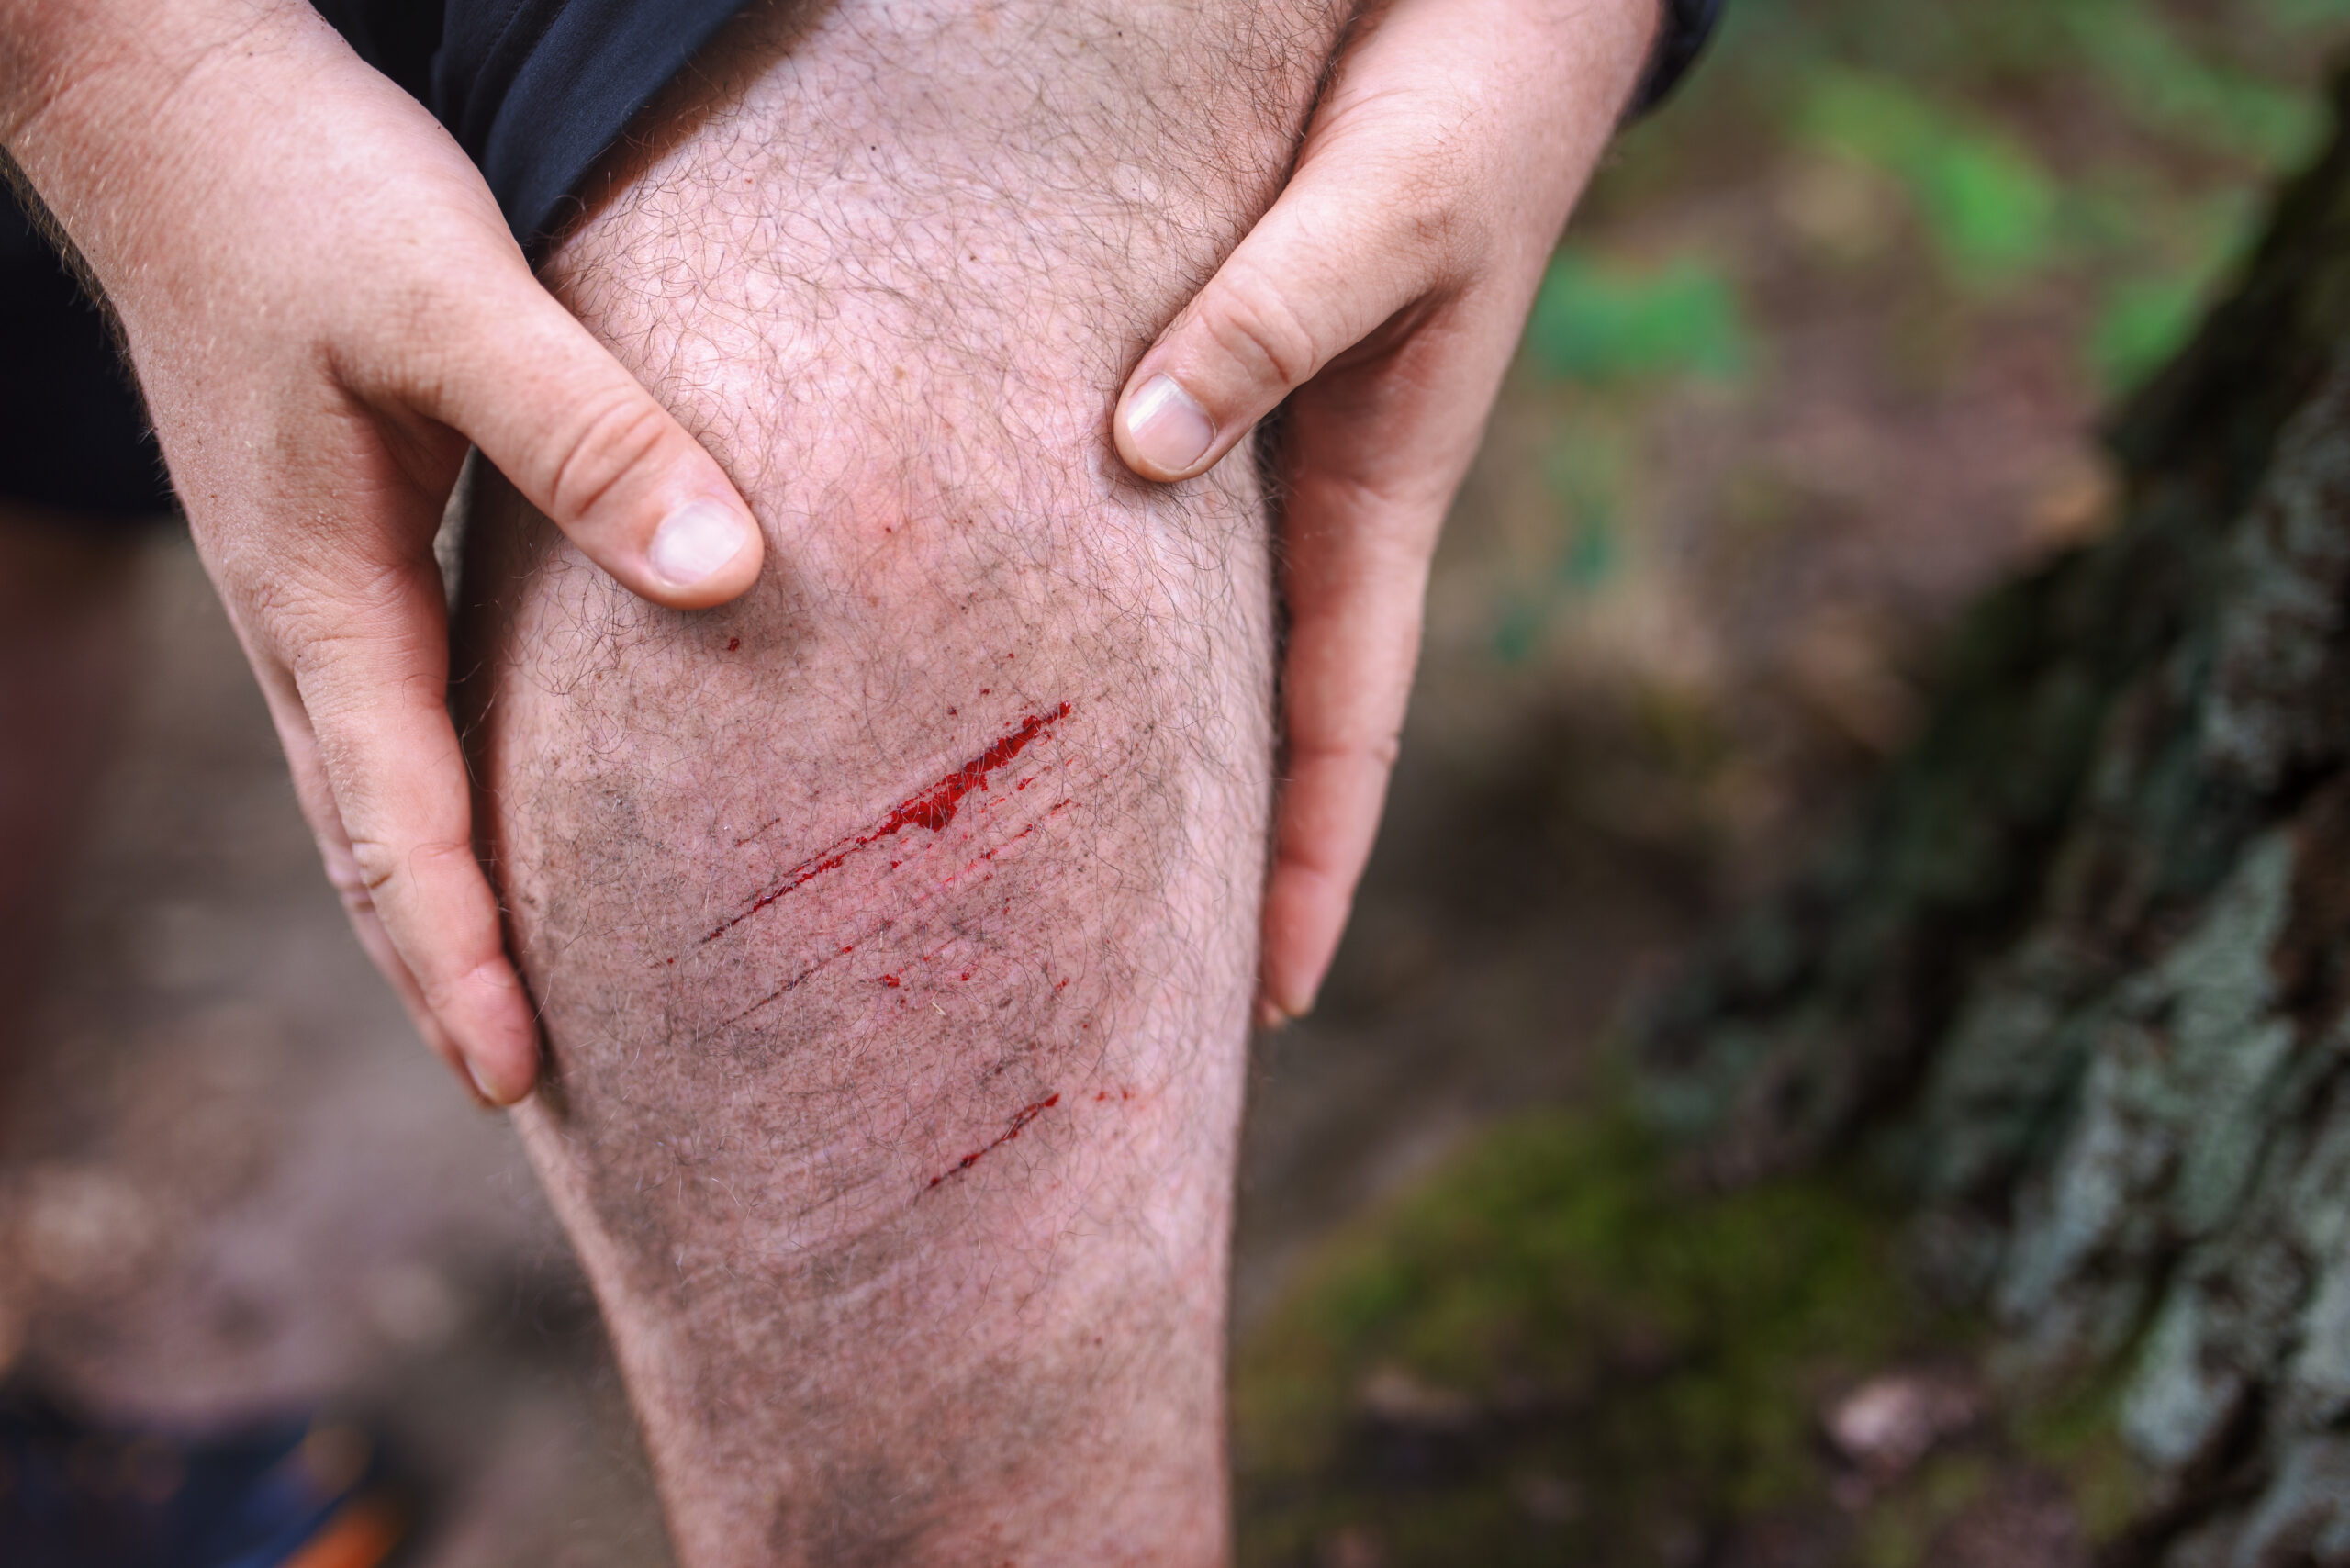
Assessing the Wound's Severity
Quickly evaluate the deep wound’s depth, size, and location to determine if immediate professional medical care is required. Assess the severity by examining the extent of tissue damage and potential involvement of underlying structures. Use wound classification systems to categorise the injury, considering factors such as depth, contamination, and tissue loss.
Look for severity indicators that suggest a need for urgent medical attention. These include excessive bleeding, visible bone or muscle tissue, signs of infection, or wounds on sensitive areas like the face or joints. Check for foreign objects embedded in the wound, as these may require professional removal.
Gathering Necessary Supplies
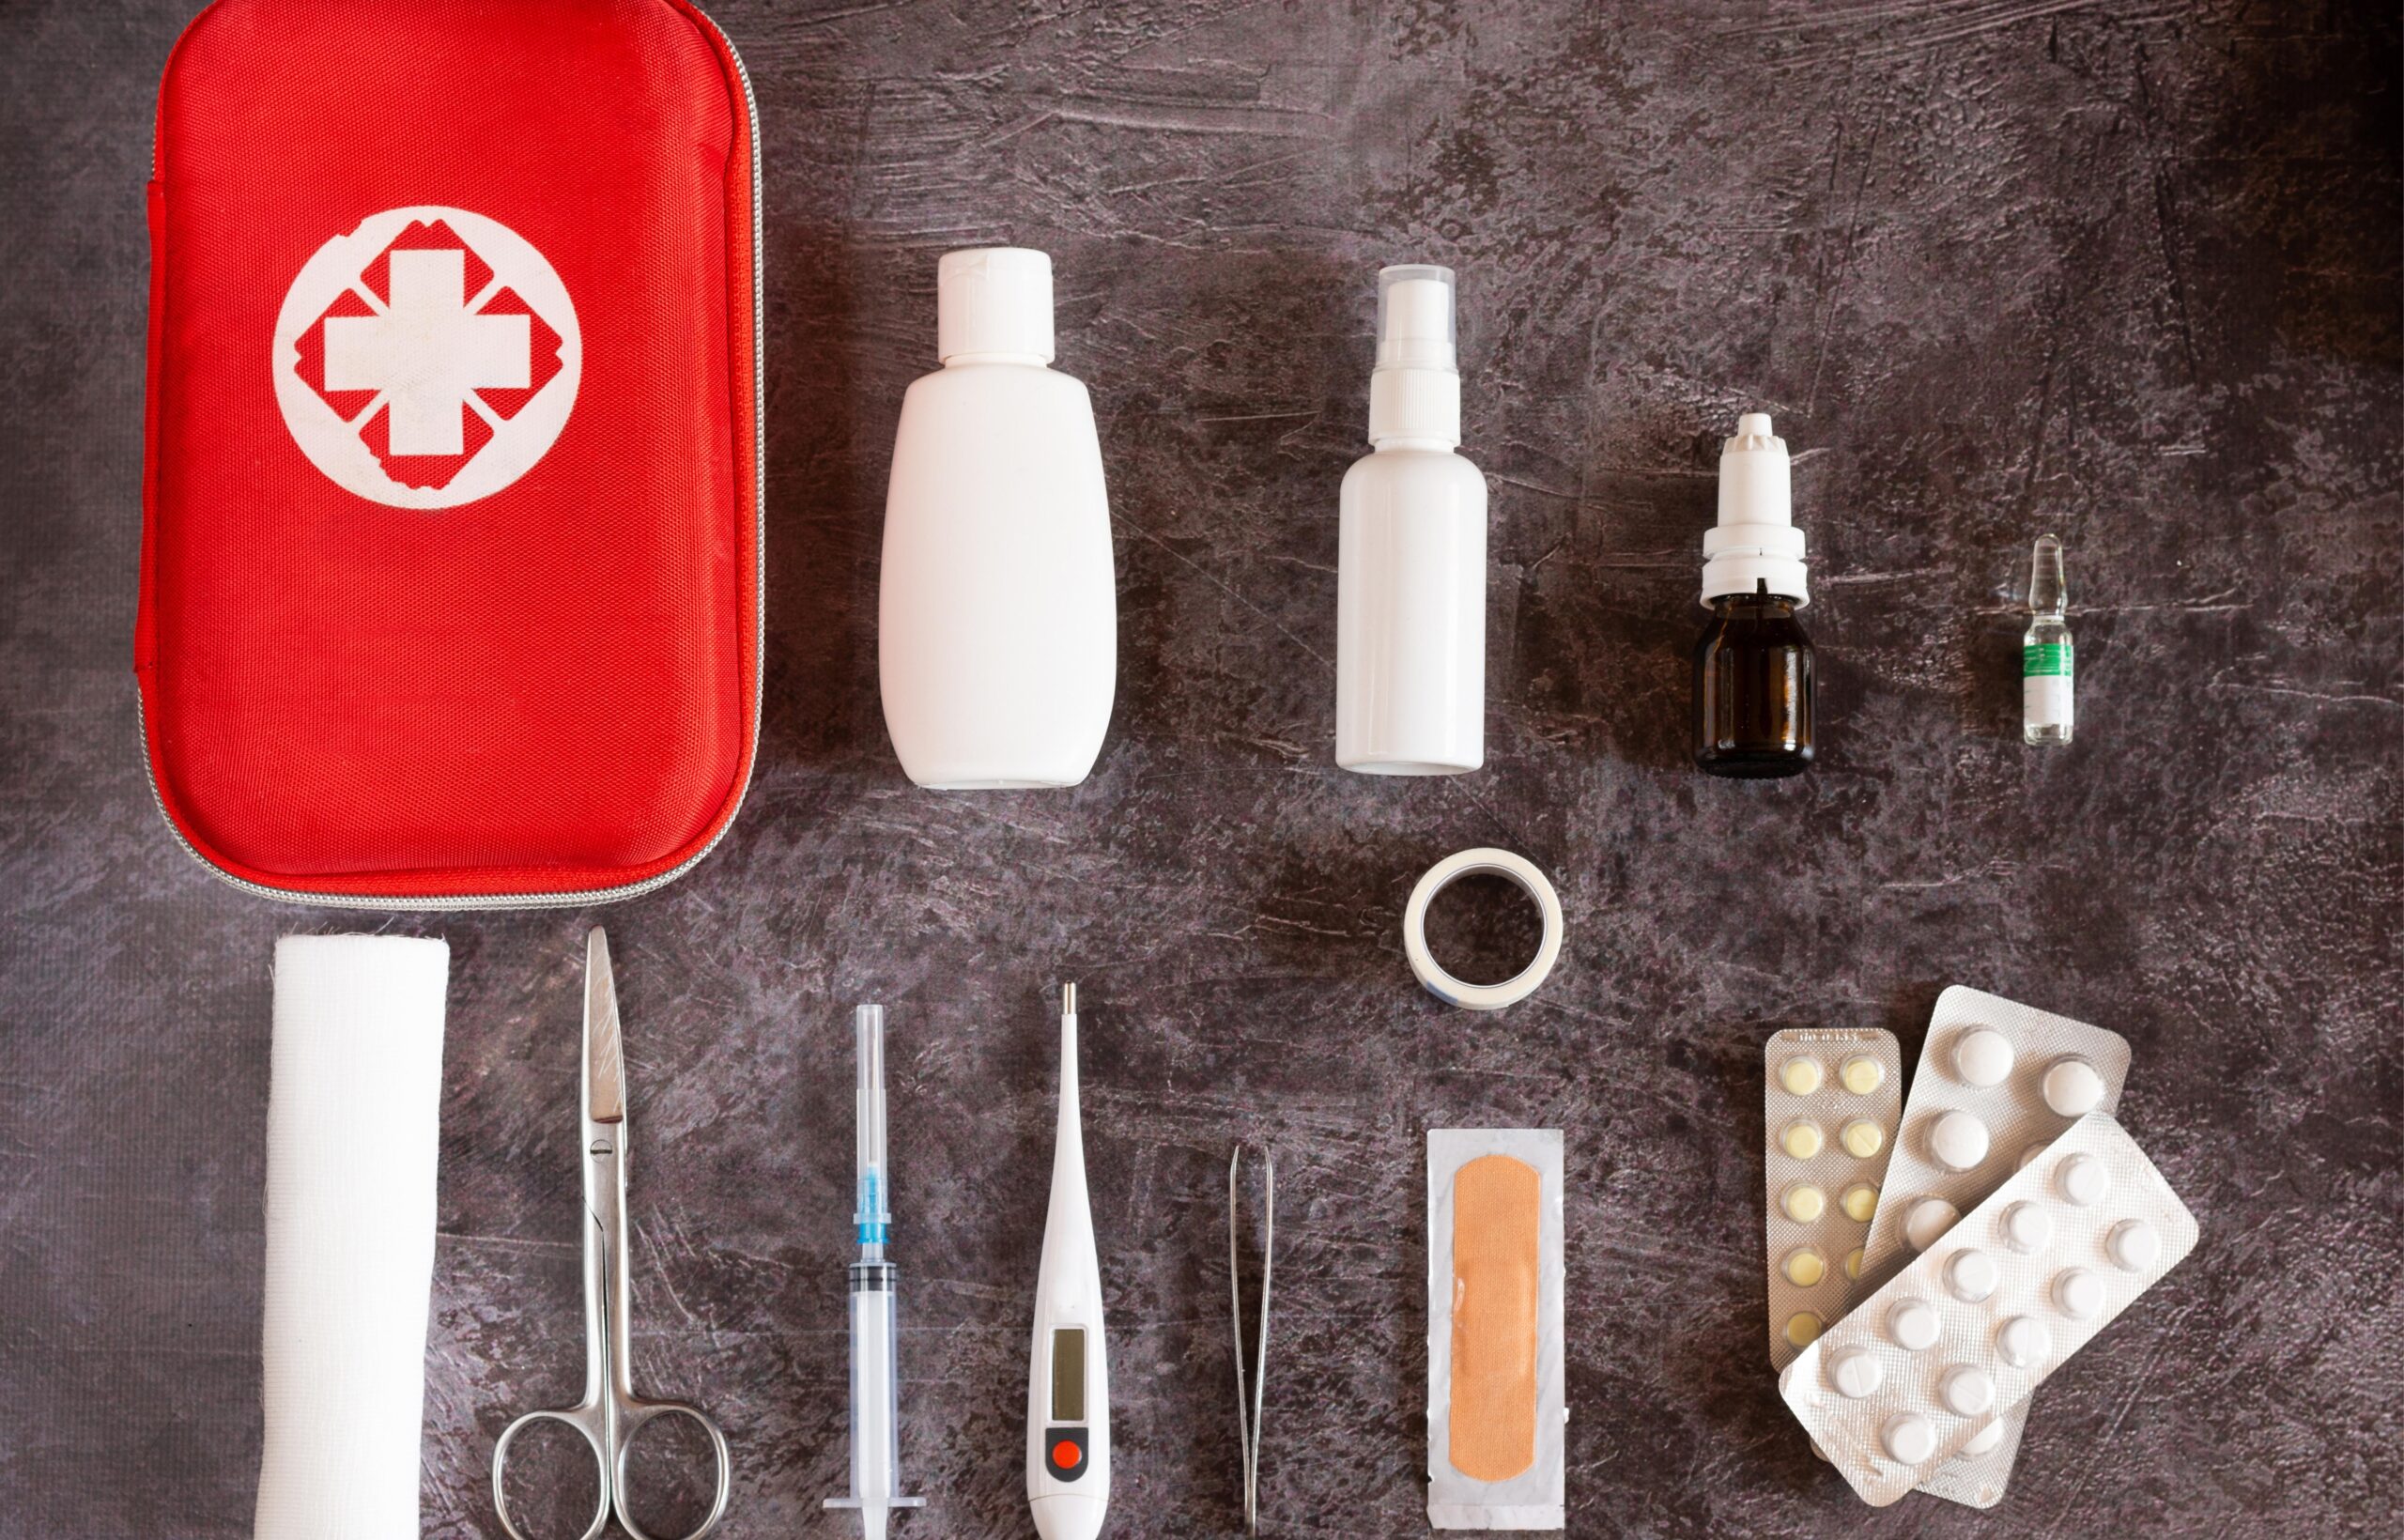
Assemble these essential supplies before treating a deep wound: clean water, sterile gauze, medical tape, antiseptic solution, disposable gloves, and scissors. These items form the core of your first aid kit for wound care.
You’ll need clean water to rinse the wound, removing debris and reducing infection risk. Sterile gauze pads are vital for covering the wound and absorbing any discharge.
Medical tape secures the gauze in place, guaranteeing the dressing stays intact. An antiseptic solution, such as hydrogen peroxide or iodine, helps disinfect the wound area.
Always wear disposable gloves to protect yourself and prevent contamination. Scissors are necessary for cutting gauze and tape to the appropriate size.
First Aid Steps For Deep Wounds
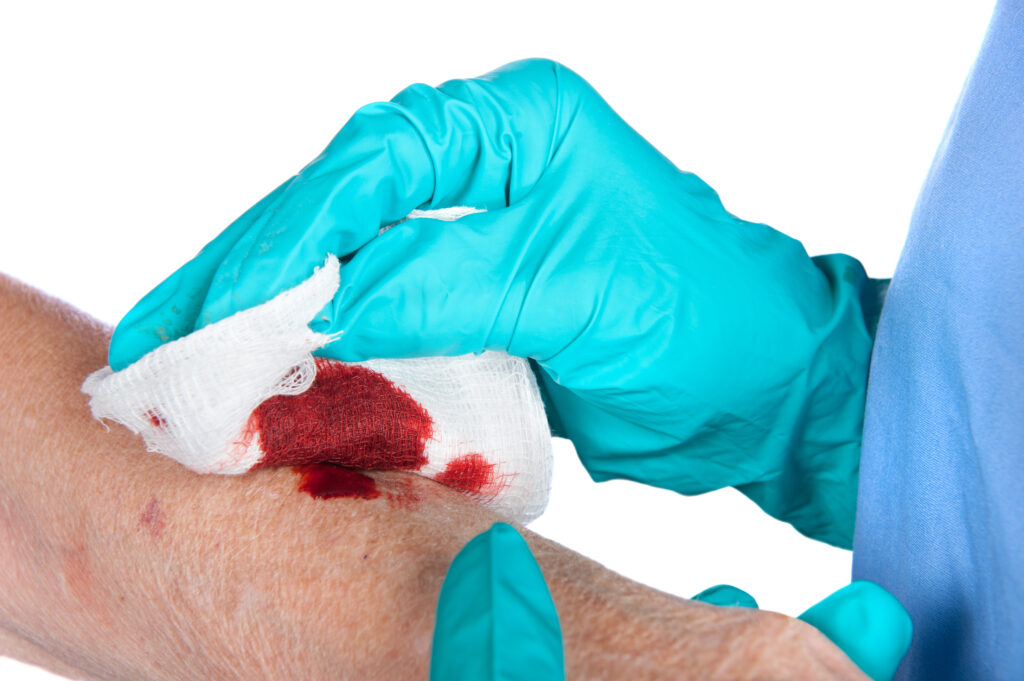
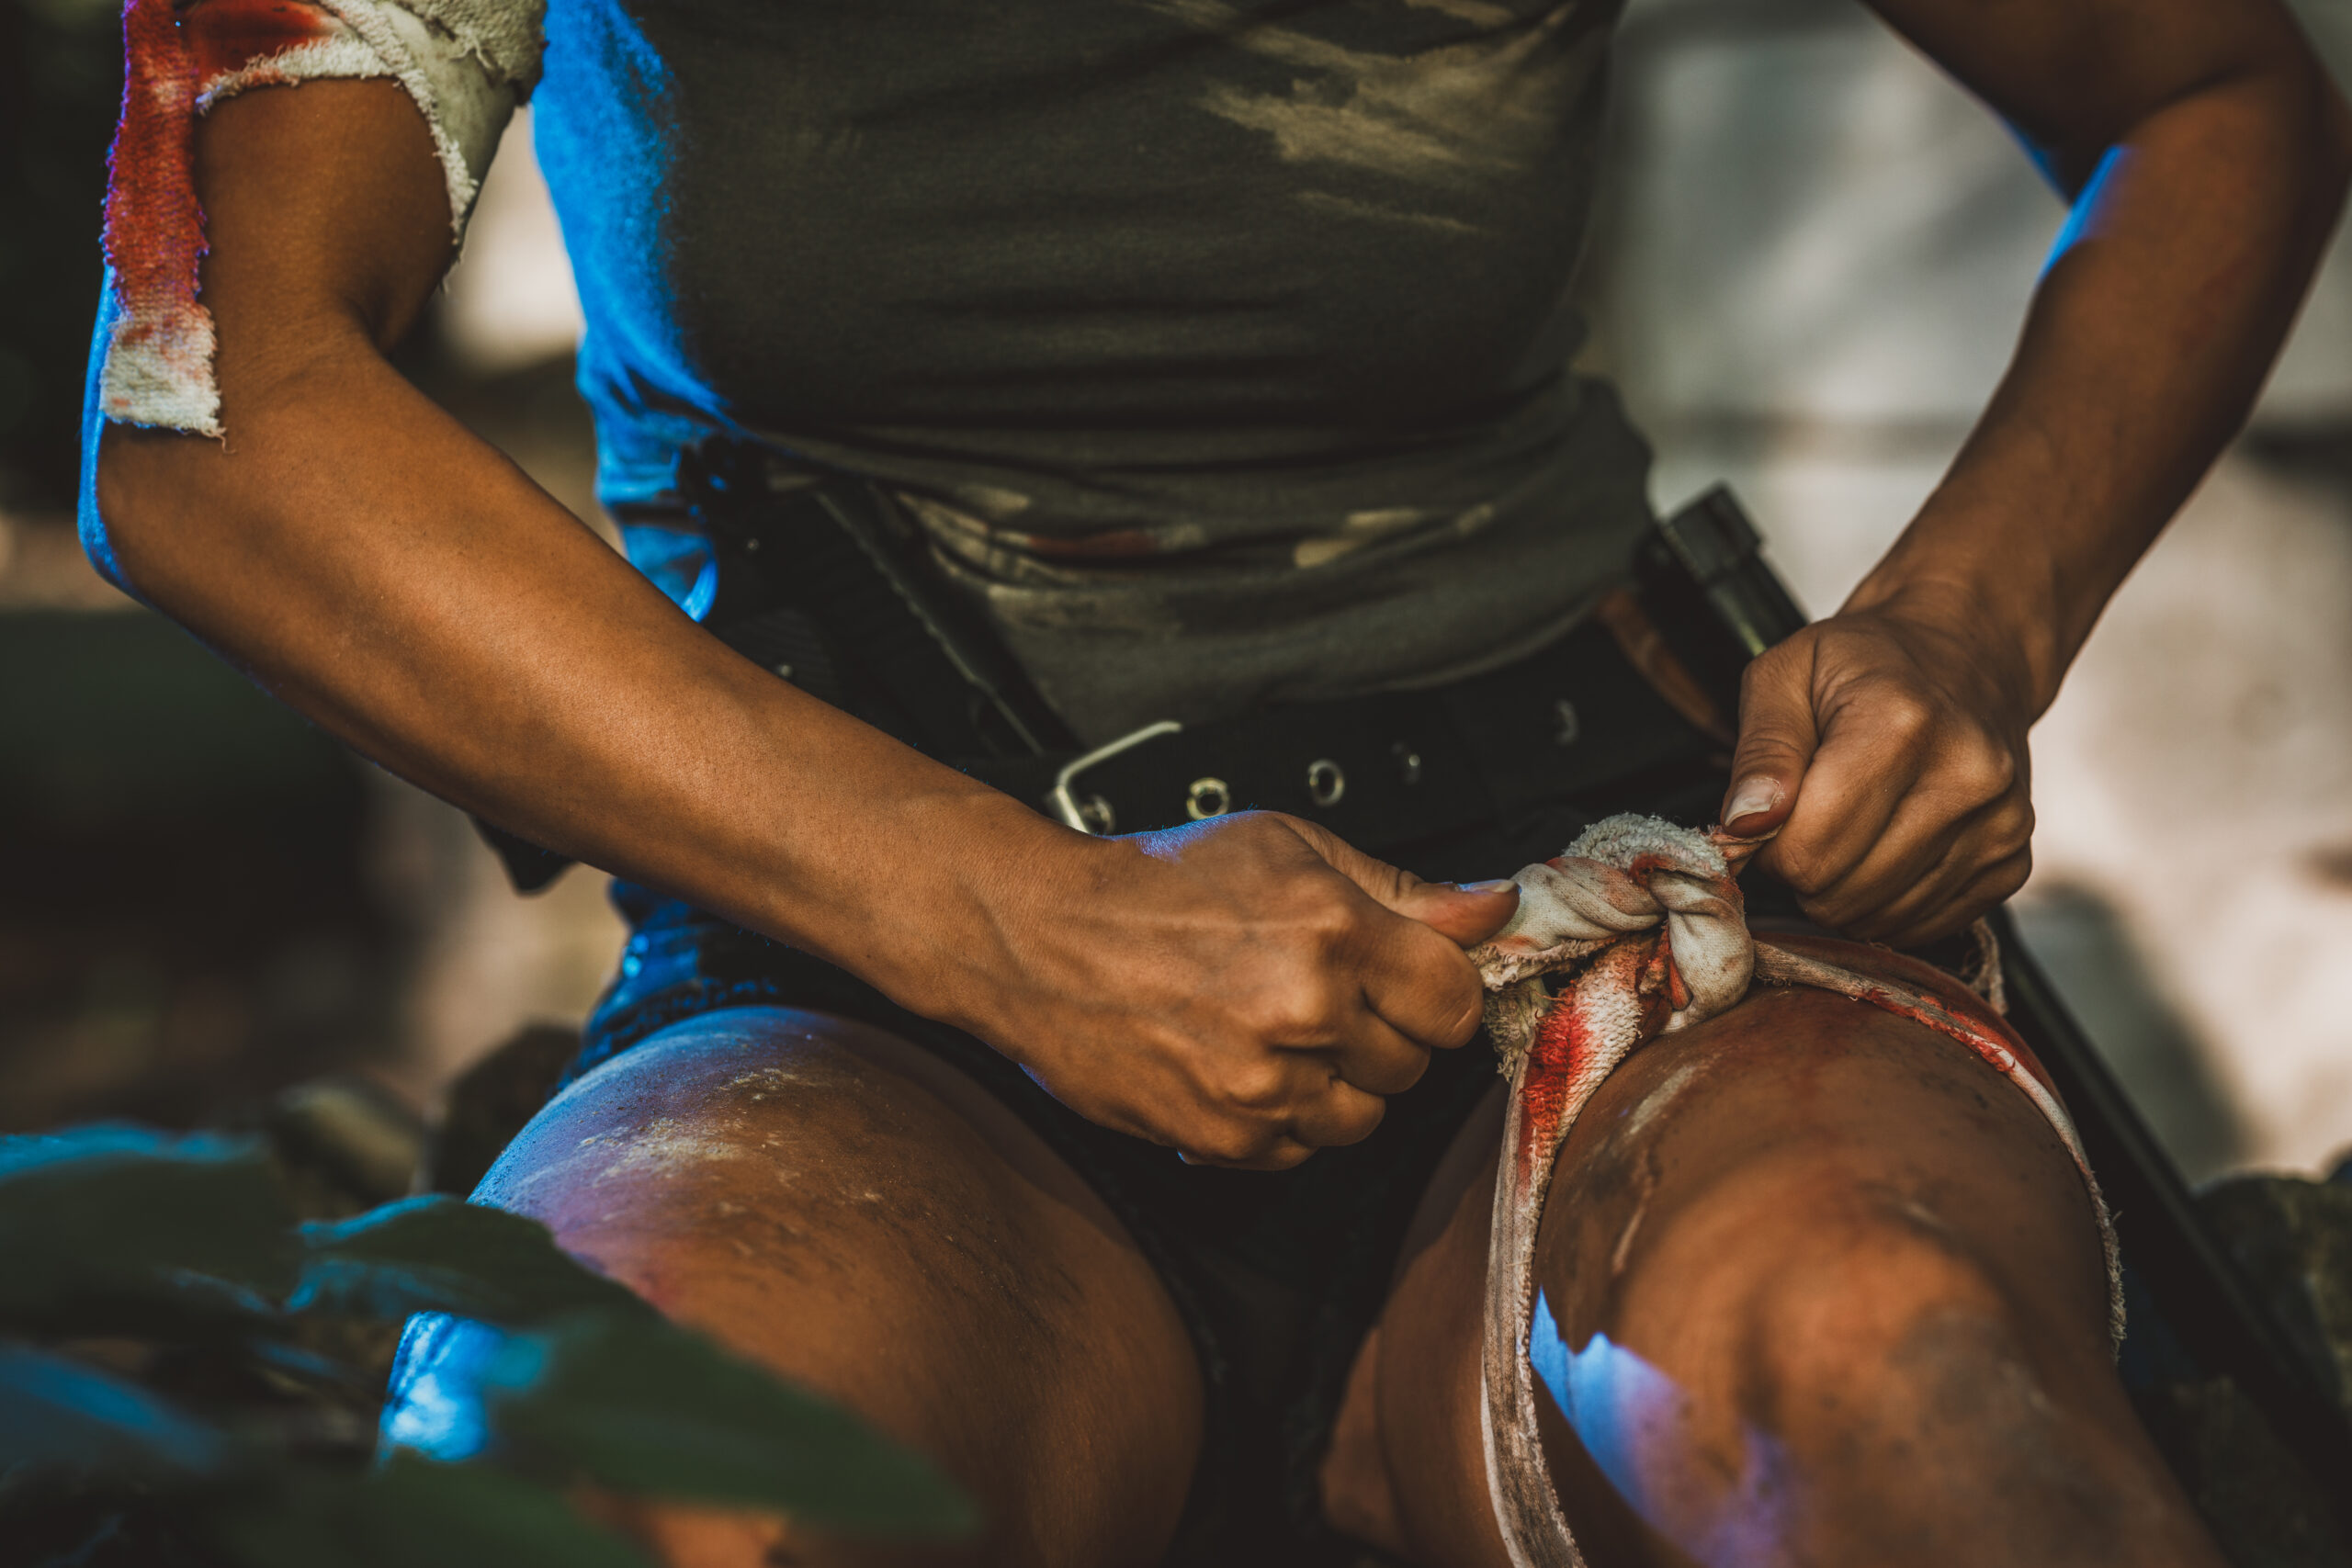
Controlling Bleeding
Bleeding control is the critical first step in treating a deep wound. Begin by applying direct pressure to the wound using a clean cloth or sterile gauze. Press firmly and continuously for at least 15 minutes without lifting the dressing to check the wound. If blood soaks through, add more layers without removing the original dressing.
For limb injuries, elevate the affected area above the heart to reduce blood flow. If direct pressure isn’t effective, consider pressure point compression. Apply pressure to the major artery supplying blood to the wounded area, such as the brachial artery for arm injuries or the femoral artery for leg injuries.
In severe cases where bleeding can’t be controlled by other methods, tourniquet usage may be necessary. Apply a tourniquet between the wound and the heart, about 5-8 cm above the injury. Use a wide, flat material and tighten it until bleeding stops.
Cleaning the Wound Area
You’ll need to remove any visible debris and dirt from the deep wound. Common debris types include glass shards, metal fragments, wood splinters, or gravel. Dirt sources can vary from soil and sand to industrial contaminants, depending on the circumstances of the injury.
Begin by gently irrigating the wound with sterile saline solution or clean water. This initial rinse helps dislodge loose particles. For stubborn debris, use sterile tweezers or forceps to carefully extract foreign objects. Be cautious not to push debris deeper into the wound. If you encounter resistance or the debris is deeply embedded, seek professional medical help.
For dirt removal, continue irrigating the wound, applying gentle pressure to flush out contaminants. You may need to use a soft-bristled brush or gauze to lightly scrub the wound edges, but avoid aggressive cleaning that could cause further tissue damage.
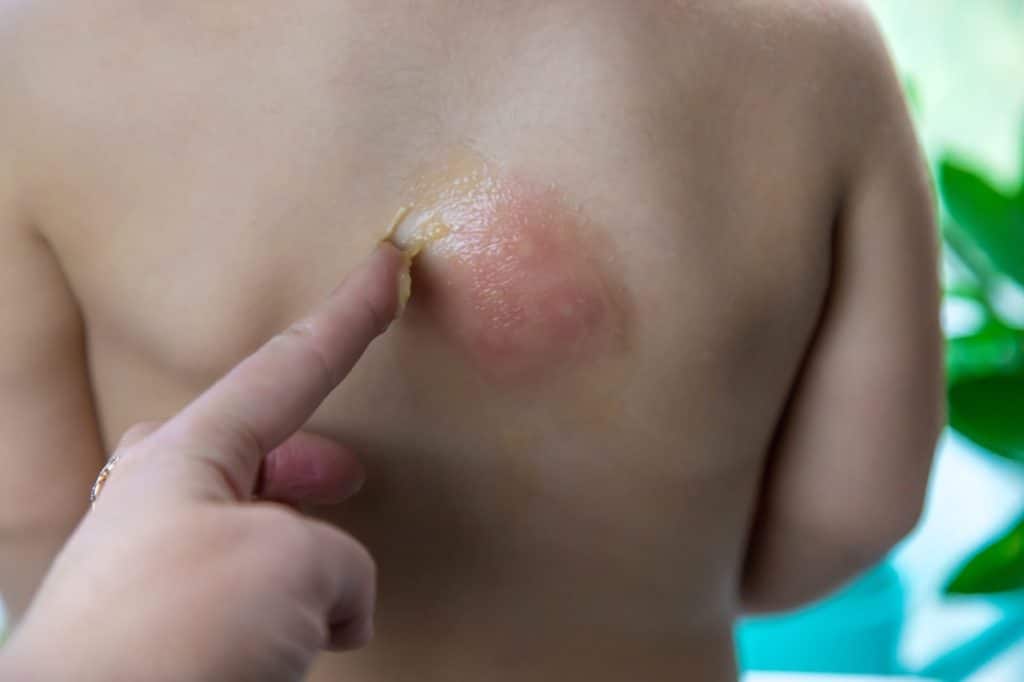
Disinfect Surrounding Skin
Once you’ve removed debris and dirt, it’s vital to disinfect the skin surrounding the deep wound to prevent bacteria from entering the injury site. Proper skin preparation is important for infection prevention and promotes ideal healing conditions.
Begin by cleaning the area around the wound with warm water and mild soap. Gently pat the skin dry with a clean towel or sterile gauze.
Flush With Sterile Solution
To begin flushing, use a syringe or squeeze bottle to direct a steady stream of sterile solution into the deep wound. Aim for gentle yet effective pressure to dislodge debris without causing further tissue damage. Start at the deepest part of the wound and work your way outward, ensuring complete coverage.
Flushing techniques vary based on wound size and depth. For shallow wounds, a simple irrigation may suffice. Deeper wounds might require a pulsed lavage technique, where short bursts of solution are applied to enhance cleaning effectiveness. Continue flushing until the solution runs clear, indicating that visible contaminants have been removed.
Applying Antibiotic Ointment
Carefully apply a thin layer of antibiotic ointment to the deep wound using clean hands or a sterile applicator. This step is vital for promoting wound healing and preventing infection. Make sure you’ve thoroughly cleaned the wound before applying the ointment.
When applying the antibiotic ointment, follow these techniques:
- Use a gentle, dabbing motion rather than rubbing to avoid irritating the wound.
- Cover the entire wound surface, including the edges, but don’t overapply.
- Avoid touching the tip of the ointment tube to the wound or any surfaces to prevent contamination.
Choosing Appropriate Dressing Materials
For deep wounds, you’ll often need absorbent dressings to manage excess exudate. Alginate dressings or foam dressings are excellent choices for this purpose. If infection is a concern, you should opt for antimicrobial dressings containing silver or iodine. Hydrocolloid dressings are suitable for wounds with minimal drainage, as they create a moist environment that promotes healing.
When bandaging a deep wound, you’ll need to select the appropriate bandage type based on the wound’s location and depth. Common options include:
- Rolled gauze for flexible coverage
- Elastic bandages for compression
- Tubular bandages for hard-to-wrap areas
Wrap the chosen bandage around the area, starting below the wound and moving upward. Overlap each layer by about half its width to ensure complete coverage. Maintain even pressure throughout, but avoid wrapping too tightly as this can impair circulation.
Secure the bandage’s end with medical tape or clips. Remember to change the bandage regularly, following proper dressing removal techniques to minimise discomfort and prevent disrupting the healing process.
Seeking Professional Medical Care

For deep wounds that don’t respond to home treatment or show signs of infection, you’ll need to seek professional medical care immediately. Head to an urgent care centre or emergency room without delay. Medical professionals can properly assess the severity of your wound and provide appropriate treatment.
When you arrive, be prepared to describe how the injury occurred, when it happened, and what first aid measures you’ve already taken. The healthcare provider will clean the wound thoroughly, potentially using irrigation or debridement techniques to remove any debris or dead tissue.
They may need to close the wound using stitches, staples, or adhesive strips, depending on its size and location. In some cases, you might require additional treatments such as tetanus shots, antibiotics, or even surgery for very deep or complex wounds.
The medical team will also provide instructions for follow-up care, including when to return for suture removal if applicable. Don’t hesitate to ask questions about wound care, signs of complications to watch for, and when you can resume normal activities.
Frequently Asked Questions
When should I seek emergency medical care instead of treating a deep wound at home?
Seek immediate emergency care if the deep wound is longer than 1/2 inch, deeper than 1/4 inch, has jagged or gaping edges, won’t stop bleeding after 15 minutes of direct pressure, or contains visible foreign objects. Also get professional help for wounds on the face, hands, joints, or genitals, and if you haven’t had a tetanus shot in the last 5-10 years.
How often should I change the bandage on a deep wound?
Change the dressing daily or whenever it becomes wet, soiled, or loose. For heavily draining deep wound injuries, you may need to change dressings twice daily. Always wash your hands thoroughly before and after changing bandages, and gently clean the wound with each dressing change to monitor healing progress.
What are the warning signs that my wound is becoming infected?
Watch for increased redness extending beyond the deep wound edges, warmth around the area, increased pain after the first few days, pus or foul-smelling discharge, red streaking from the wound, fever, or swollen lymph nodes. If you notice any of these signs, contact your healthcare provider immediately as infections can become serious quickly.