


Sharon has 21+ years of experience as a qualified Emergency Care Nurse registered with the Australian Health Practitioner Regulation Agency (APHRA) and 12+ years as a First Aid Trainer.
She takes pride in FirstAidPro making first aid training available, comprehensive and affordable to everybody.
Common household injuries can strike without warning, even just as you’re settling in for a quiet evening at home. You’ve probably experienced minor injuries around the house, but are you truly prepared to handle more serious situations?
Knowing the right first aid techniques can make all the difference in preventing complications and potentially saving lives. From controlling bleeding to treating burns, there’s a wealth of essential knowledge you should have at your fingertips.
While you may think you’re familiar with basic first aid, you might be surprised by some of the lesser-known tips that could prove vital in an emergency.
Key Takeaways
- Keep a well-stocked first aid kit with essential items like bandages, antiseptic wipes, and pain relievers readily accessible for treating common household injuries.
- For burns, immediately cool the affected area with running lukewarm water for 20 minutes and cover with a clean, non-stick dressing.
- Control bleeding by applying direct pressure to the wound with a clean cloth or sterile gauze for at least 15 minutes.
- For sprains and minor injuries, focus on protection, elevation, and gradual return to movement to promote healing.
- Learn and practise CPR, focusing on chest compressions at 100-120 per minute if untrained in rescue breaths.
Assess the Situation
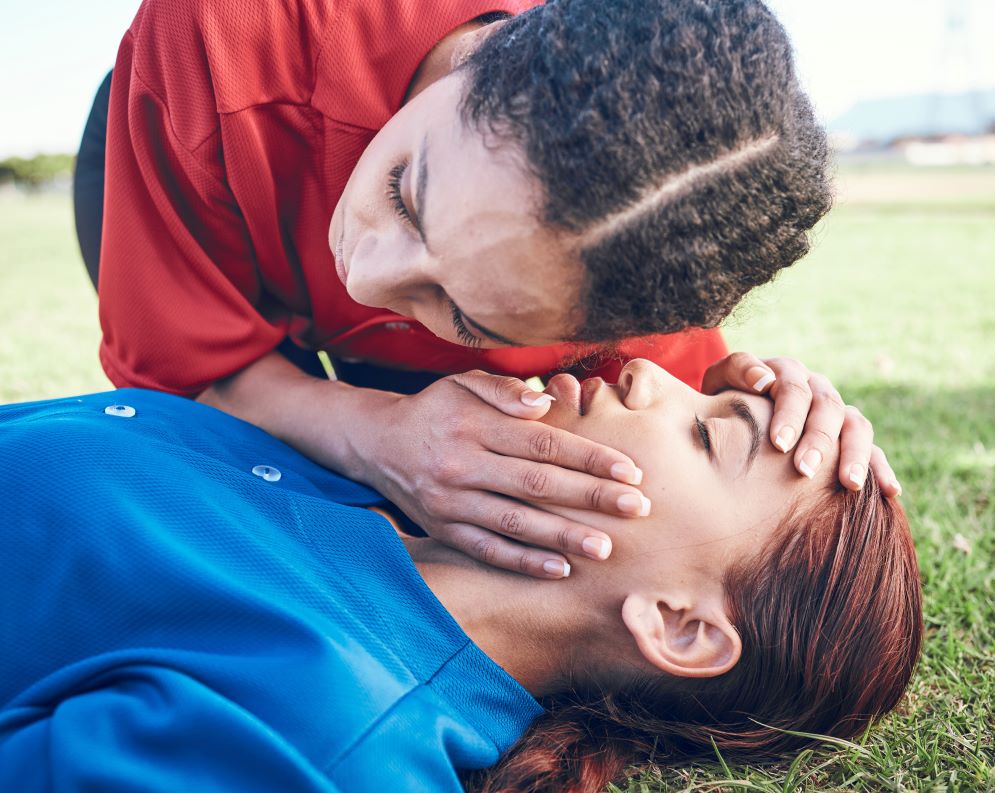
Before taking any action, quickly evaluate the severity and nature of the injury to determine the appropriate response for common household injuries. Situational awareness is vital in these moments.
Scan the environment for potential hazards that could pose additional risks to you or the injured person. Confirm the area is safe before approaching the victim.
Conduct a swift risk assessment. Check if the person is conscious and breathing. If they’re unresponsive, call emergency services immediately.
Call for Emergency Help
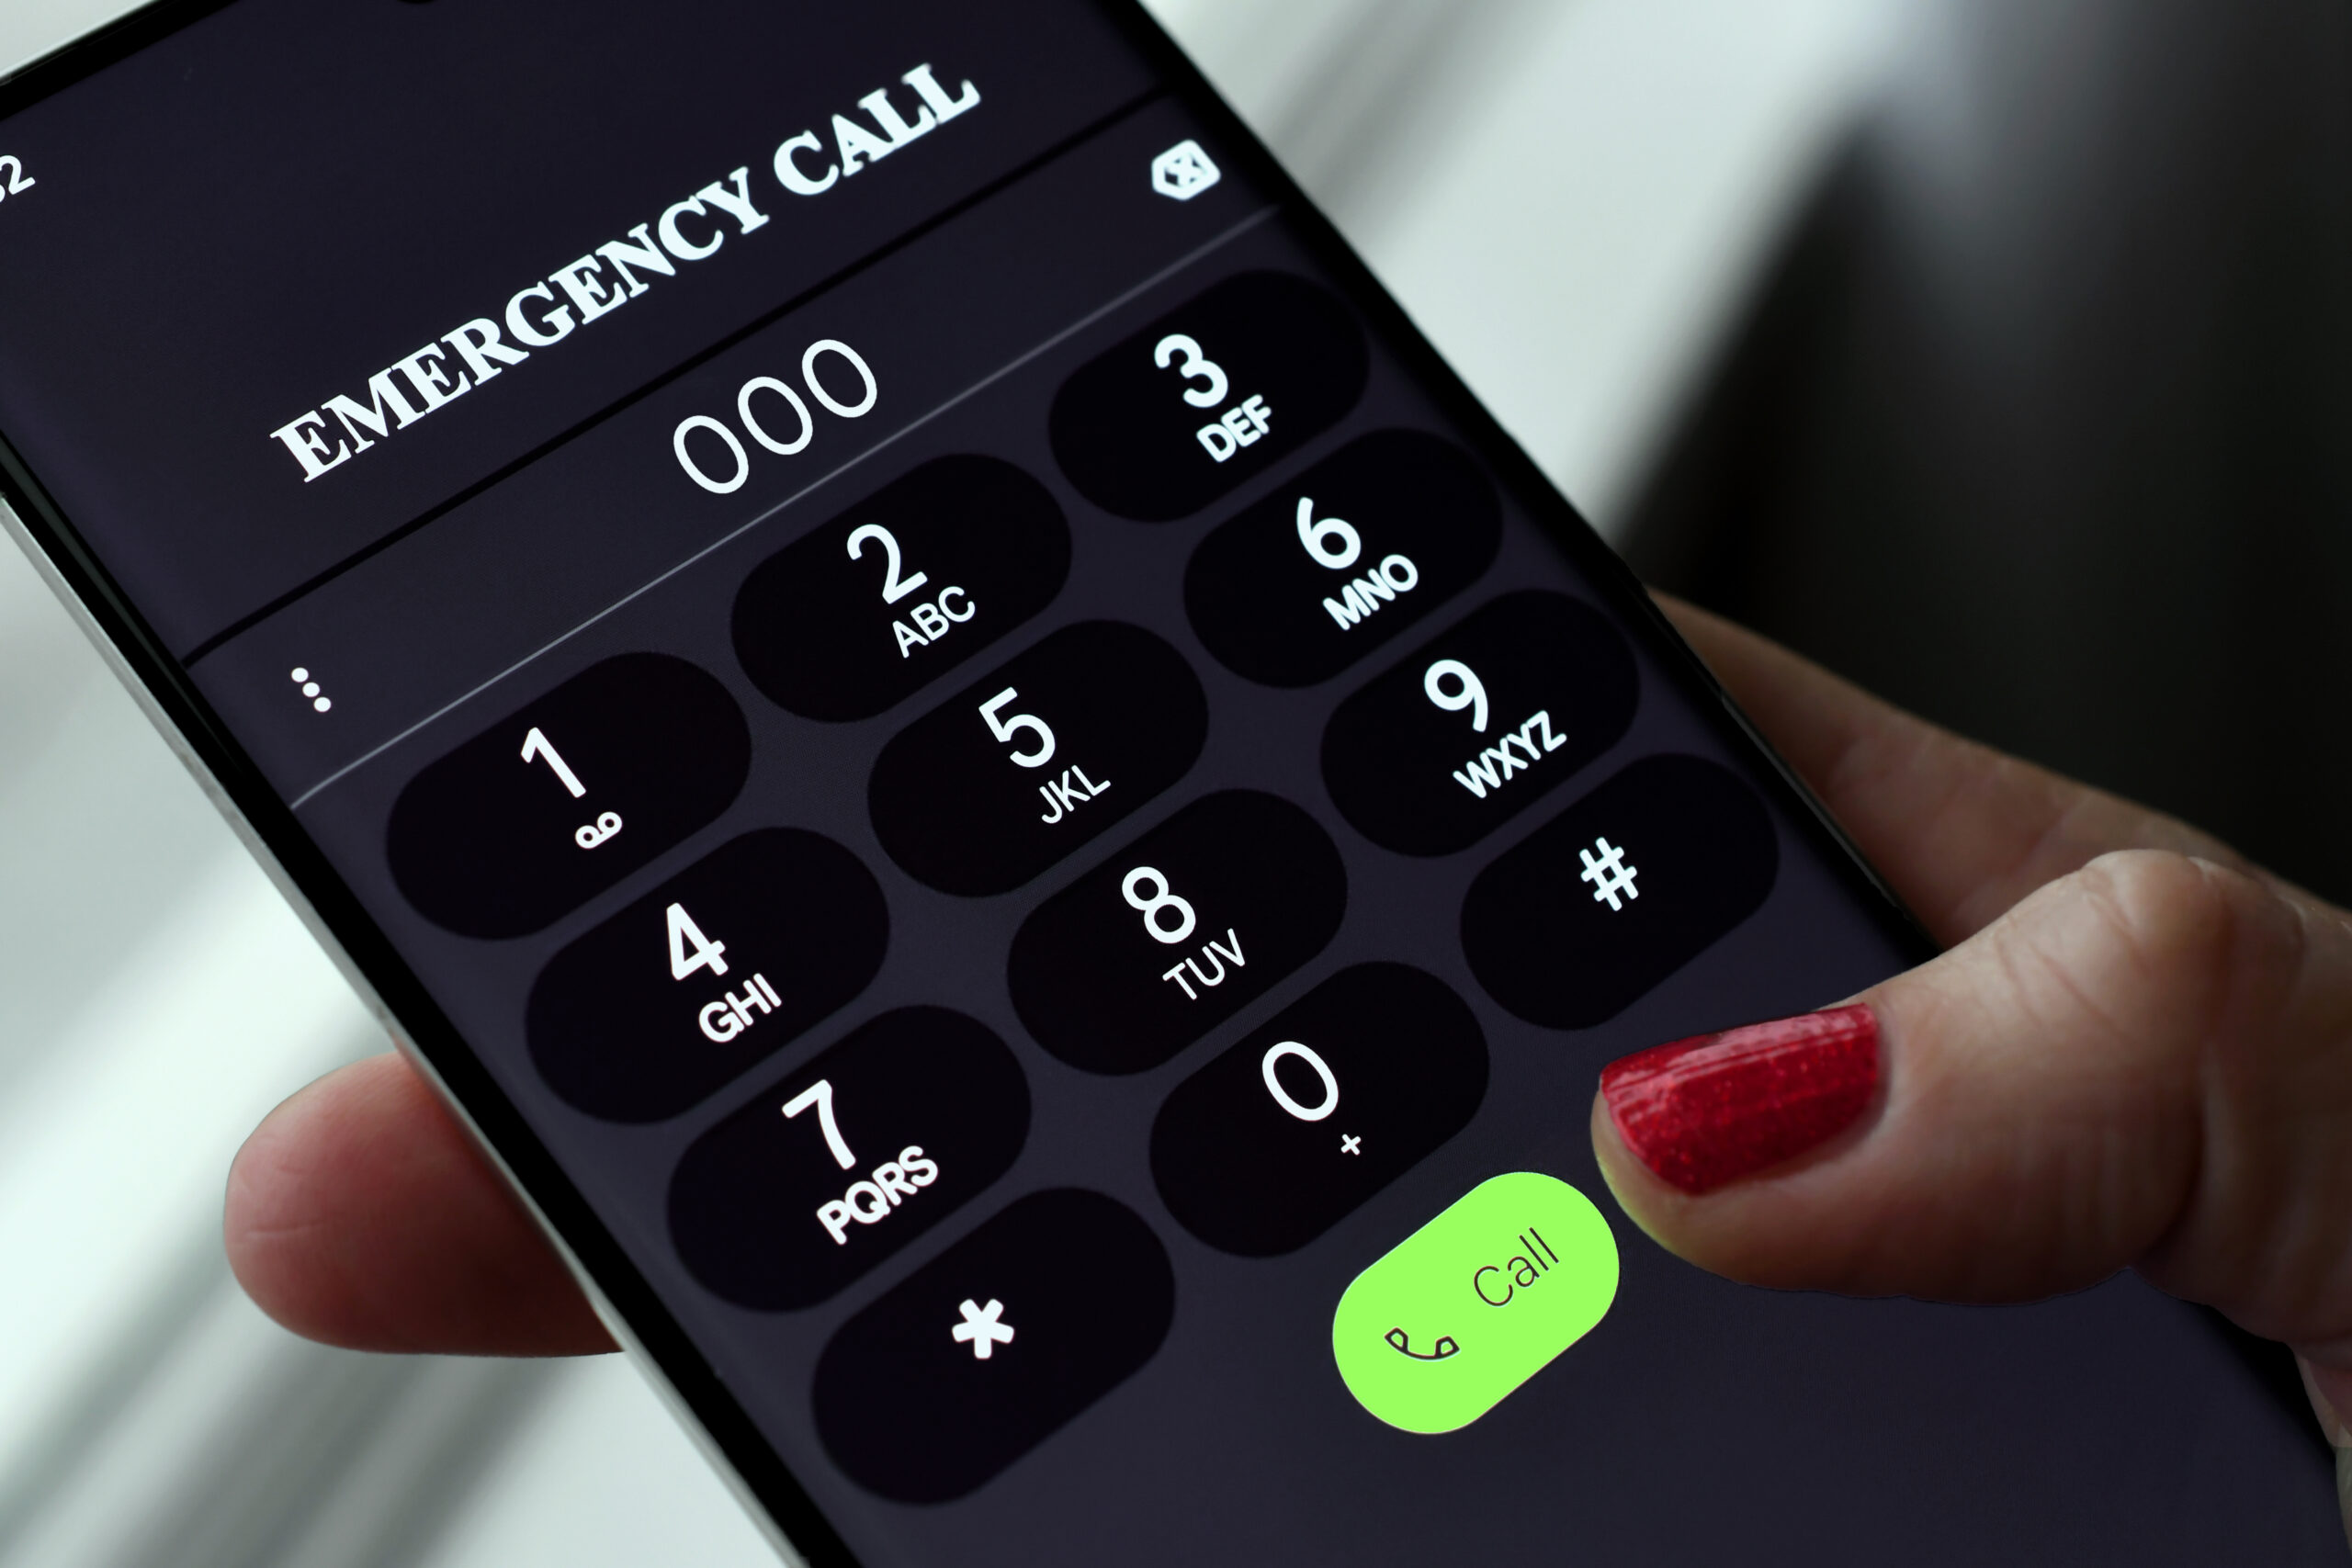
When should you call emergency services for a household injury? You should contact emergency services immediately if common household injuries are life-threatening, severe, or if you’re unsure about their severity.
Situations warranting an emergency call include:
- Uncontrolled bleeding
- Difficulty breathing or choking
- Loss of consciousness
- Severe burns
- Suspected head, neck, or spine injuries
- Seizures
- Suspected heart attack or stroke
- Severe allergic reactions
Keep emergency numbers readily accessible. Program them into your phone and post them visibly in your home. In Australia, dial 000 for emergencies.
When calling emergency services, stay calm and provide clear information. State your name, location, and the nature of the emergency. Answer the dispatcher’s questions concisely and follow their instructions.
If possible, have someone meet the emergency responders outside to guide them to the injured person.
Control Bleeding
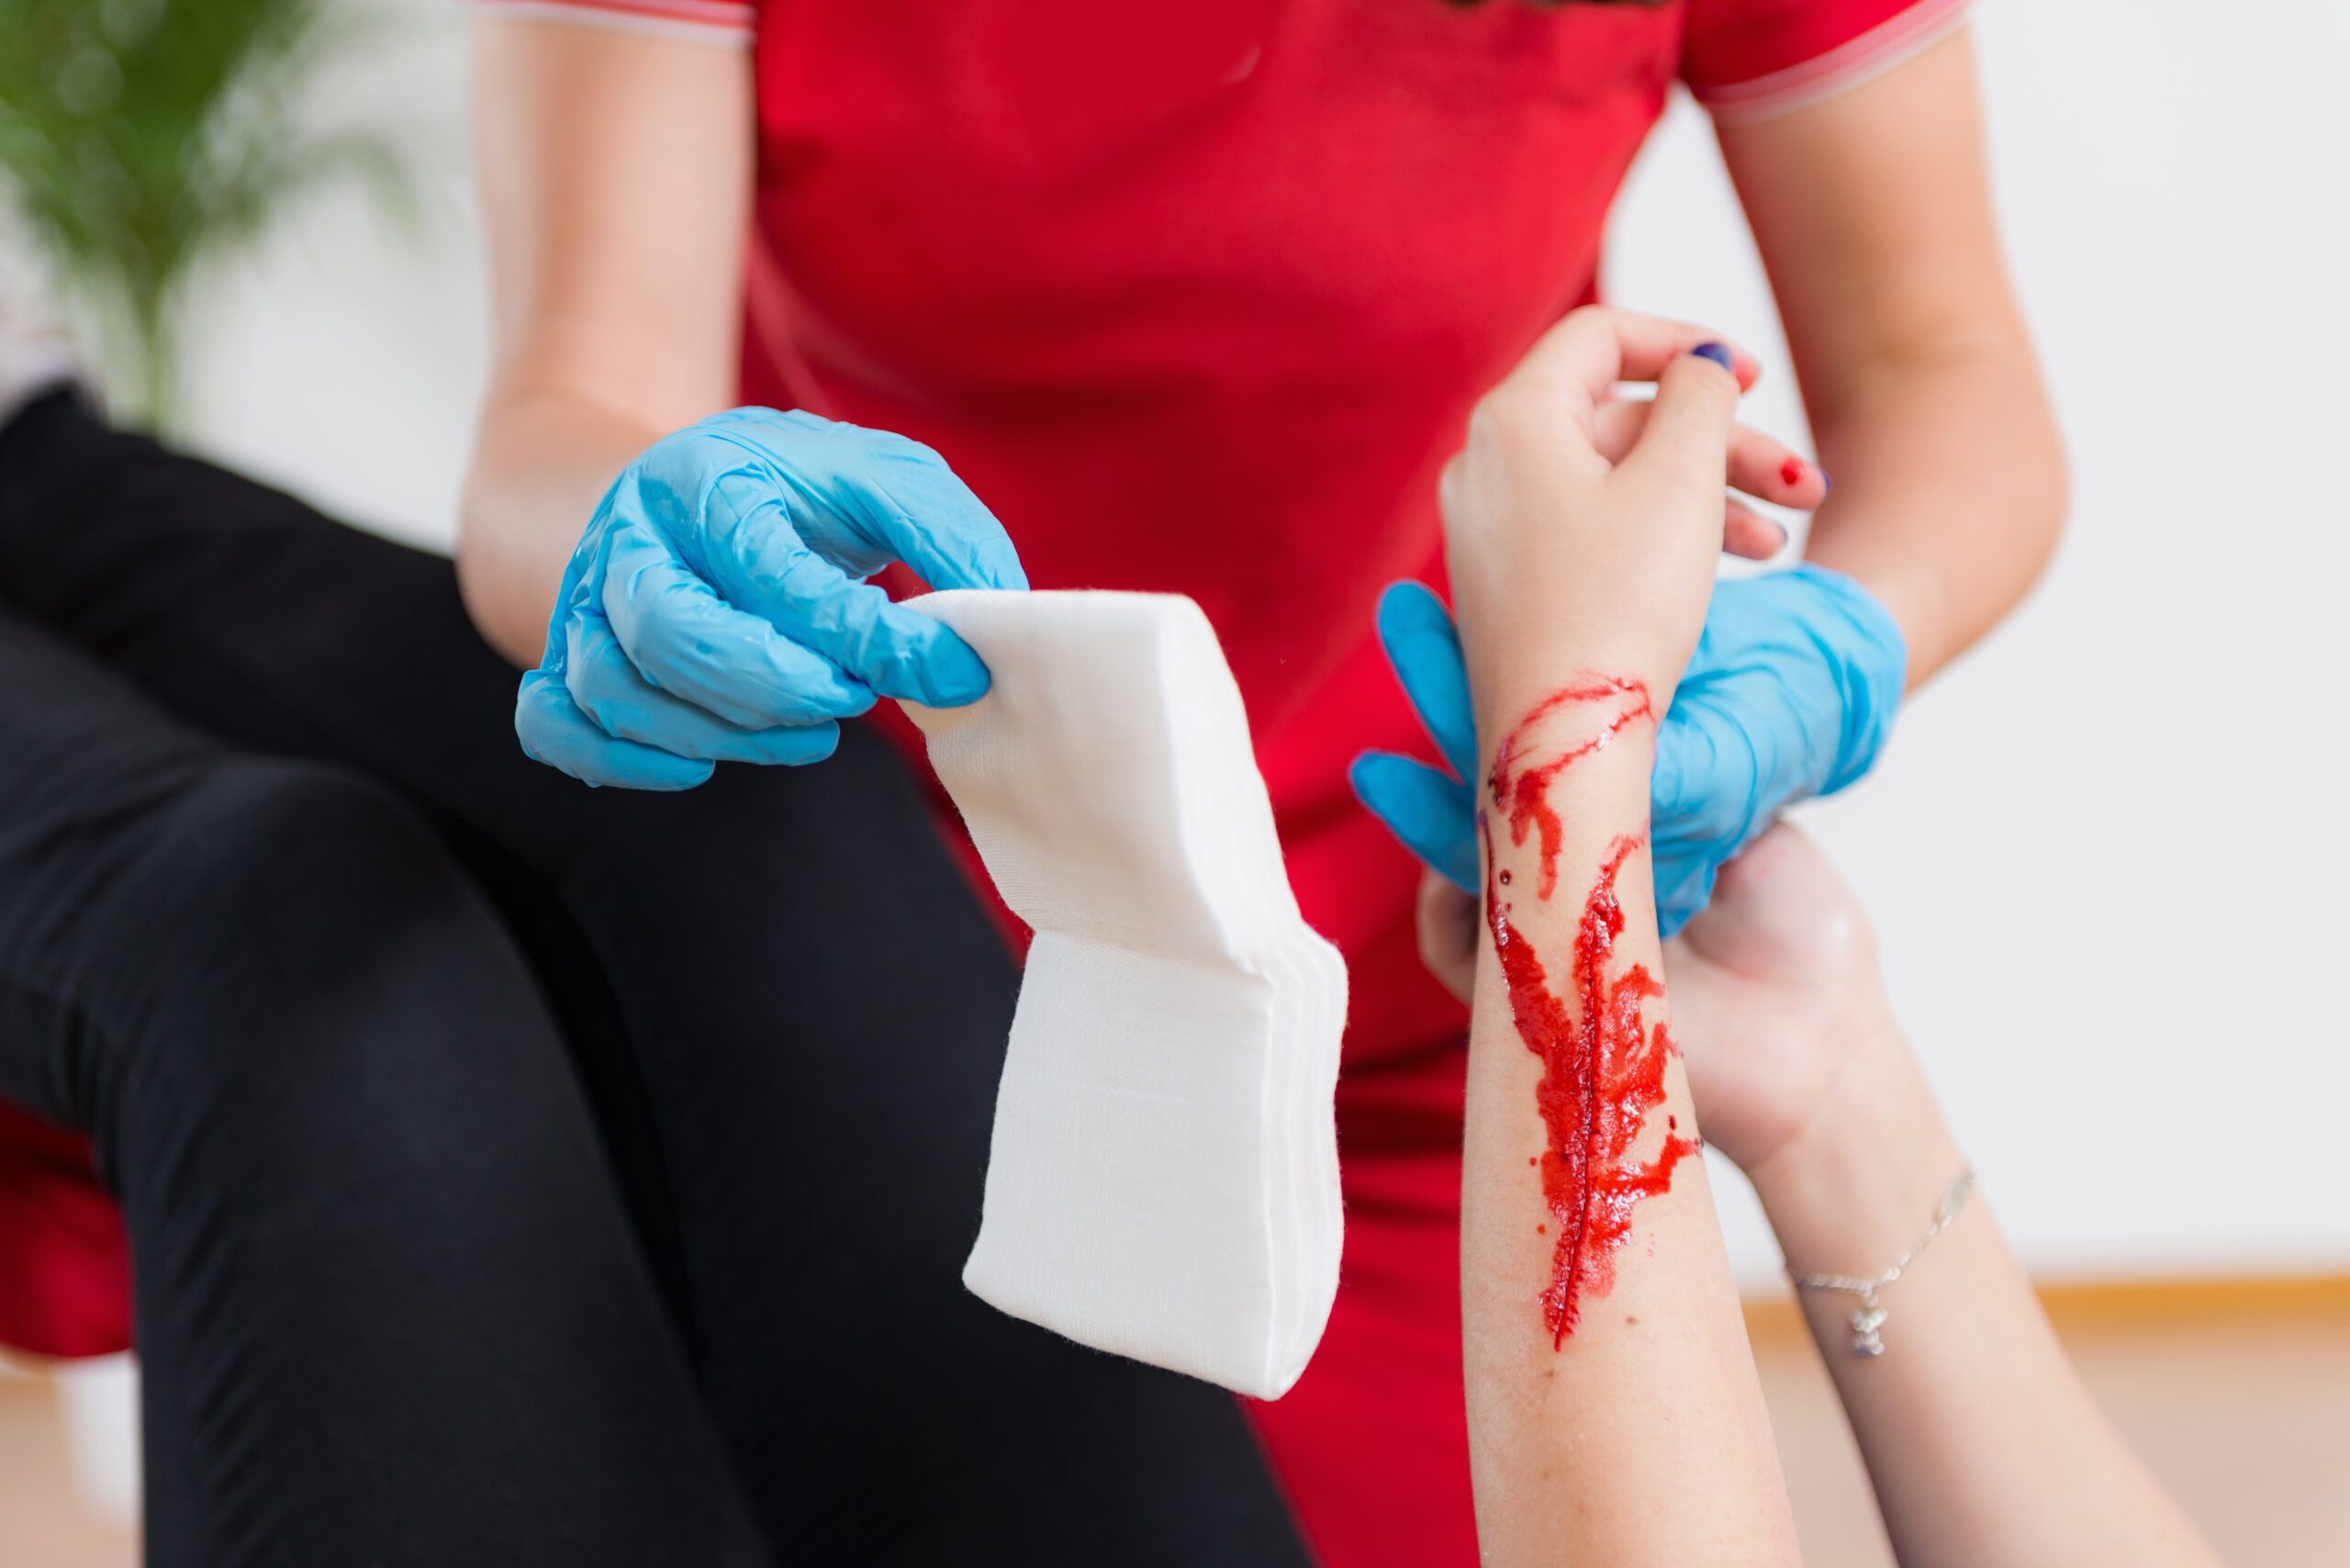
For controlling bleeding from common household injuries, direct pressure is the primary and most effective method you’ll employ. This first aid technique involves applying firm, continuous pressure directly on the wound to stem blood flow and promote wound healing. Use a clean cloth, sterile gauze, or your hand if necessary. Maintain pressure for at least 15 minutes without lifting to check the wound, as this can disrupt clot formation.
Here are key points to remember when applying direct pressure:
- Use the palm of your hand or fingertips for smaller wounds
- Apply pressure with both hands for larger injuries
- Elevate the injured area above the heart if possible
- Don’t remove blood-soaked dressings; add more on top
- Seek medical attention if bleeding doesn’t stop after 15 minutes
If the bleeding is severe or you suspect internal bleeding, call emergency services immediately. While waiting for help, continue applying pressure. For deep wounds, pack them with gauze before applying pressure.
Elevate Injured Area
Elevating the injured area above heart level is an essential secondary step in controlling bleeding, complementing the primary technique of direct pressure. This elevation technique works by utilising gravity to reduce blood flow to the affected area, thereby slowing the rate of bleeding and promoting injury recovery.
To effectively elevate an injured limb, use pillows, cushions, or any available household items to prop up the affected area. If it’s an arm injury, you can use a sling or simply hold the arm above heart level. For leg injuries, lie down and raise the injured limb on elevated surfaces. Maintain this position for at least 15 minutes or until medical help arrives.
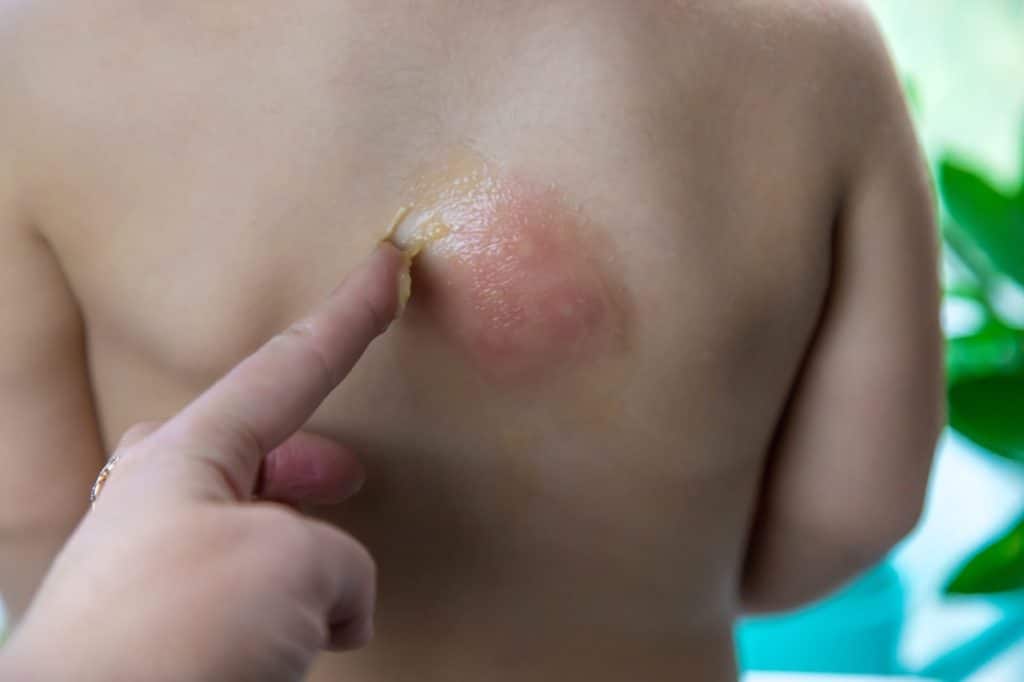
Treat Burns and Scalds
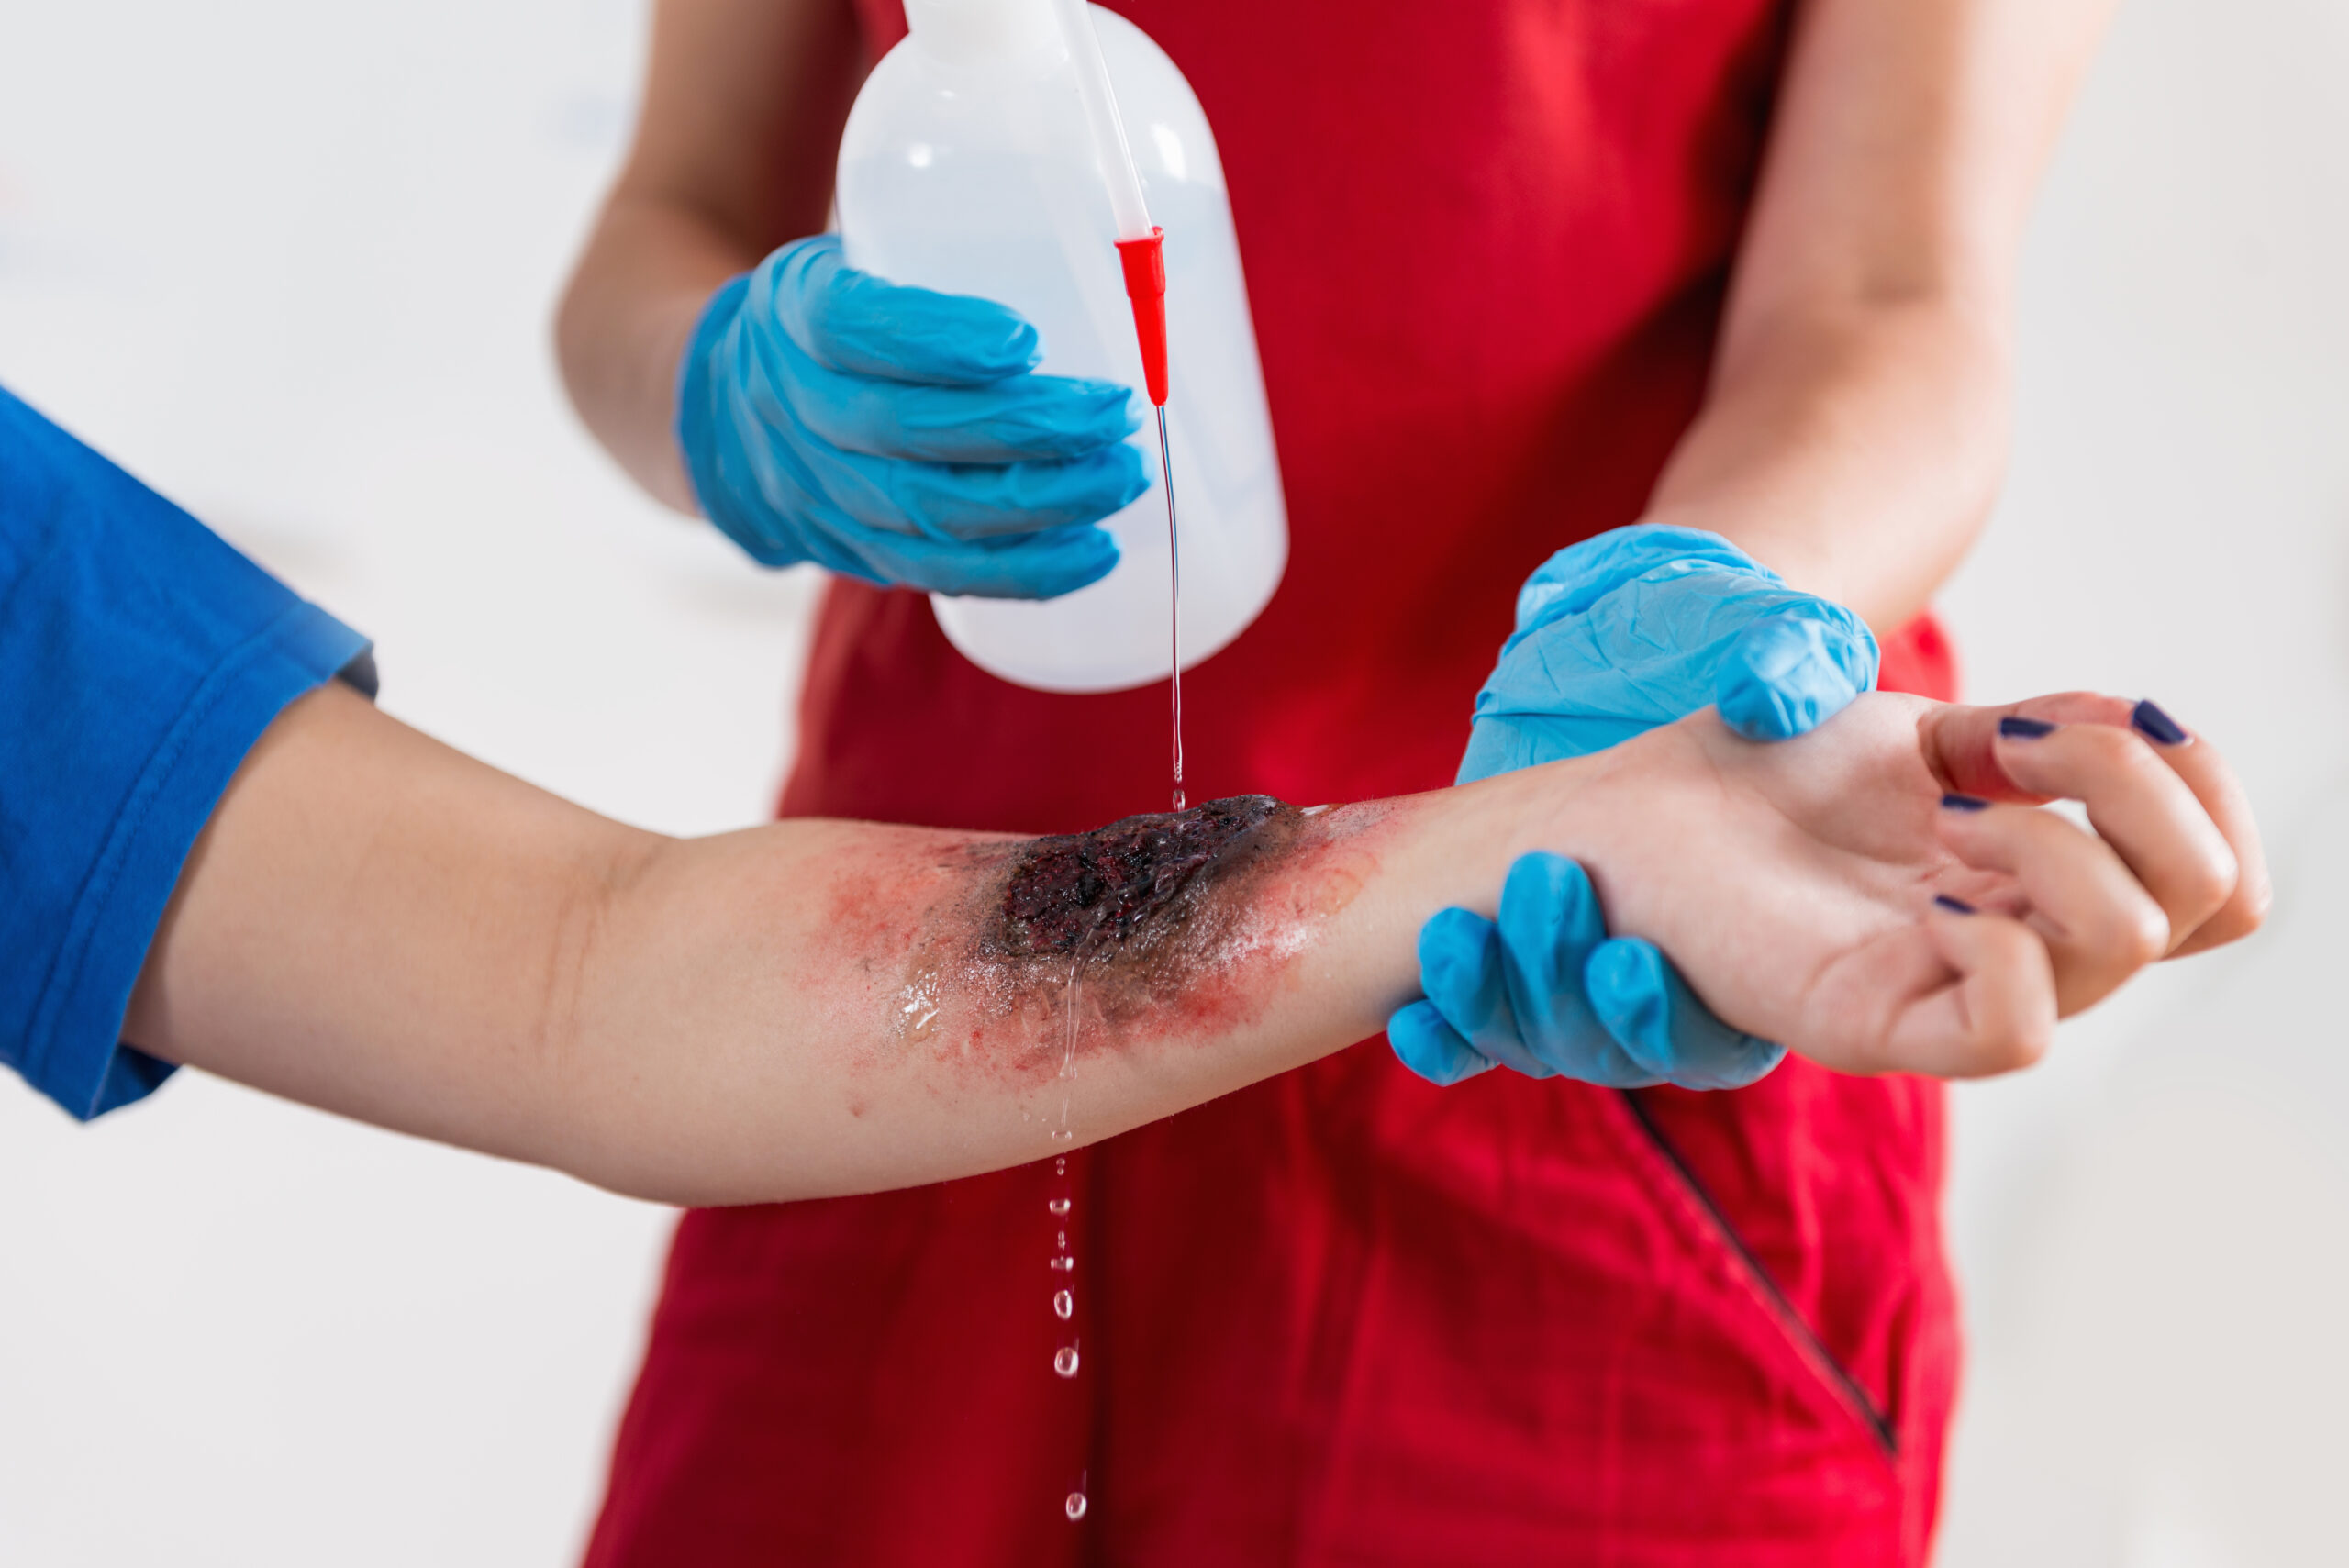
How can you quickly determine the severity of a burn from common household injuries? It’s vital to assess the burn’s depth and extent immediately to guide appropriate treatment. Burns are classified into three types based on their severity: first-degree, second-degree, and third-degree. Understanding these burn types is important for proper care and predicting the healing process.
First-degree burns affect only the outer layer of skin, causing redness and pain.
Second-degree burns involve the epidermis and part of the dermis, resulting in blisters and severe pain.
Third-degree burns destroy all skin layers and may appear charred or white. They often require immediate medical attention.
If you’re unsure about a burn’s severity, it’s always best to seek professional medical advice.
Immediate Cooling Measures
You should act quickly to cool the affected area using cool or lukewarm running water for at least 20 minutes. Don’t use ice-cold water, as it can cause further damage to the skin and potentially lead to hypothermia. If running water isn’t available, you can use a cool, damp cloth or a cooling compress as an alternative.
After cooling the burn, proper wound care is essential to promote healing and prevent infection. To treat burns and scalds effectively, follow these steps:
- Gently clean the area with mild soap and lukewarm water
- Pat the wound dry with a clean, soft cloth
- Apply an antibiotic ointment to prevent infection
- Cover the burn with a sterile, non-stick bandage
- Change the dressing daily or when it becomes wet or soiled
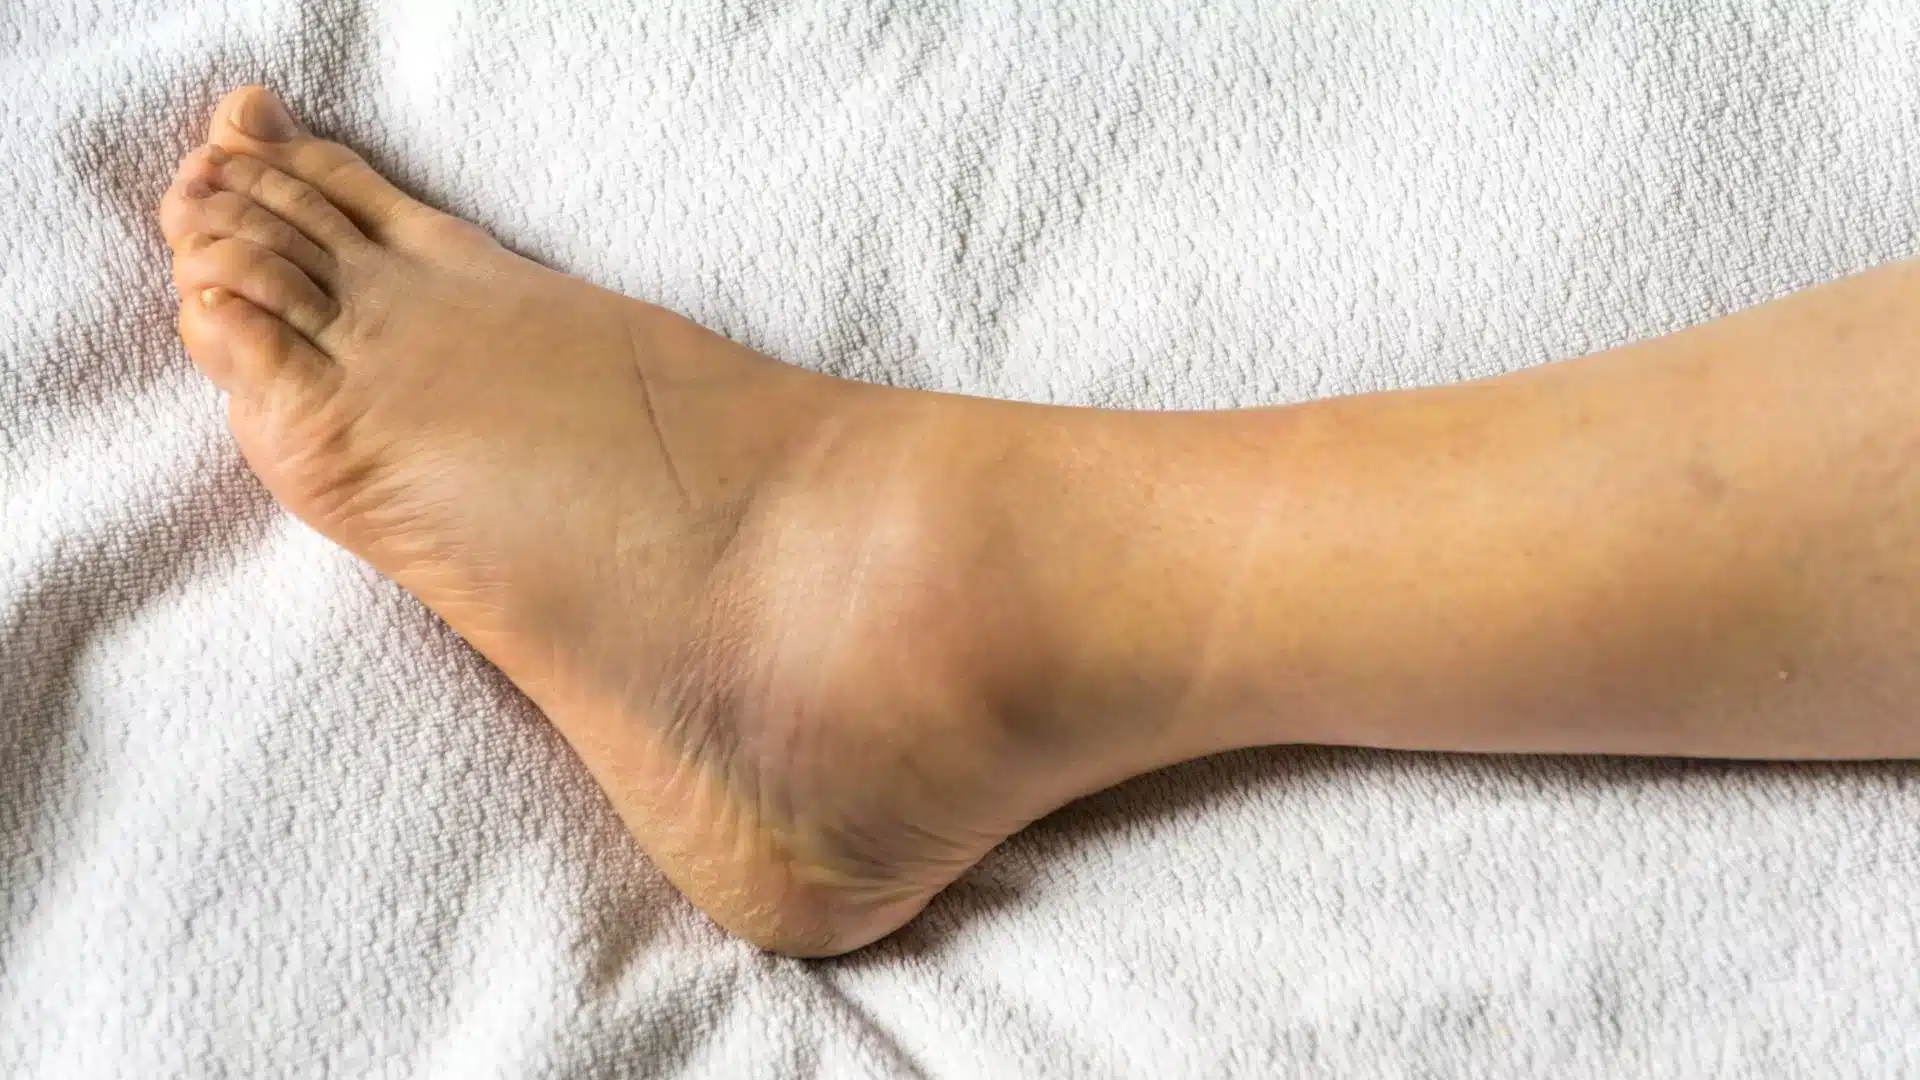
Handle Fractures and Sprains
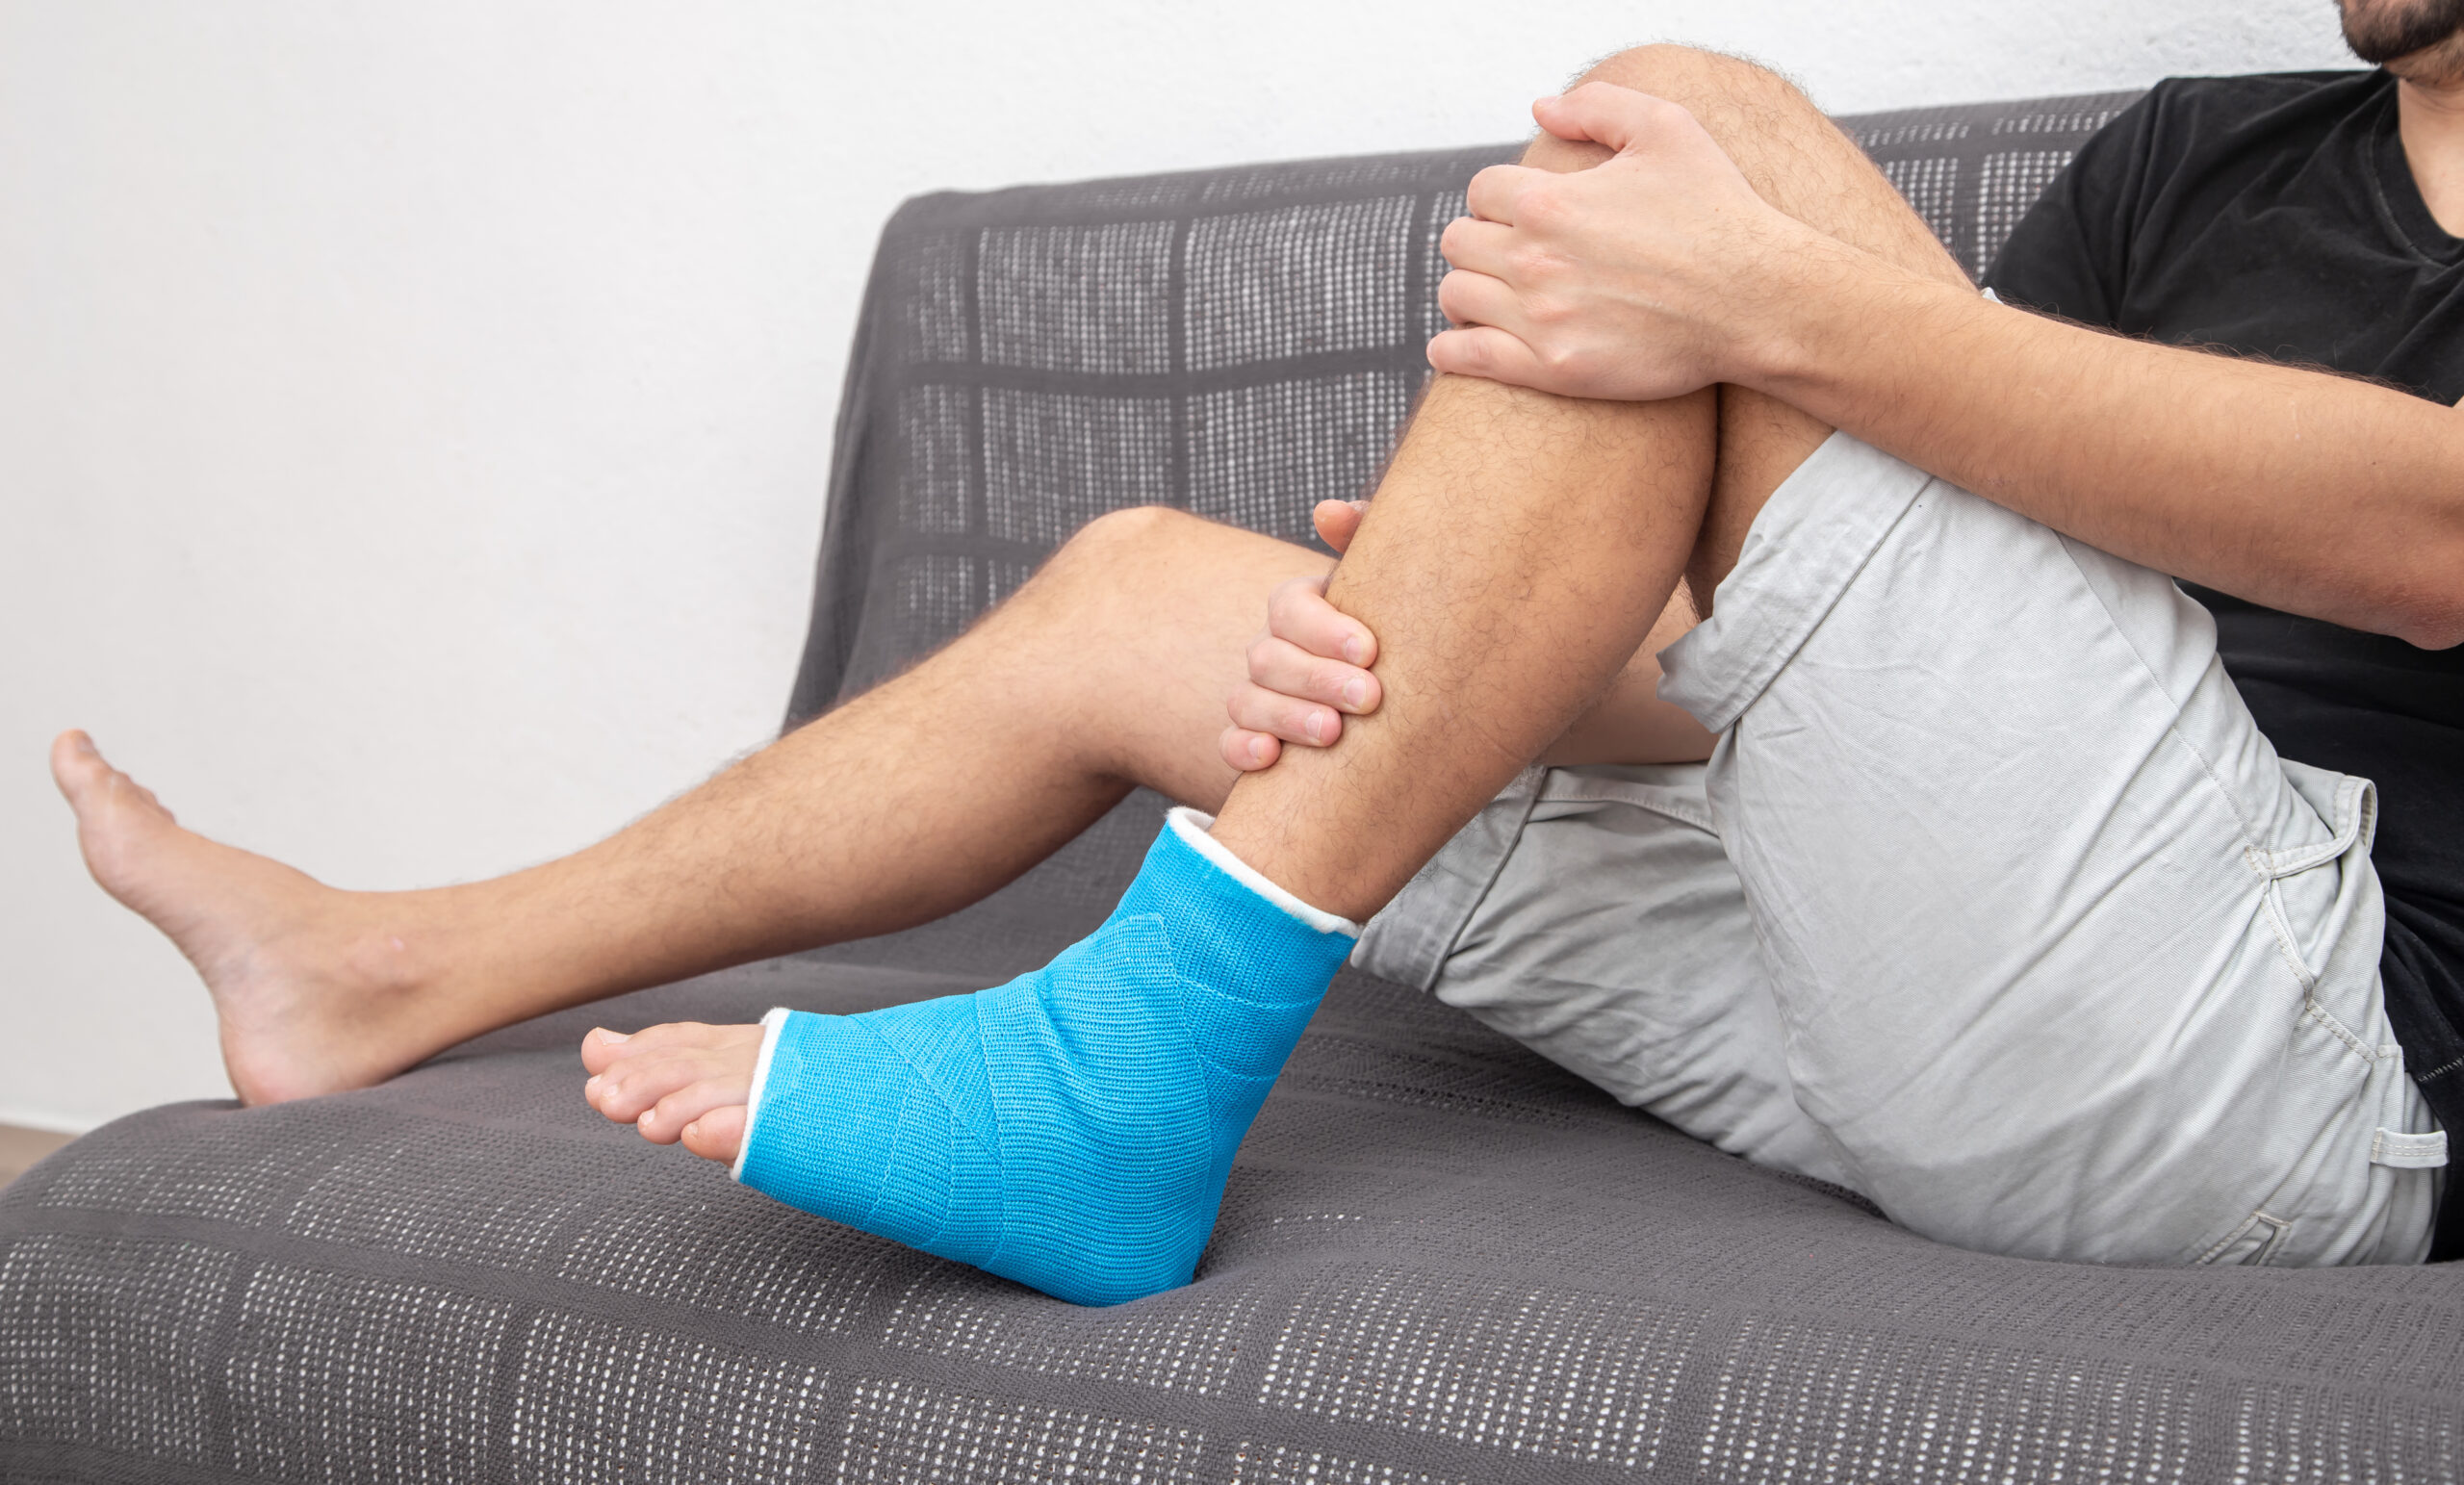
For fracture identification among common household injuries, look for signs such as severe pain, swelling, deformity, or inability to bear weight on the affected limb. If you suspect a fracture, don’t attempt to realign the bone. Instead, immobilise the joint above and below the injury using a splint or makeshift support.
For sprain treatment, focus on protection and elevation while avoiding prolonged immobilisation. Protect the injured area from further harm using supportive devices if needed. Elevate the limb above heart level when resting to reduce swelling. While ice was traditionally recommended, current evidence suggests limiting ice use as it may delay natural healing processes. Instead, focus on gentle, pain-free movement as soon as tolerable to promote blood flow and recovery.
In both cases, seek medical attention promptly. While waiting for professional help, keep the injured person comfortable and monitor for signs of shock. Don’t give them anything to eat or drink, as they may require surgery.
Manage Choking
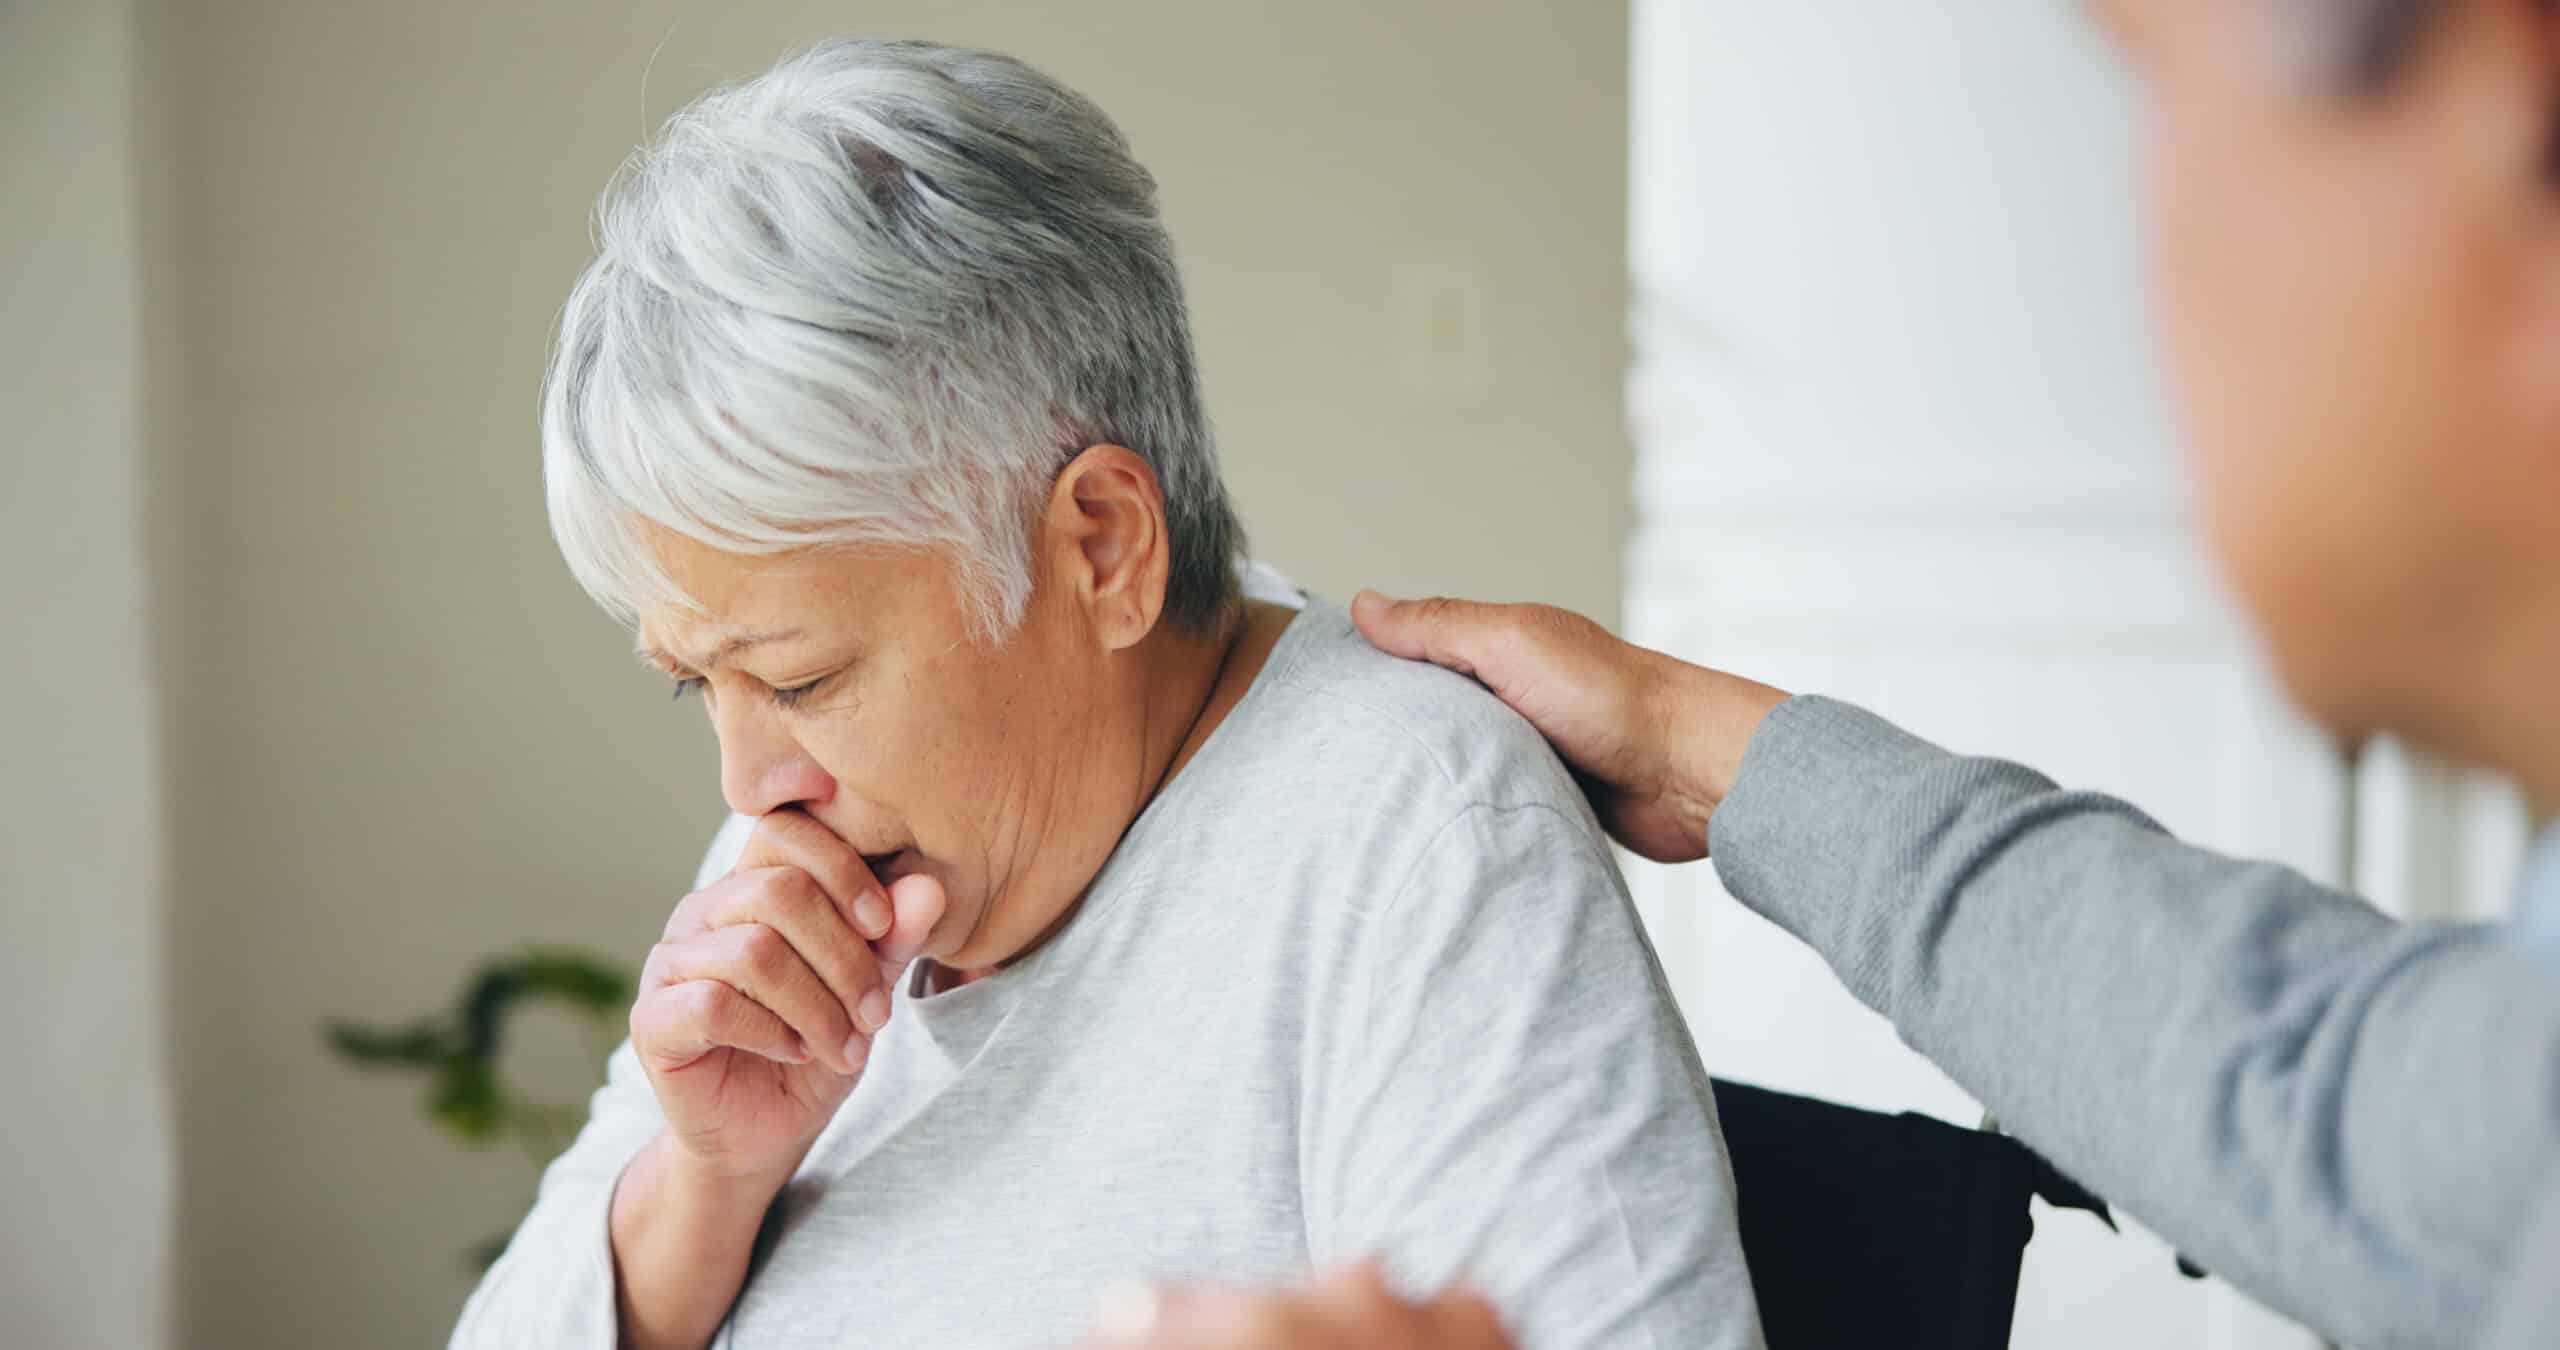
If you suspect someone is choking, one of the more serious common household injuries, use the “5 and 5” approach. First, deliver 5 sharp back blows between the shoulder blades with the heel of your hand while supporting their chest. If the object doesn’t dislodge, perform 5 abdominal thrusts: stand behind the person, wrap your arms around their waist, place one hand above their navel, make a fist with your other hand, grasp it with the first hand, and perform quick, upward thrusts into the abdomen. Alternate between back blows and abdominal thrusts until the object is expelled or the person becomes unconscious.
For choking prevention and effective management, follow these guidelines:
- Keep small objects out of children’s reach
- Cut food into small pieces, especially for young children and the elderly
- Avoid eating while lying down or walking
- Chew food thoroughly before swallowing
- Learn proper first aid techniques, including back blows and abdominal thrusts for choking
If back blows and abdominal thrusts aren’t successful after several cycles, call emergency services immediately. For unconscious individuals, begin CPR.
Address Cuts and Scrapes

Proper wound cleaning is a critical step in preventing infection and promoting ideal healing for cuts and scrapes, two of the most frequent common household injuries. To effectively clean a wound, you’ll need to follow specific wound cleaning techniques and infection prevention strategies.
Here’s how to clean a wound thoroughly:
- Wash your hands with soap and water before touching the wound.
- Rinse the wound under clean running water for several minutes.
- Use mild soap to gently clean around the wound, avoiding direct contact with the open area.
- Remove any visible debris or foreign objects with clean tweezers.
- Pat the area dry with a clean, lint-free cloth or sterile gauze.
After cleaning, apply an antibiotic ointment to further prevent infection. Cover the wound with a sterile adhesive bandage or gauze wrap, depending on its size and location. Change the dressing daily or whenever it becomes wet or dirty.
Respond to Poisoning
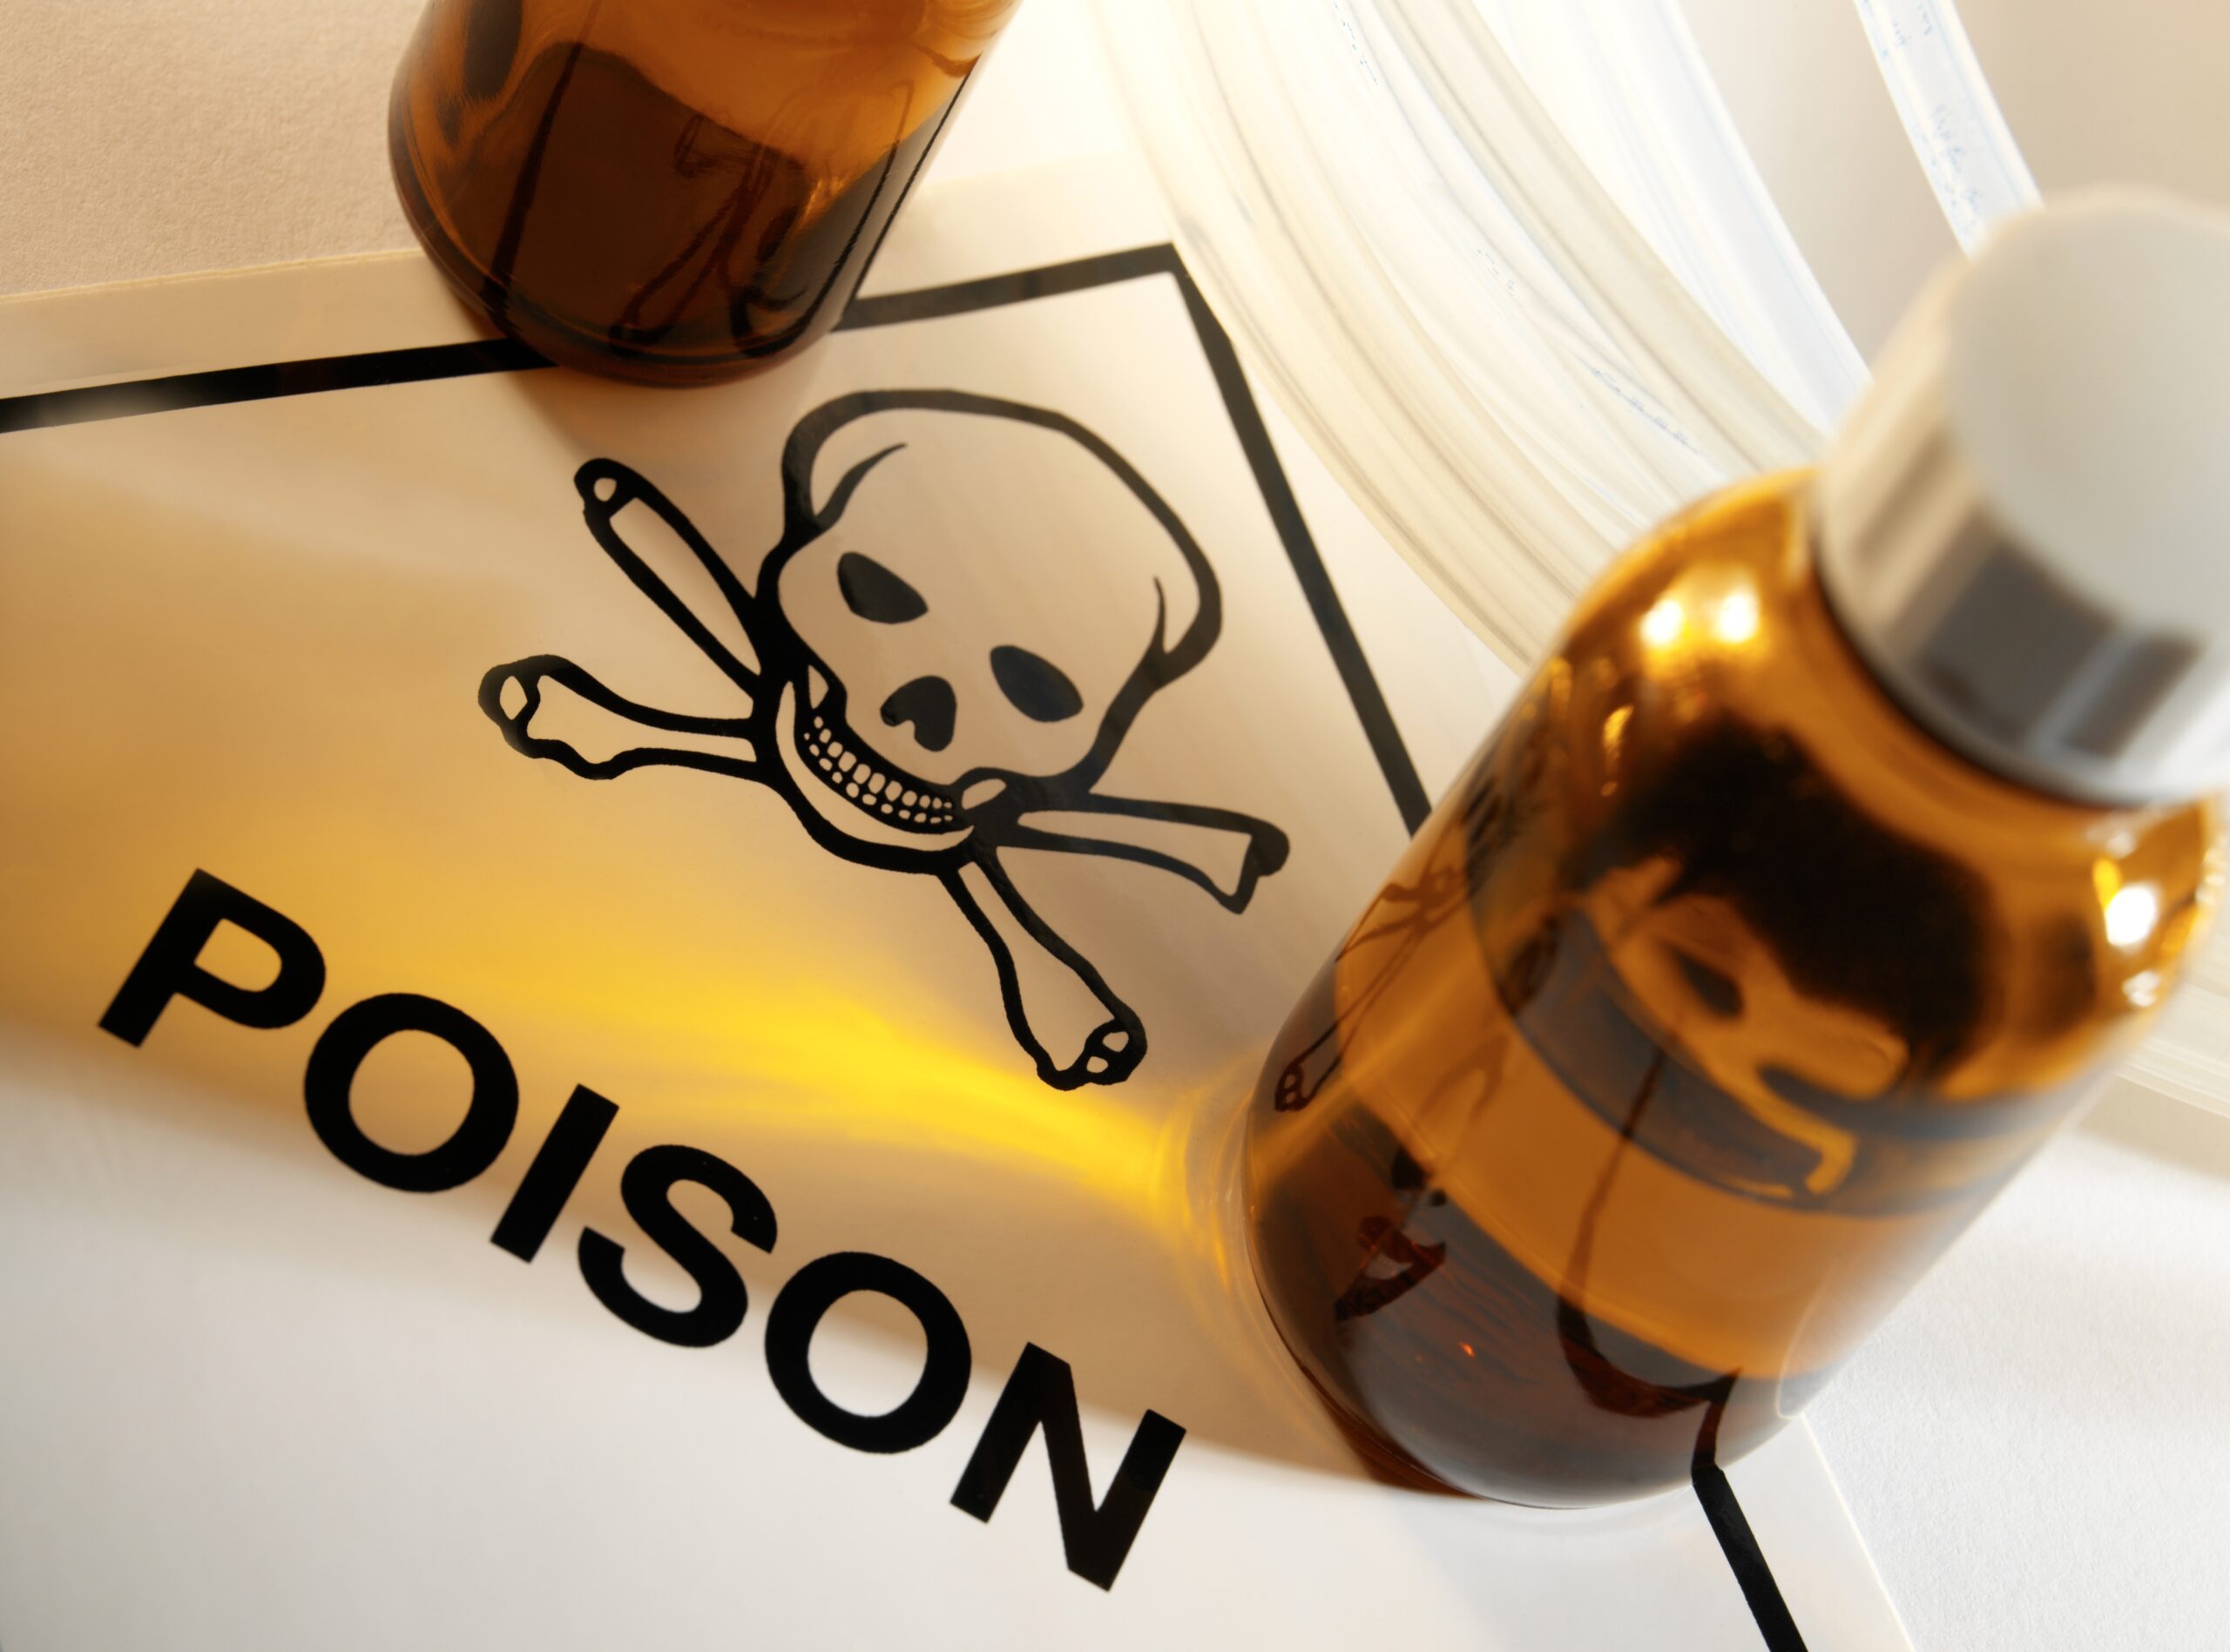
Your first step when dealing with poisoning, one of the most dangerous common household injuries, should be symptom recognition. Look for signs such as nausea, vomiting, difficulty breathing, seizures, or unusual behaviour. If you suspect poisoning, don’t wait for symptoms to worsen.
Contact emergency services immediately. Keep emergency contacts, including the Poison Control Centre number (13 11 26 in Australia), readily accessible. While waiting for help, gather information about the substance ingested, including its name, amount, and time of exposure.
If the person is unconscious, turn them on their side to prevent choking. Don’t induce vomiting unless instructed by a medical professional. If the poison is on the skin or in the eyes, flush with copious amounts of water for at least 15 minutes.
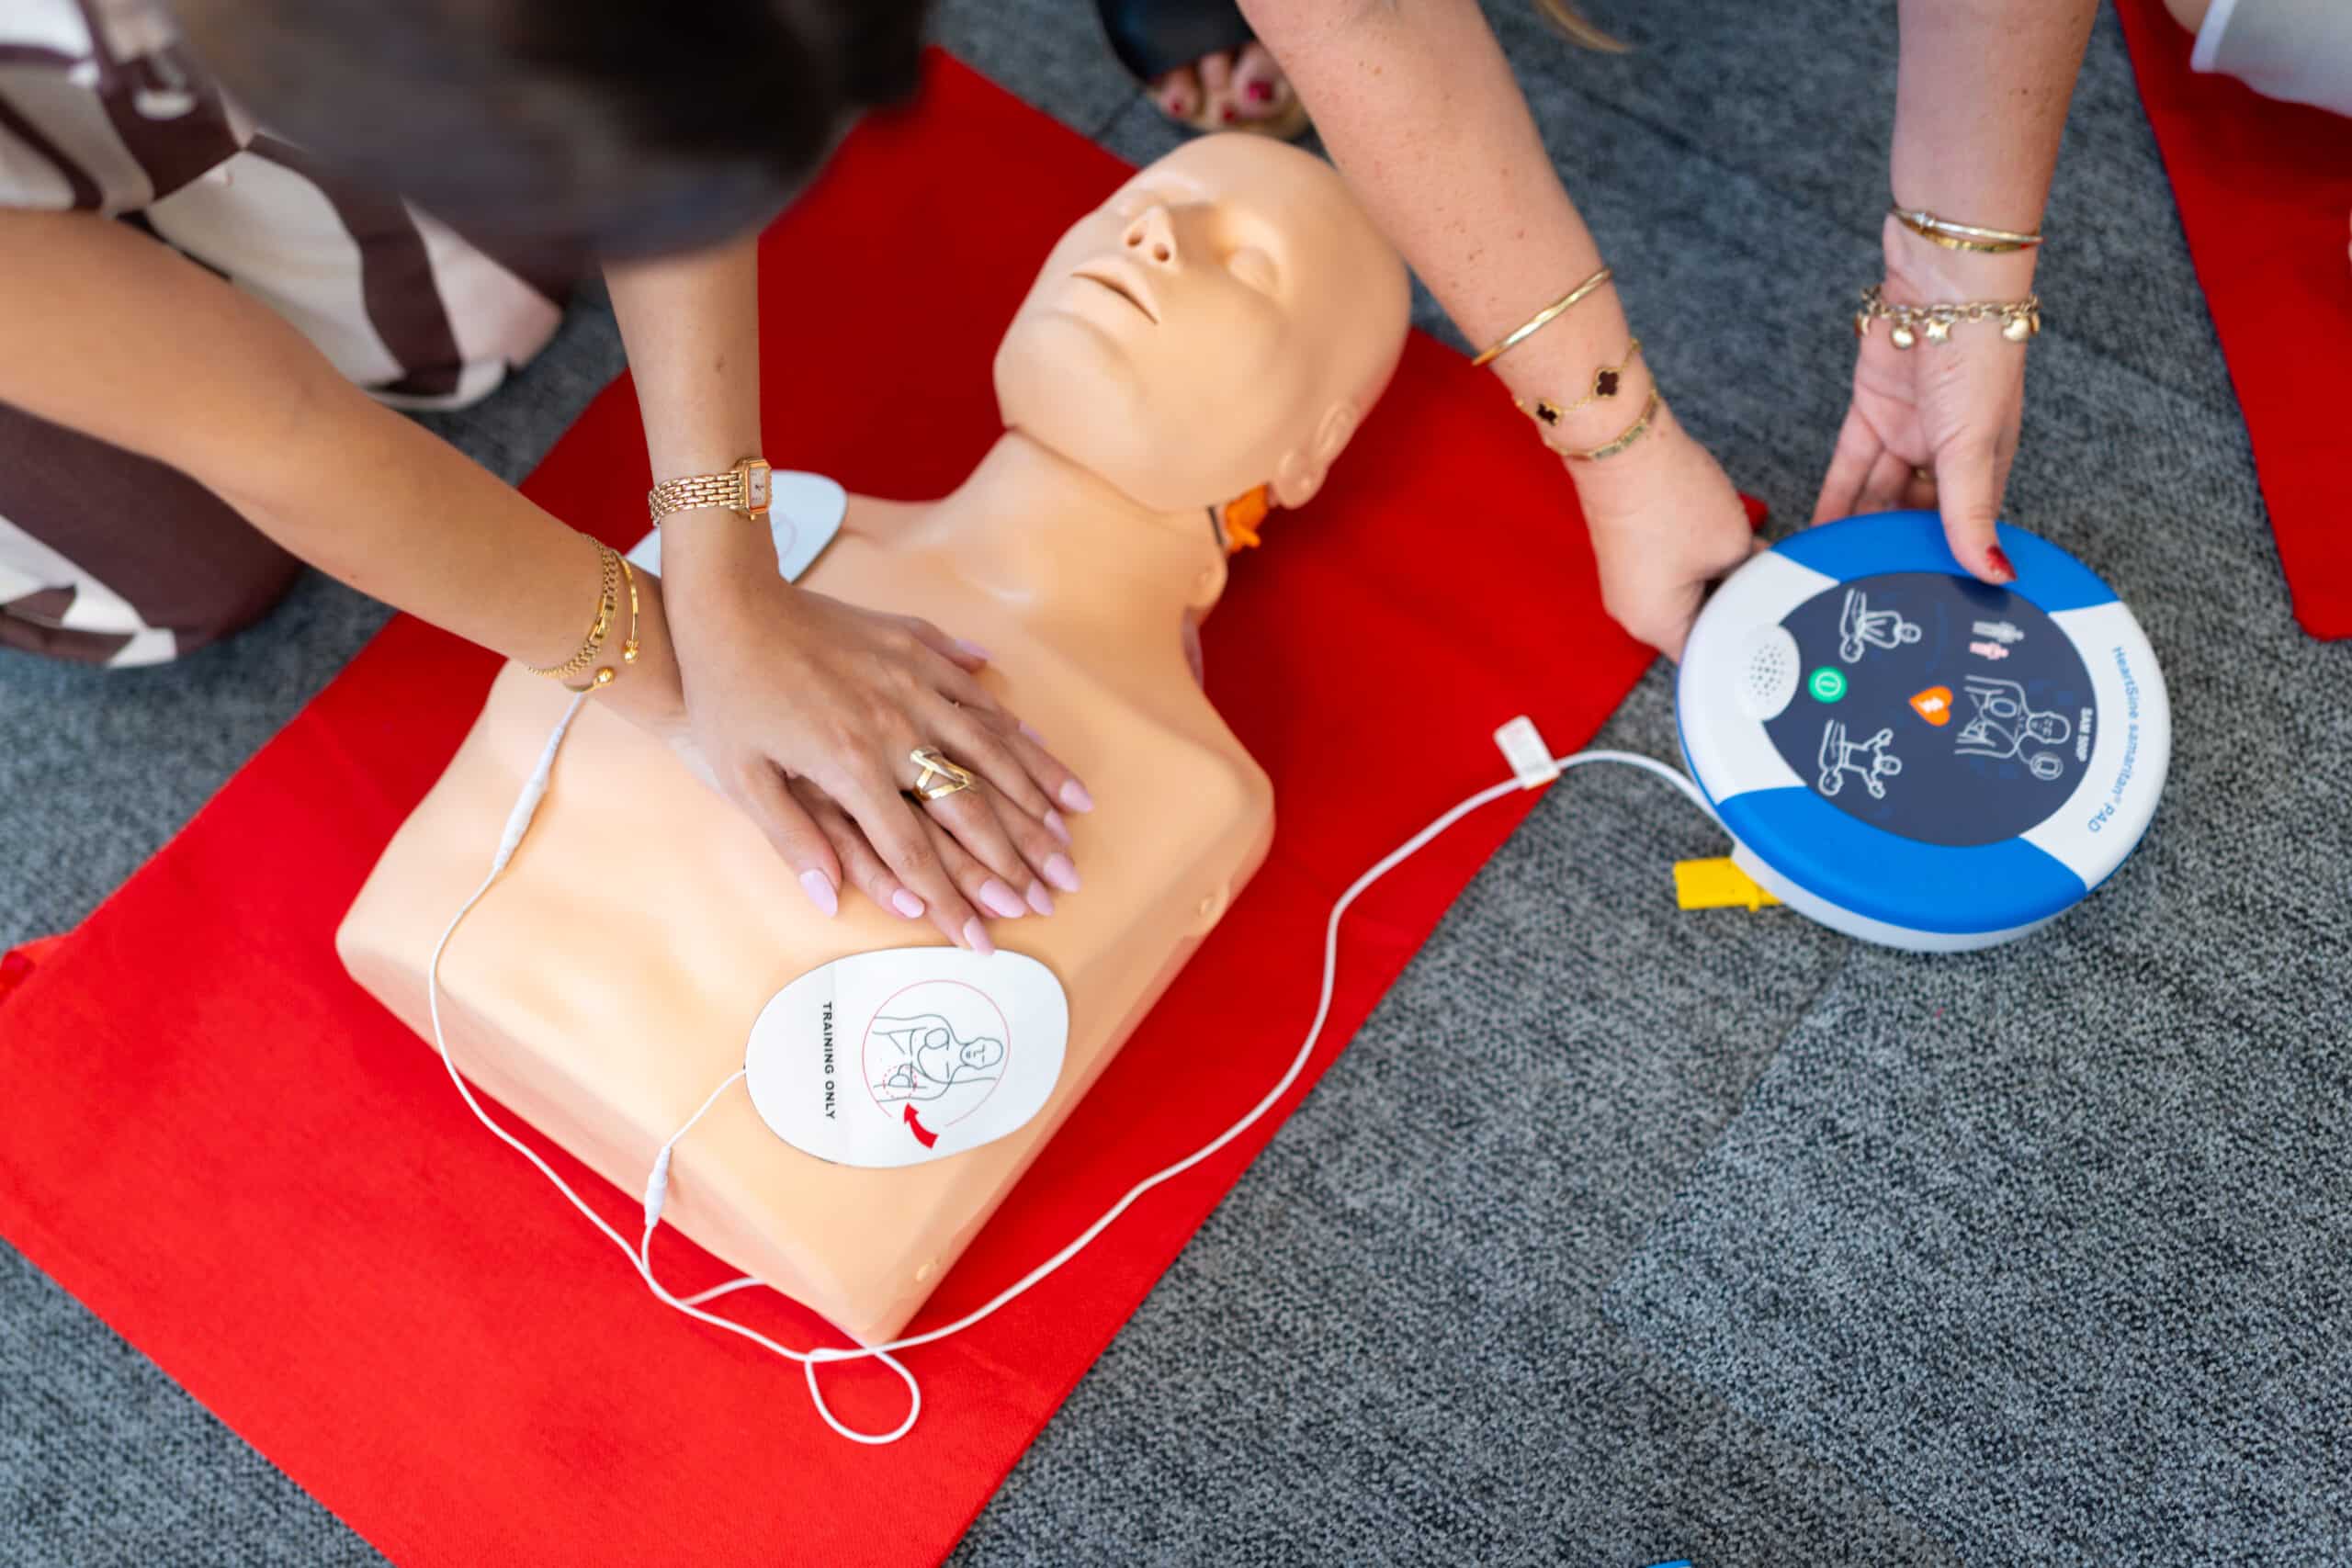
Provide CPR
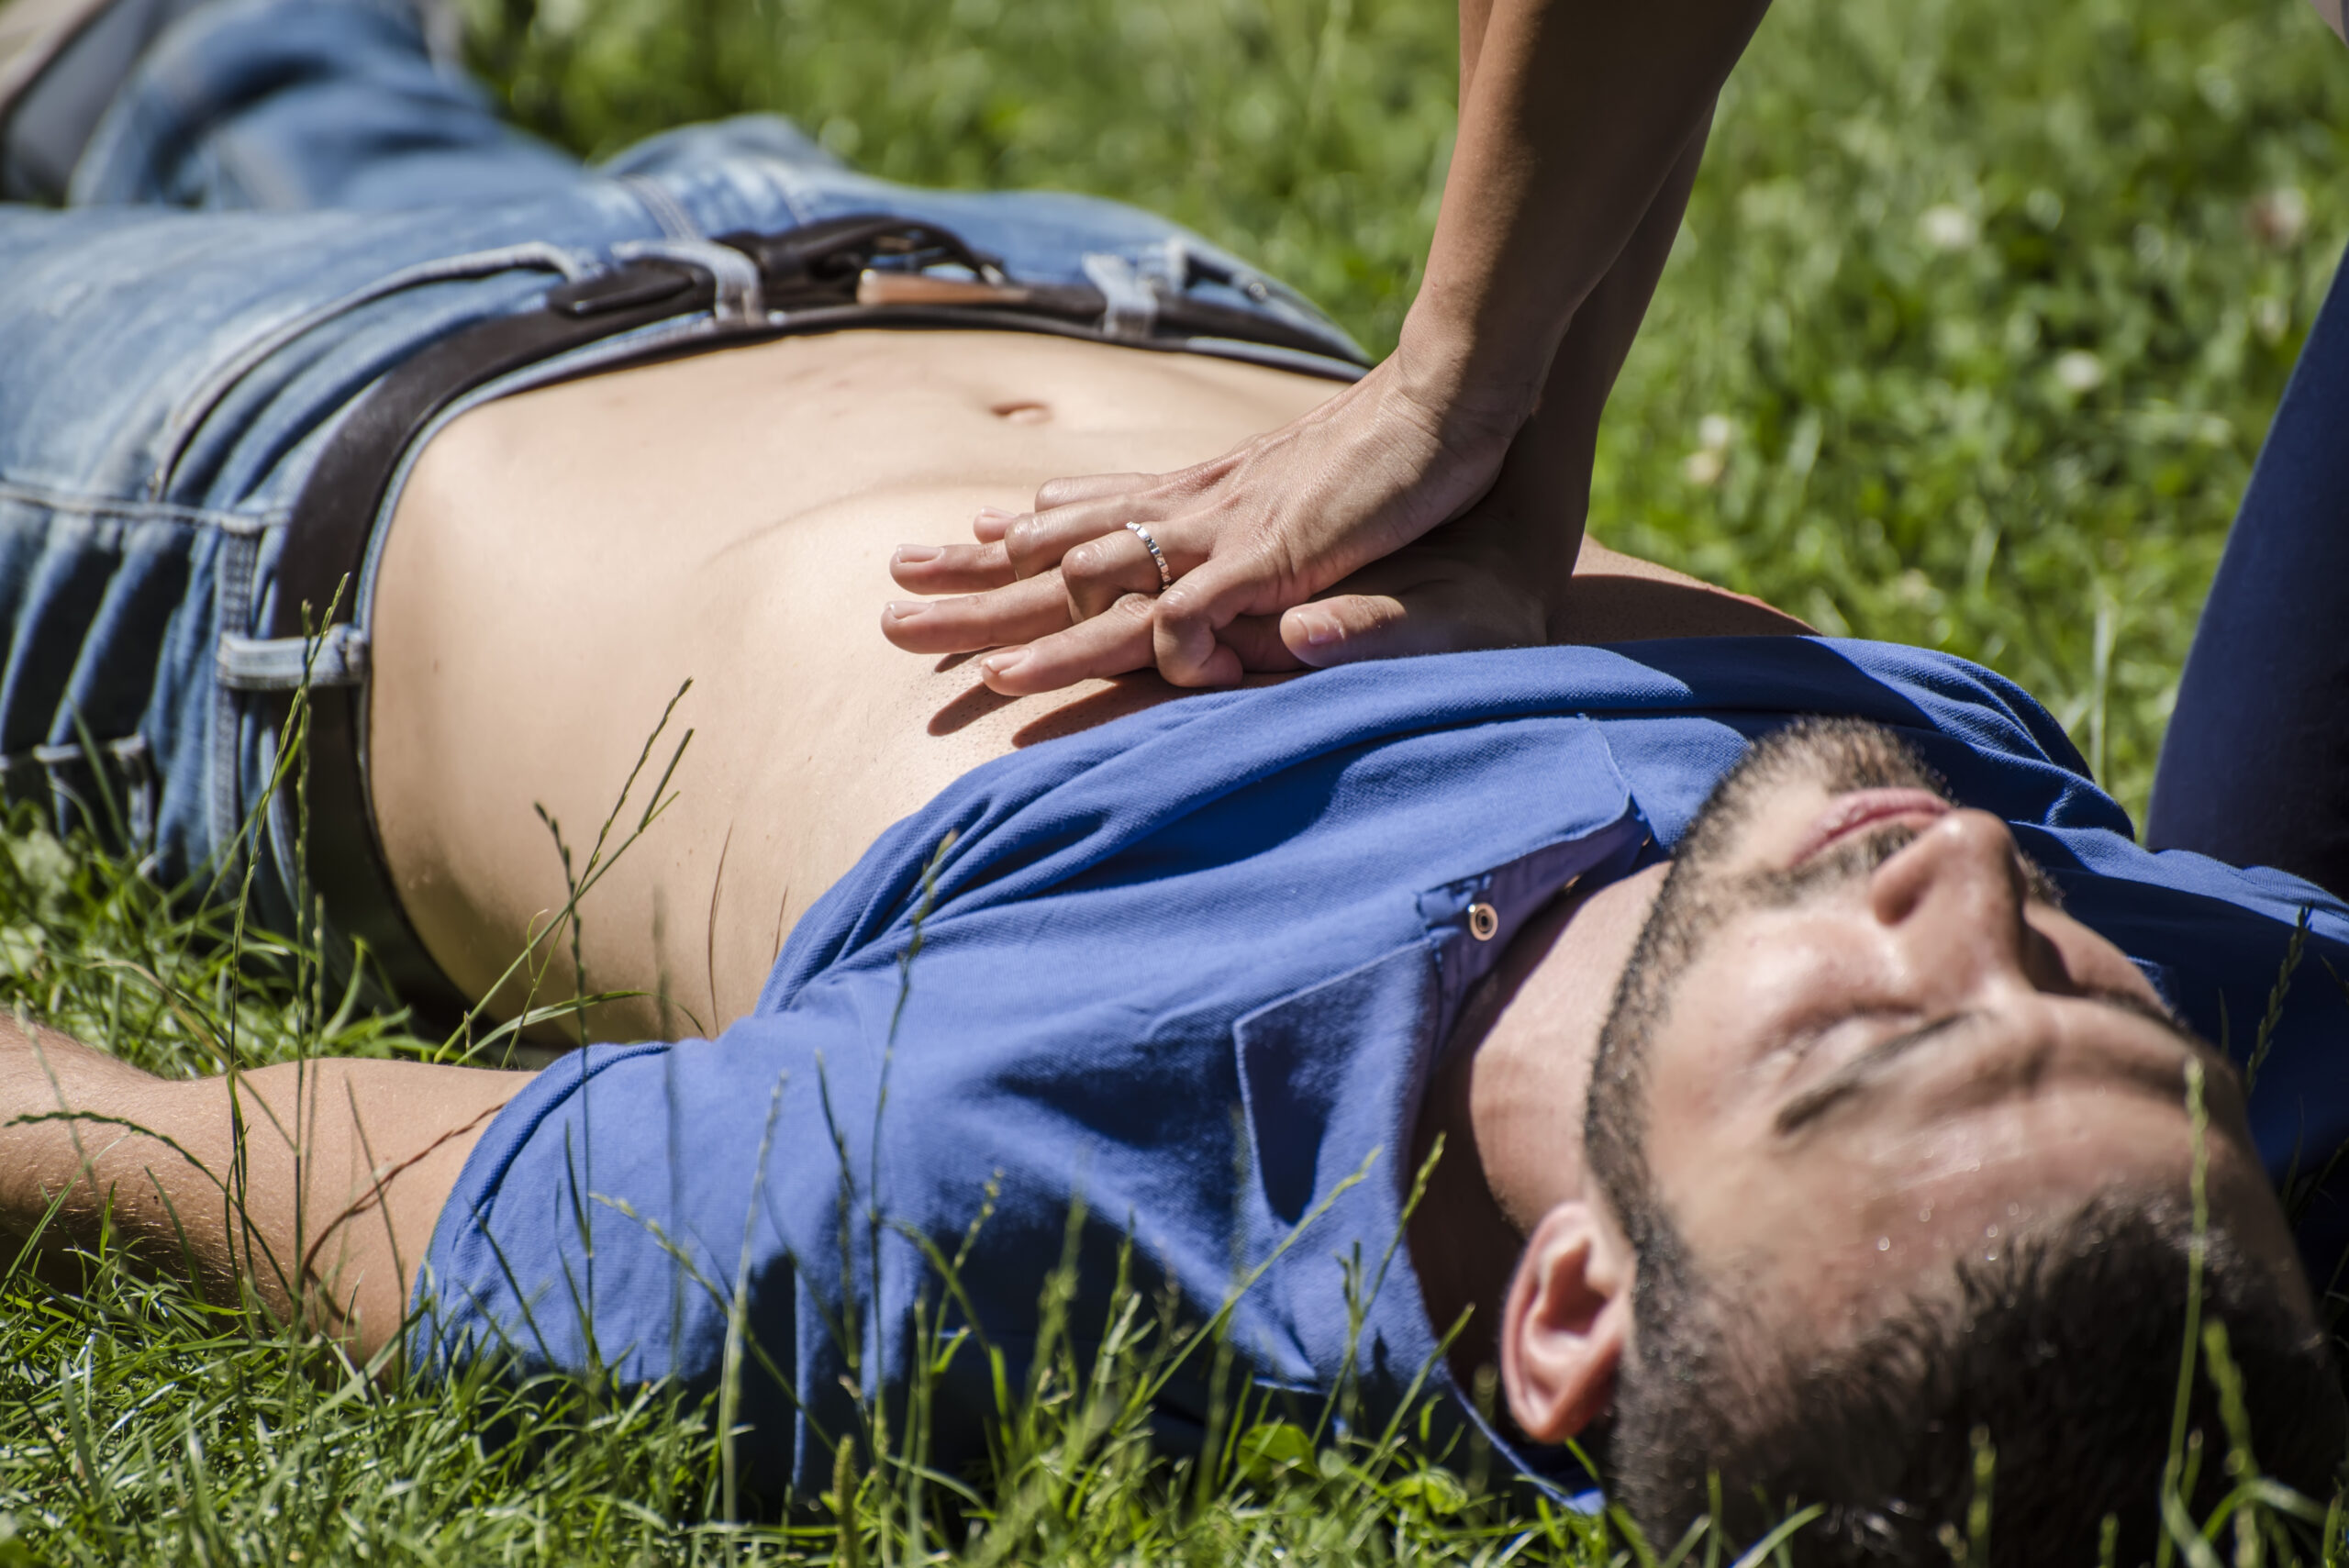
Cardiopulmonary resuscitation (CPR) is a significant life-saving technique you must employ when someone’s breathing or heartbeat has stopped, potentially the most critical of all common household injuries. Contrary to common CPR myths, it’s not just for medical professionals. Anyone can learn and perform this essential procedure.
Here are the necessary steps to provide effective CPR:
- Check for responsiveness and call for emergency help
- Begin chest compressions immediately
- Perform rescue breaths
- Continue CPR until professional help arrives
- Use an AED if available
When performing chest compressions, aim for a rate of 100-120 compressions per minute. Push hard and fast in the centre of the chest, allowing full chest recoil between compressions. If you’re untrained or uncomfortable with rescue breaths, focus solely on chest compressions. Remember, any CPR is better than no CPR.
Stock Your First Aid Kit
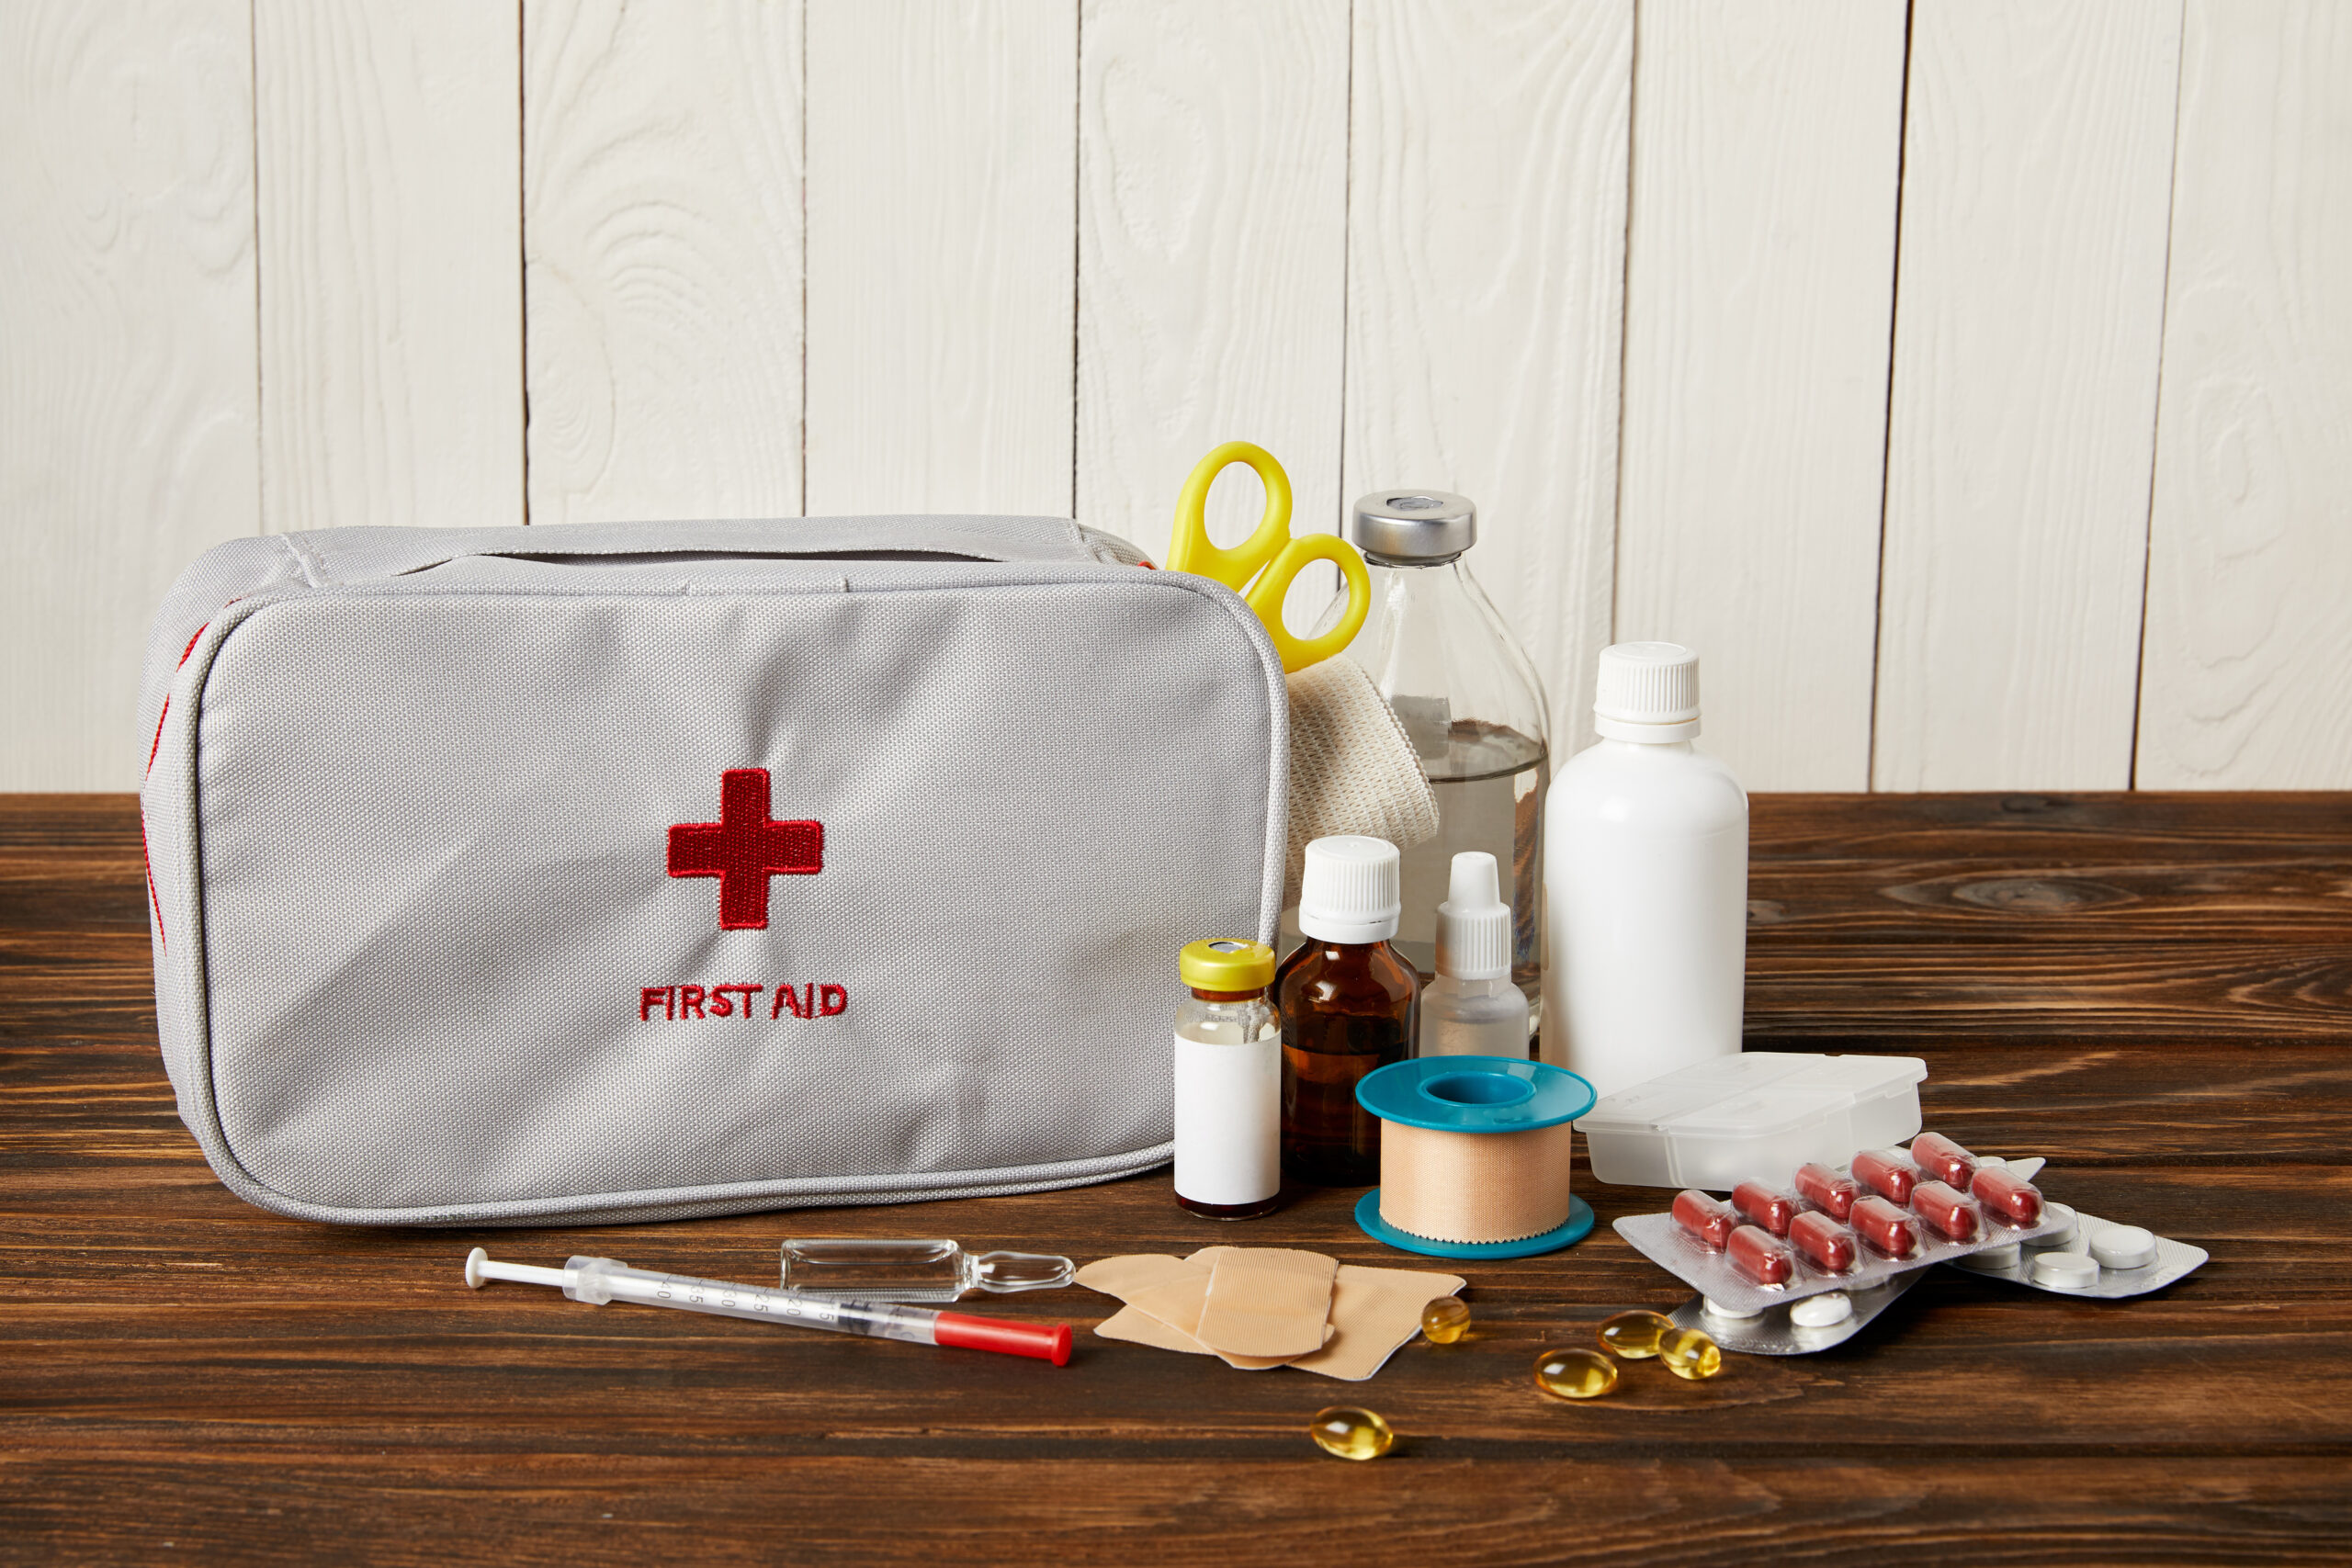
While CPR is a vital skill, having a well-stocked first aid kit in your home can help you address a wide range of common household injuries quickly and effectively. To guarantee you’re prepared for emergencies, stock your kit with essential first aid supplies. Include adhesive bandages in various sizes, sterile gauze pads, medical tape, and elastic bandages for wound care. Add antiseptic wipes, antibiotic ointment, and hydrocortisone cream to prevent infections and reduce inflammation.
Include pain relievers like paracetamol and ibuprofen, as well as any personal medications your family members might need in an emergency. Don’t forget scissors, tweezers, and a digital thermometer. For more severe injuries, include instant cold packs, a triangular bandage for slings, and an emergency blanket.
Proper kit organisation is essential for quick access during emergencies. Use clear, labelled compartments or small containers to separate different types of supplies. Keep a first aid manual in the kit for reference.
Regularly check expiry dates and replace used or outdated items. Store your kit in a cool, dry place that’s easily accessible to adults but out of reach of young children.
Frequently Asked Questions
Should I be worried about legal liability when providing first aid to someone?
In Australia, Good Samaritan laws protect individuals who provide reasonable first aid assistance in emergency situations involving common household injuries. These laws generally shield you from liability when acting in good faith to help someone in distress. However, you should only provide care within your level of training and competence. When in doubt, focus on calling emergency services and providing basic comfort until professional help arrives.
How often should I replace items in my first aid kit?
Check your first aid kit every six months and replace any expired medications, dried-out ointments, or damaged supplies needed for treating common household injuries. Adhesive bandages and gauze don’t typically expire but should be replaced if packaging is damaged. Keep a checklist inside your kit with expiry dates and inspection dates. After using any items, replace them immediately so your kit remains fully stocked for the next emergency.
Can I move someone who's been seriously injured?
Generally, avoid moving someone with a suspected spinal, neck, or head injury, as these are among the most serious common household injuries, unless they’re in immediate danger (such as a fire or unsafe location). Moving an injured person incorrectly can worsen their condition. Instead, keep them still and comfortable while waiting for emergency services. Only move someone if leaving them in place poses a greater risk than the potential harm from moving them, and then do so as carefully as possible.