


When you’re faced with a deep cut, knowing how to manage it properly can mean the difference between a quick recovery and serious complications.
You’ll need to act swiftly and decisively, but panic won’t help. From evaluating the severity to seeking professional help, there’s a step-by-step process you should follow to guarantee the best outcome.
Whether you’re dealing with your own injury or helping someone else, understanding these vital steps will empower you to handle the situation effectively.
Let’s explore the essential techniques that could save you from unnecessary pain and potential long-term issues.
Key Takeaways
- Assess the severity of the cut by checking depth, length, location, and bleeding intensity.
- Apply firm, direct pressure with a clean cloth or sterile gauze for at least 15 minutes to stop bleeding.
- Clean the wound thoroughly with lukewarm water and mild soap, removing any visible debris with sterile tweezers.
- Cover the wound with a sterile dressing, changing it daily or when wet/soiled to prevent infection.
- Seek professional medical help for cuts deeper than 1/4 inch, on the face, or near joints.
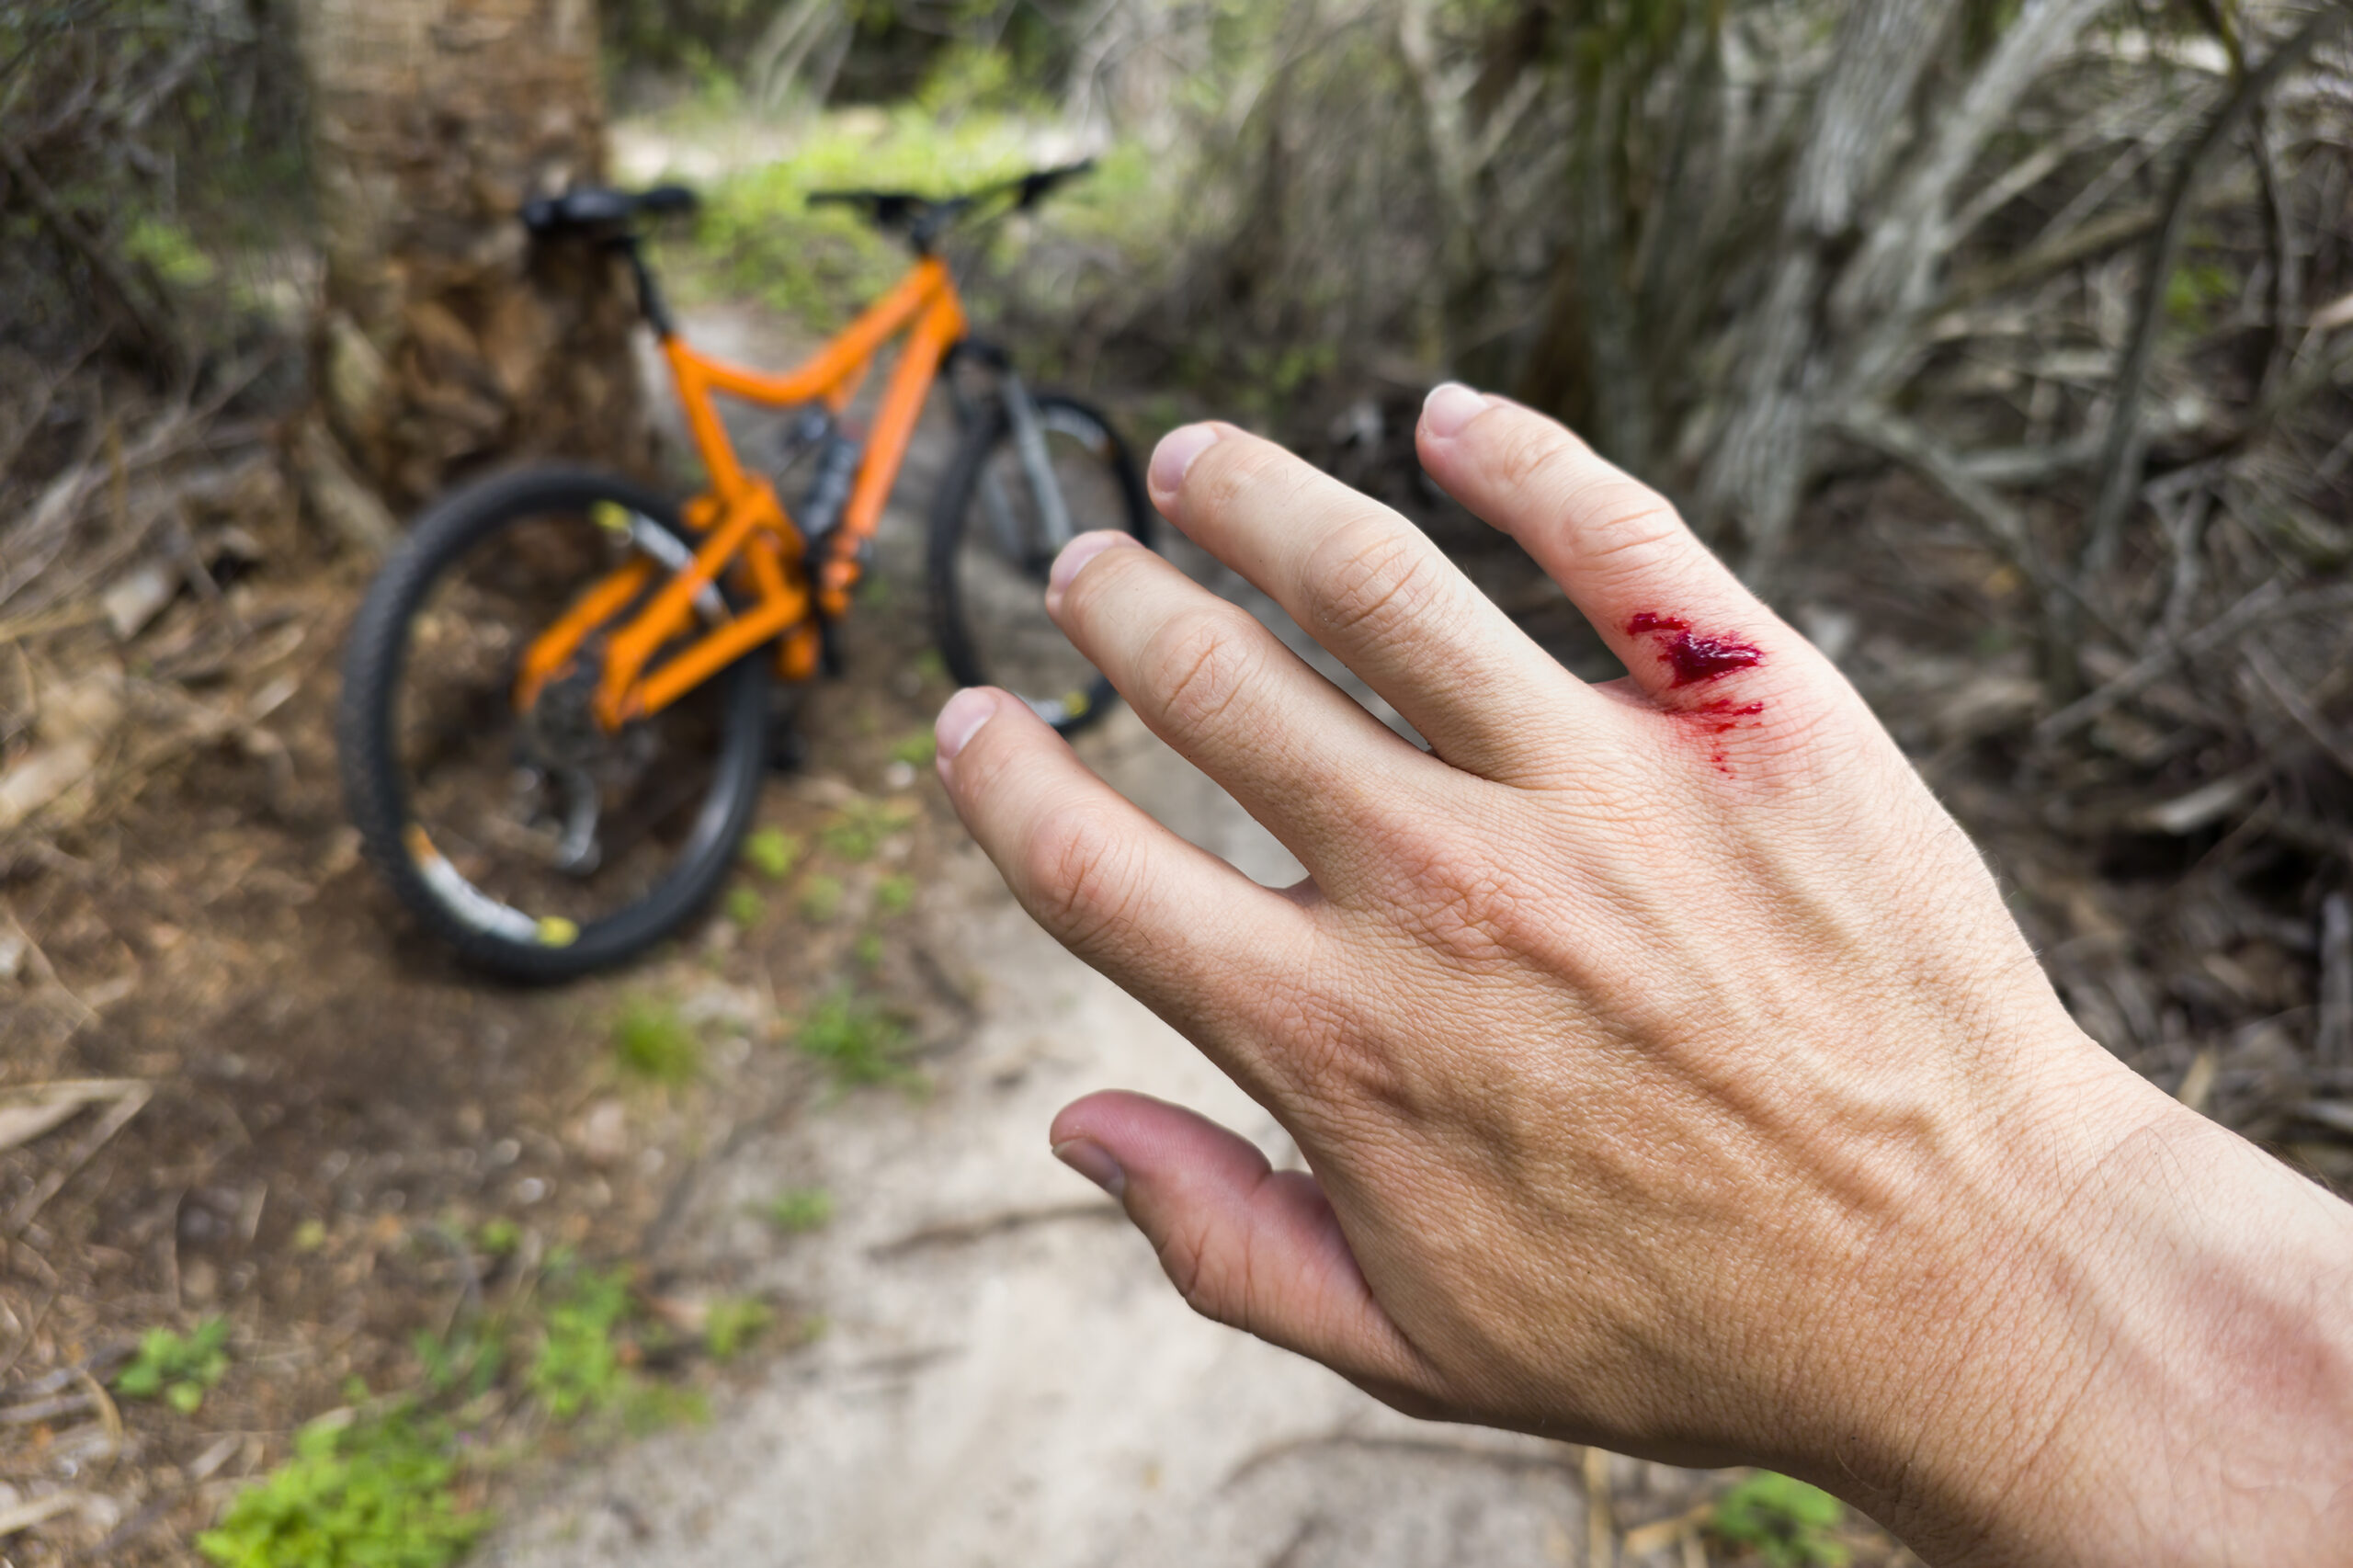
Assess the Severity
Check the depth, length, and location of the cut to determine its severity. Conduct a thorough wound assessment, focusing on key severity indicators.
Deep cuts that penetrate beyond the skin’s surface into underlying tissues are more serious. Measure the length of the cut; longer wounds typically require more attention. Consider the location: cuts near joints, major blood vessels, or essential organs are more concerning.
Look for signs of excessive bleeding, which may indicate damage to blood vessels. If you can’t easily stop the bleeding with direct pressure, it’s likely severe.
Assess the wound edges; jagged or widely separated edges suggest a more serious injury. Check for visible muscle, fat, or bone, as exposure of these structures indicates a deep cut.
Stop the Bleeding
To control bleeding from a deep cut, apply firm, direct pressure to the wound using a clean cloth or sterile gauze.
Hold this pressure continuously for at least 15 minutes without lifting to check the wound. If blood soaks through, add more layers without removing the original dressing. Elevate the injured area above the heart if possible to reduce blood flow.
For severe bleeding, consider using a tourniquet as a last resort in first aid situations. Apply it between the wound and the heart, tightening it until the bleeding stops.
Note the time of application, as prolonged use can cause tissue damage.
Clean the Wound
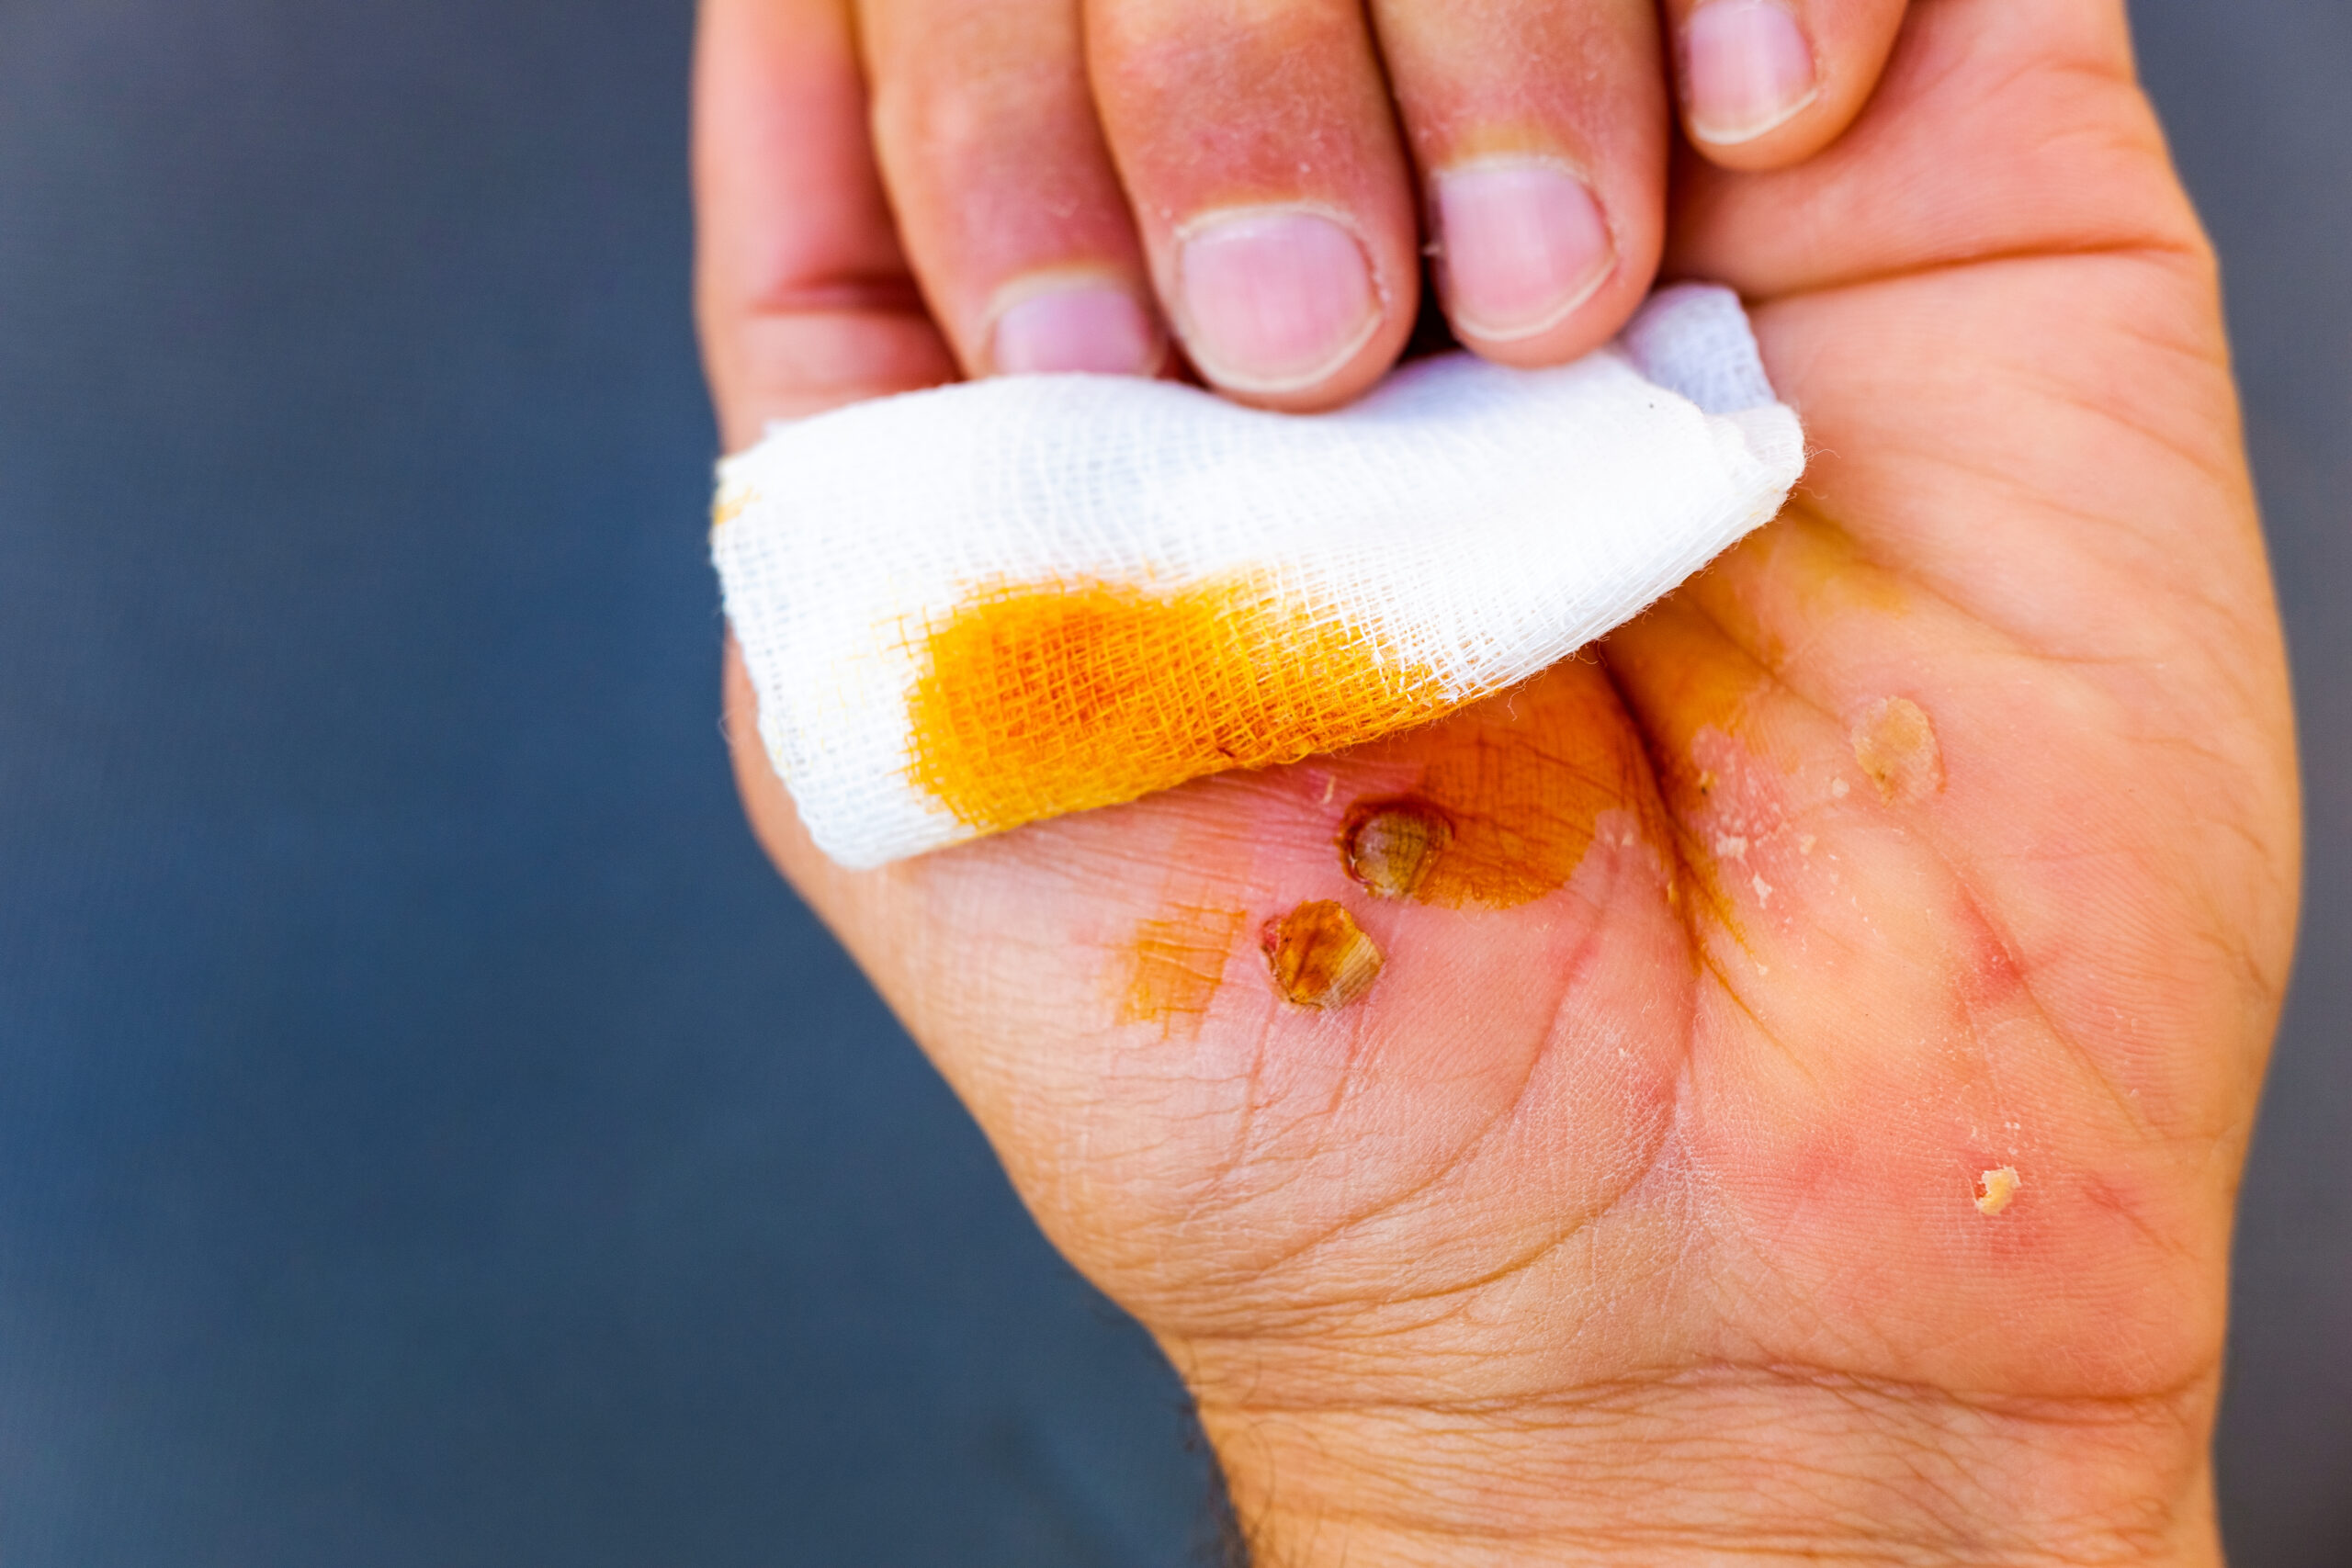
Proper wound cleaning is vital to prevent infection and promote healing. After stopping the bleeding, focus on wound hygiene to minimise the risk of complications. Start by washing your hands thoroughly with soap and water to avoid introducing new bacteria to the wound site.
Next, follow these steps for effective wound cleaning:
- Rinse the wound with clean, lukewarm water for several minutes to remove debris and bacteria.
- Use mild soap to gently clean around the wound, being careful not to get soap directly in the cut.
- If visible debris remains, use sterile tweezers to carefully remove it from the wound.
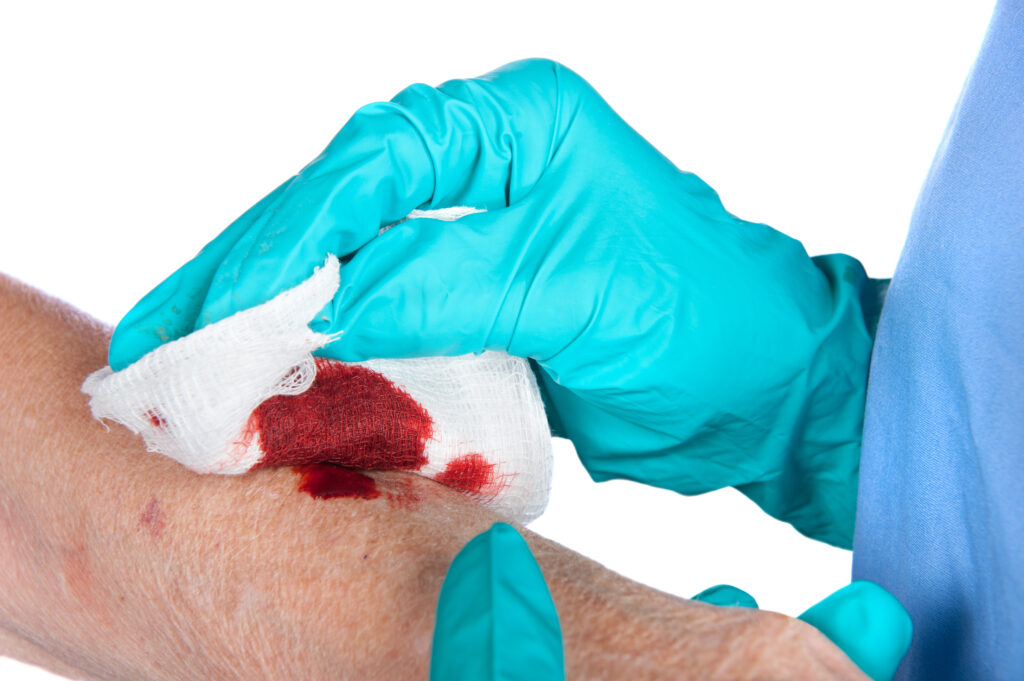
Apply Direct Pressure
Direct pressure is the most effective method for controlling bleeding from a deep cut. To apply pressure correctly, use a clean cloth, sterile gauze, or any available absorbent material. Place it directly over the wound and press firmly with your palm. Maintain steady pressure for at least 15 minutes without lifting or peeking. If blood soaks through, add more layers on top without removing the original dressing.
For severe bleeding, you may need to use both hands or even your body weight to apply adequate pressure. Don’t release pressure too soon, as this can disrupt clot formation. If bleeding persists after 15 minutes, continue applying pressure while seeking medical help.
Elevate the Injured Area
Elevation of the injured area is an essential secondary step in managing deep cuts and controlling bleeding. After applying direct pressure, you should raise the injured body part above the level of your heart. This elevation technique helps reduce blood flow to the wound, minimising bleeding and promoting injury recovery.
To effectively elevate the injured area:
- Find a comfortable position where you can maintain the elevation for an extended period.
- Use pillows, cushions, or other soft objects to prop up the injured limb securely.
- Confirm the wound remains covered and that direct pressure is still applied while elevating.
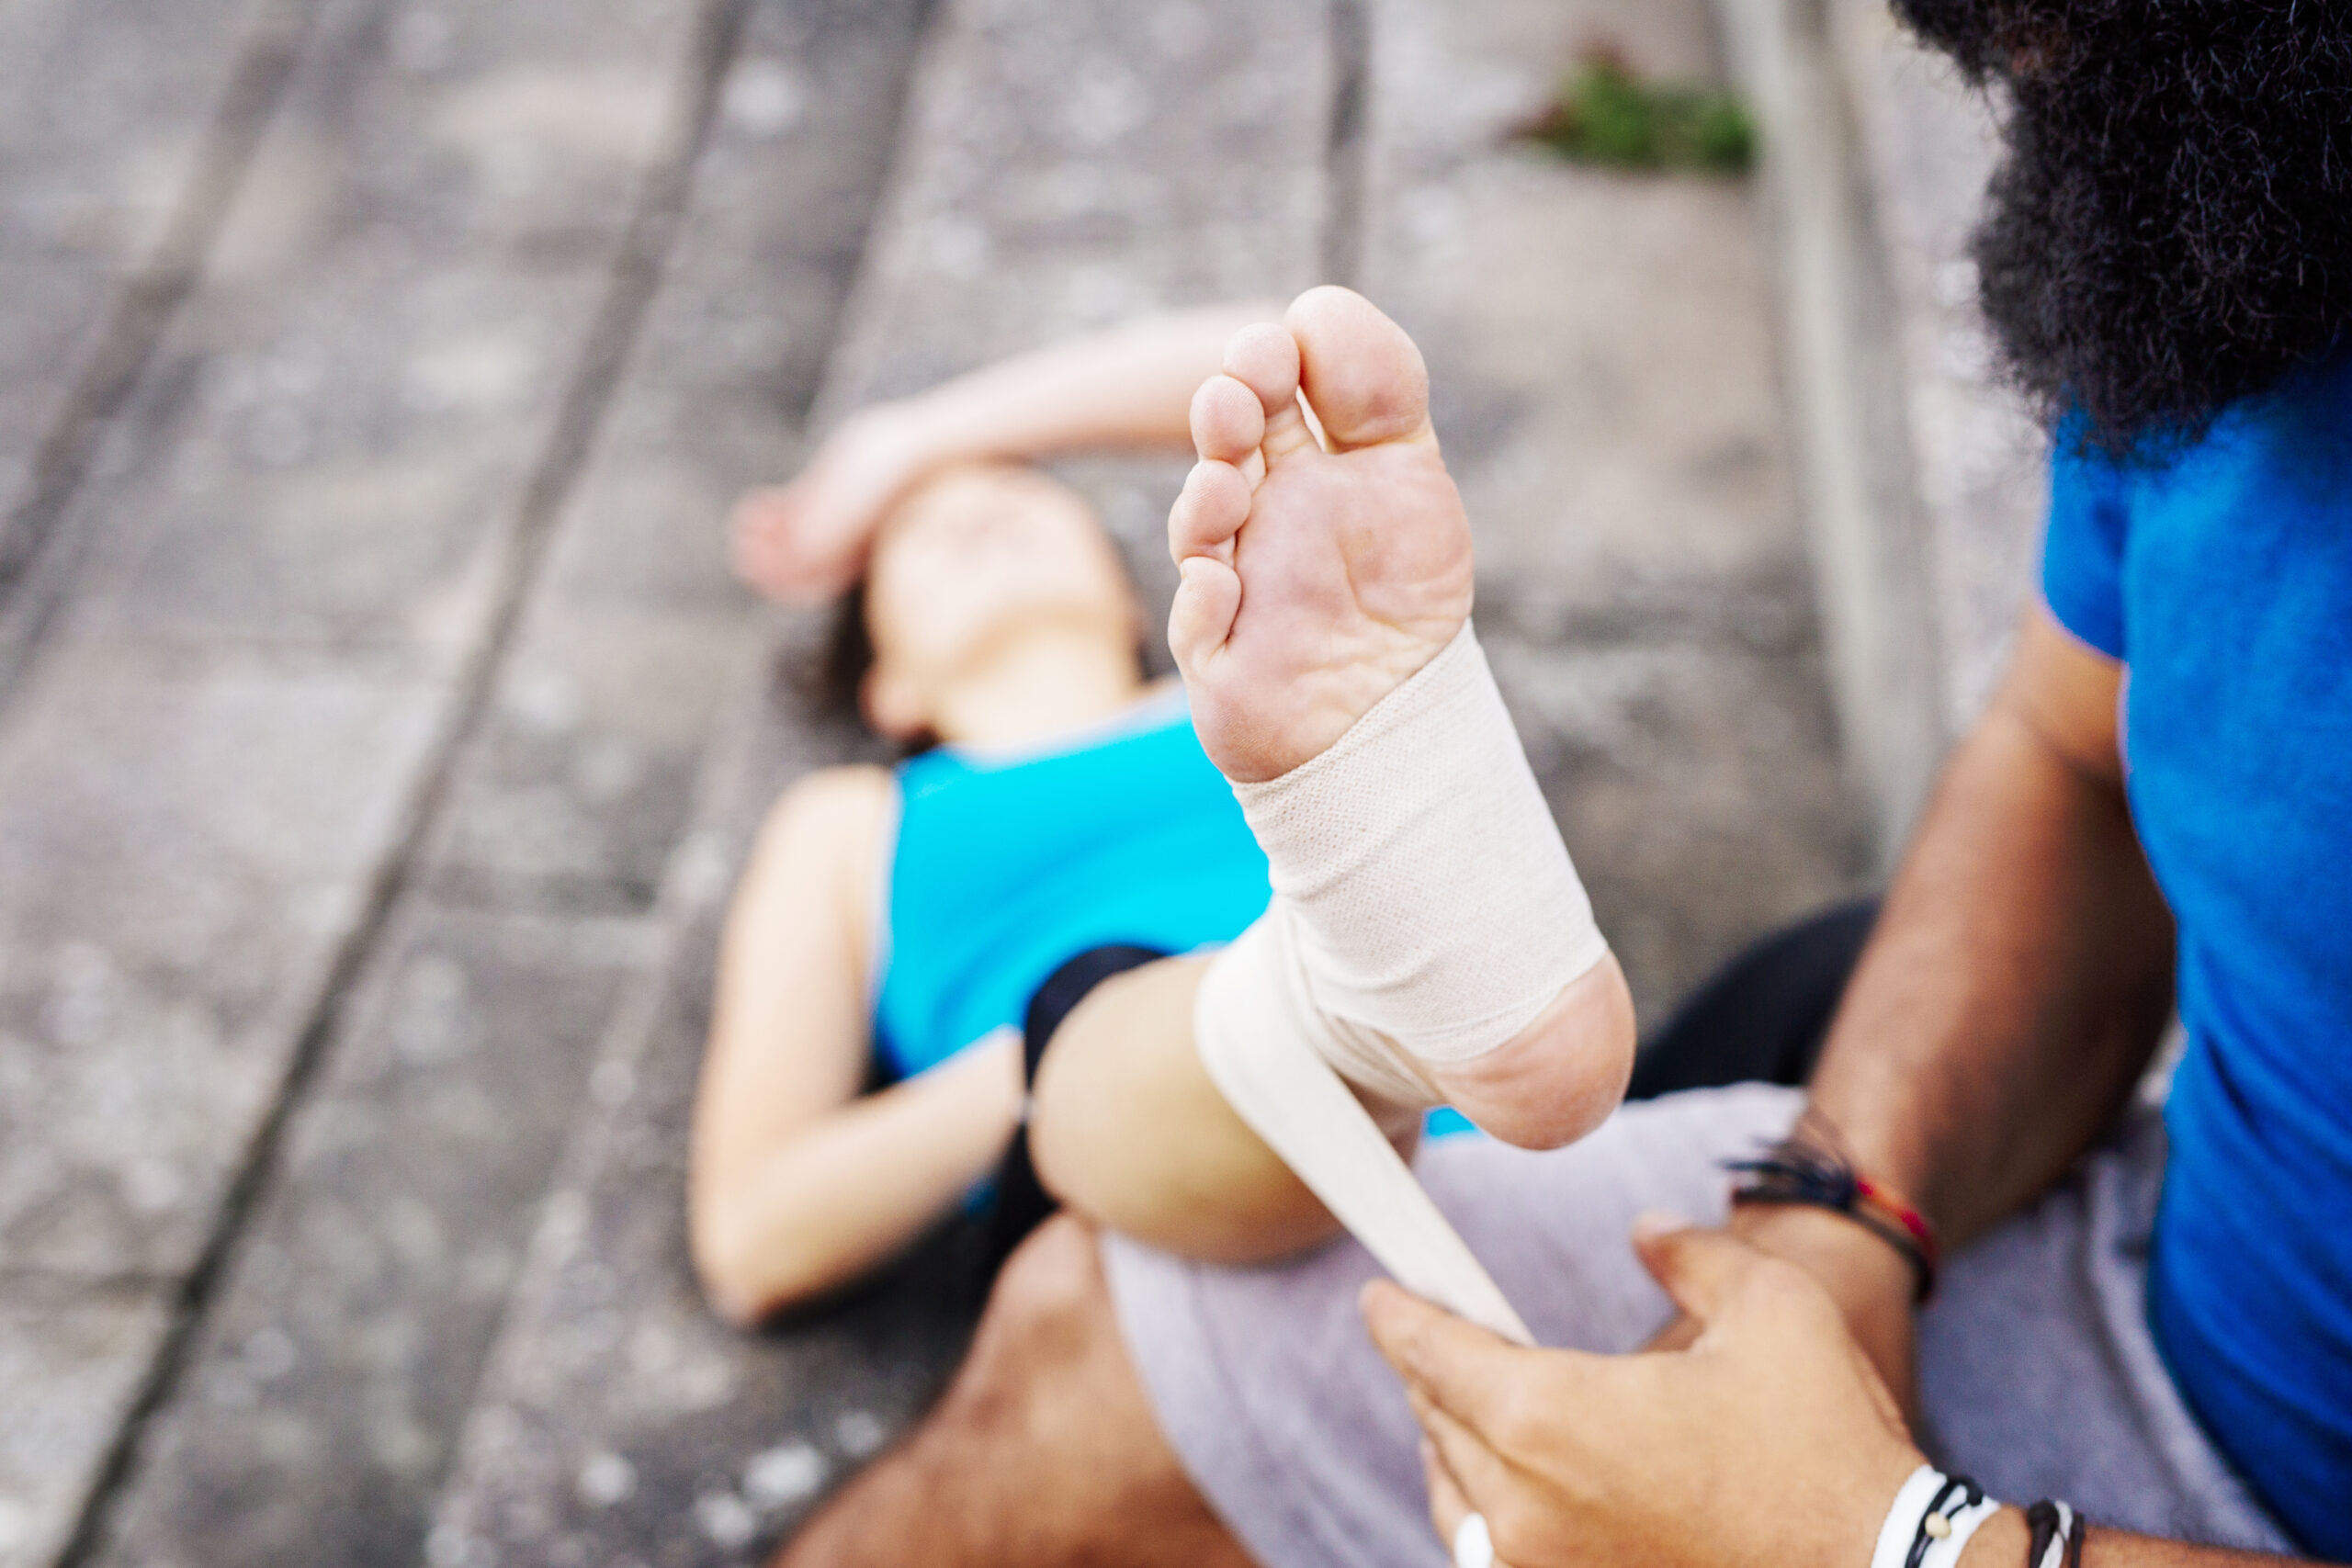
Secure the Bandage
Properly securing the bandage is essential for maintaining wound coverage and promoting optimal healing. Different bandage types require specific securing techniques to guarantee they stay in place and provide ideal protection. For deep cuts, you’ll typically use adhesive bandages, gauze pads, or elastic wrap bandages.
To secure your bandage effectively:
- Clean and dry the surrounding skin to guarantee proper adhesion.
- Apply the bandage, making sure it covers the entire wound and extends slightly beyond the edges.
- Use medical tape or built-in adhesive strips to anchor the bandage securely.
For larger wounds requiring gauze pads, use medical tape to secure all four sides. When using elastic wrap bandages, start at the furthest point from the heart and wrap upward, overlapping each layer by about half its width. Secure the end with medical tape or built-in fasteners.
Don’t apply the bandage too tightly, as this can restrict blood flow. You should be able to slip one finger under the bandage comfortably. Check the bandage regularly for signs of loosening or excessive moisture, and replace as needed to maintain proper wound care.
Manage Pain

While managing a deep cut, you’ll need to address pain effectively to guarantee the patient’s comfort and cooperation during treatment.
Begin by evaluating the pain level using a standardised scale, such as the numeric rating scale from 0 to 10. This will help you determine the appropriate pain management strategy.
For immediate pain relief, consider these options:
- Over-the-counter analgesics: Administer paracetamol or ibuprofen as directed.
- Topical anaesthetics: Apply lidocaine gel to numb the area around the wound.
- Cold therapy: Use ice packs wrapped in a cloth to reduce pain and swelling.
In cases of severe pain, consult a medical professional for prescription pain medications.
Seek Professional Medical Help
Recognising when to seek professional medical help is essential for proper management of deep cuts. The importance of prompt treatment can’t be overstated, as delays can lead to complications and prolonged healing.
You should visit a healthcare provider immediately if your wound:
- Is deeper than 1/4 inch
- Has jagged or gaping edges
- Continues bleeding after 15 minutes of direct pressure
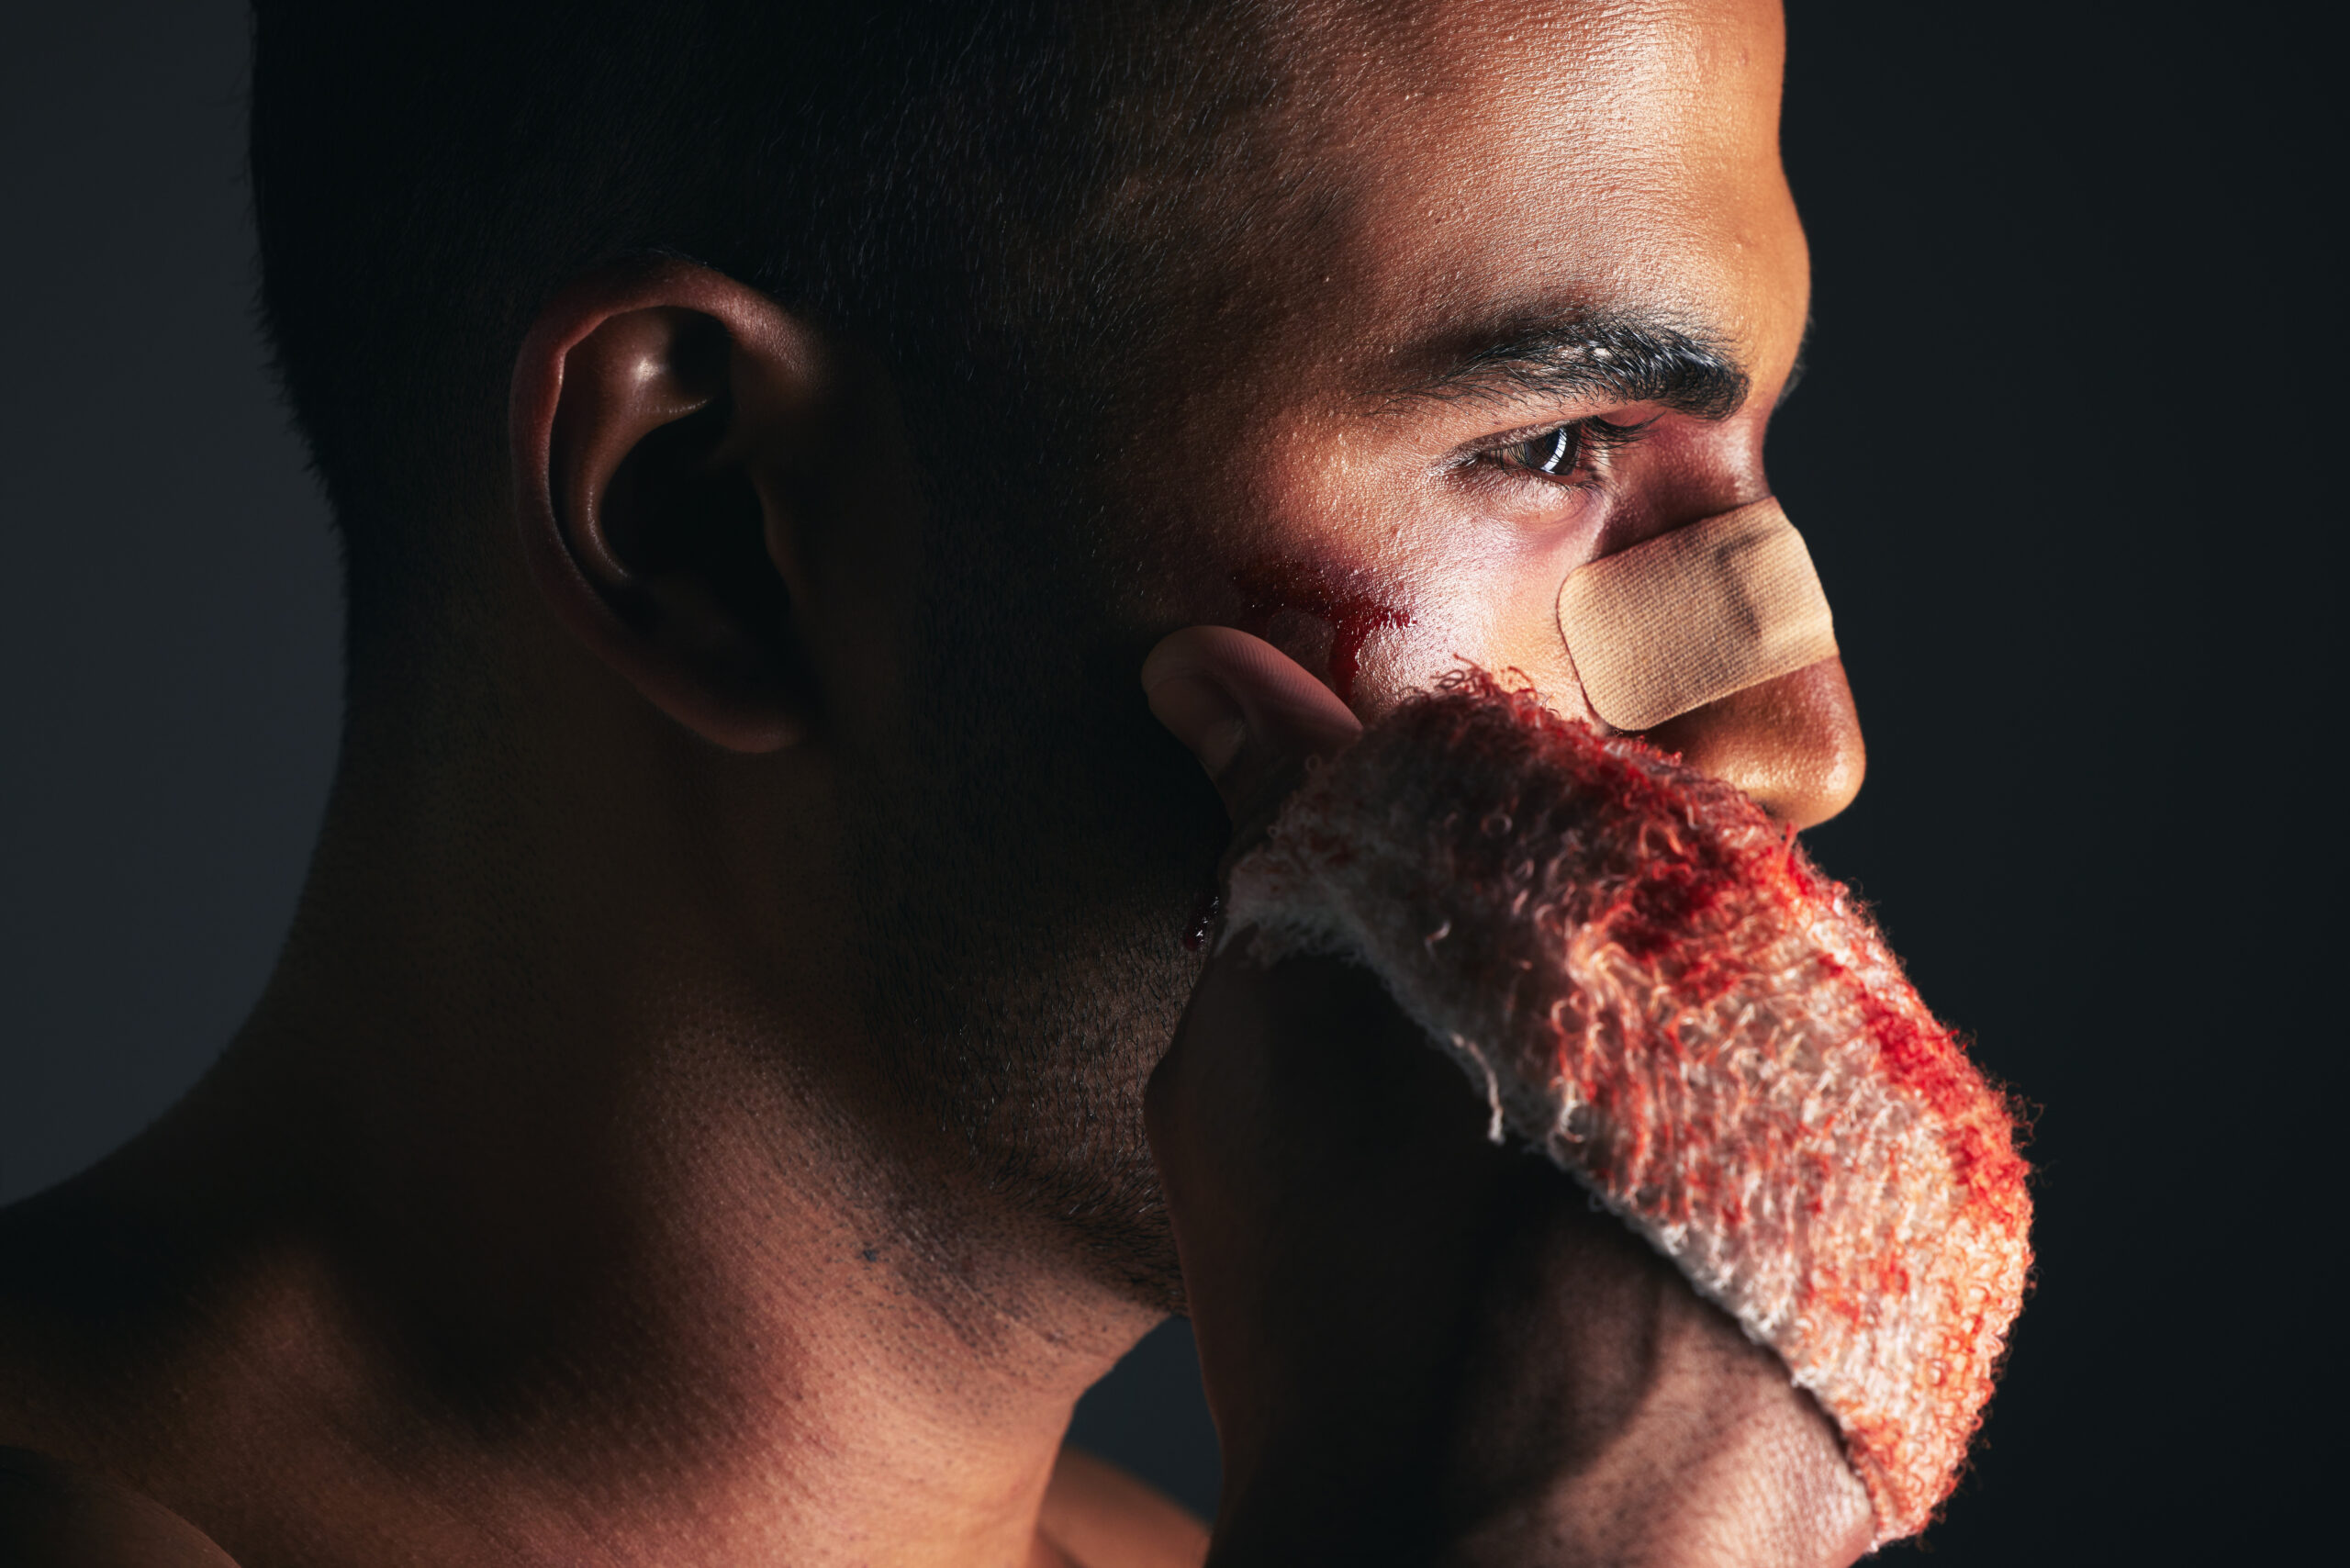
Additionally, seek medical attention if the cut is on your face, near a joint, or if you can see muscle, fat, or bone. Professional evaluation is vital for determining if stitches, staples, or other closure methods are necessary.
Frequently Asked Questions
How Long Does It Take for a Deep Cut to Heal Completely?
The healing process for a deep cut varies, but you’ll typically see complete recovery in 4-6 weeks. Your recovery timeline depends on wound size, location, and your overall health. Follow your doctor’s instructions for ideal healing.
Are There Any Specific Dietary Recommendations to Promote Faster Wound Healing?
To promote faster healing, you’ll need adequate protein sources like lean meats and legumes. Vitamins A and C offer significant benefits, boosting collagen production and immune function.
What Are the Signs That a Deep Cut May Have Damaged Underlying Structures?
Watch for numbness or unusual sensations around the wound. You’ll notice excessive swelling and redness extending beyond the cut. If you can’t move affected body parts normally or experience severe pain, seek immediate medical attention.